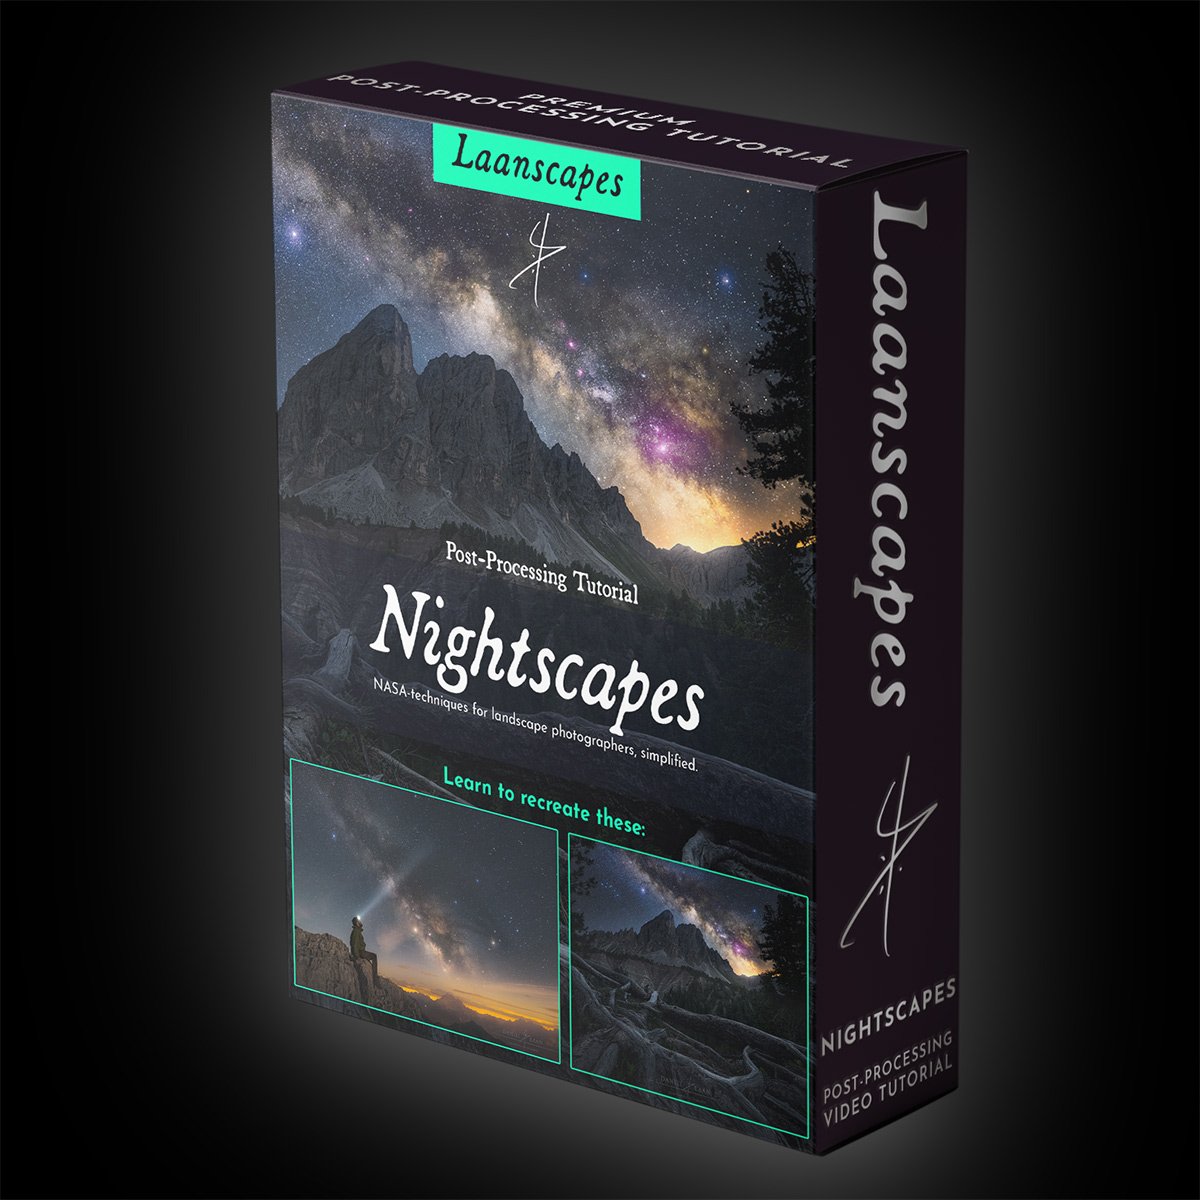
Nightscapes
You’re learning what NASA does with Hubble and Webb, but we’re combining that with landscape photography! Sounds complex? It is eventually. But in this 4,5 hour landscape astrophotography tutorial, you'll be taken from a novice using single exposures to an expert at post-processing the night sky.
Start-to-Finish Workflow of:
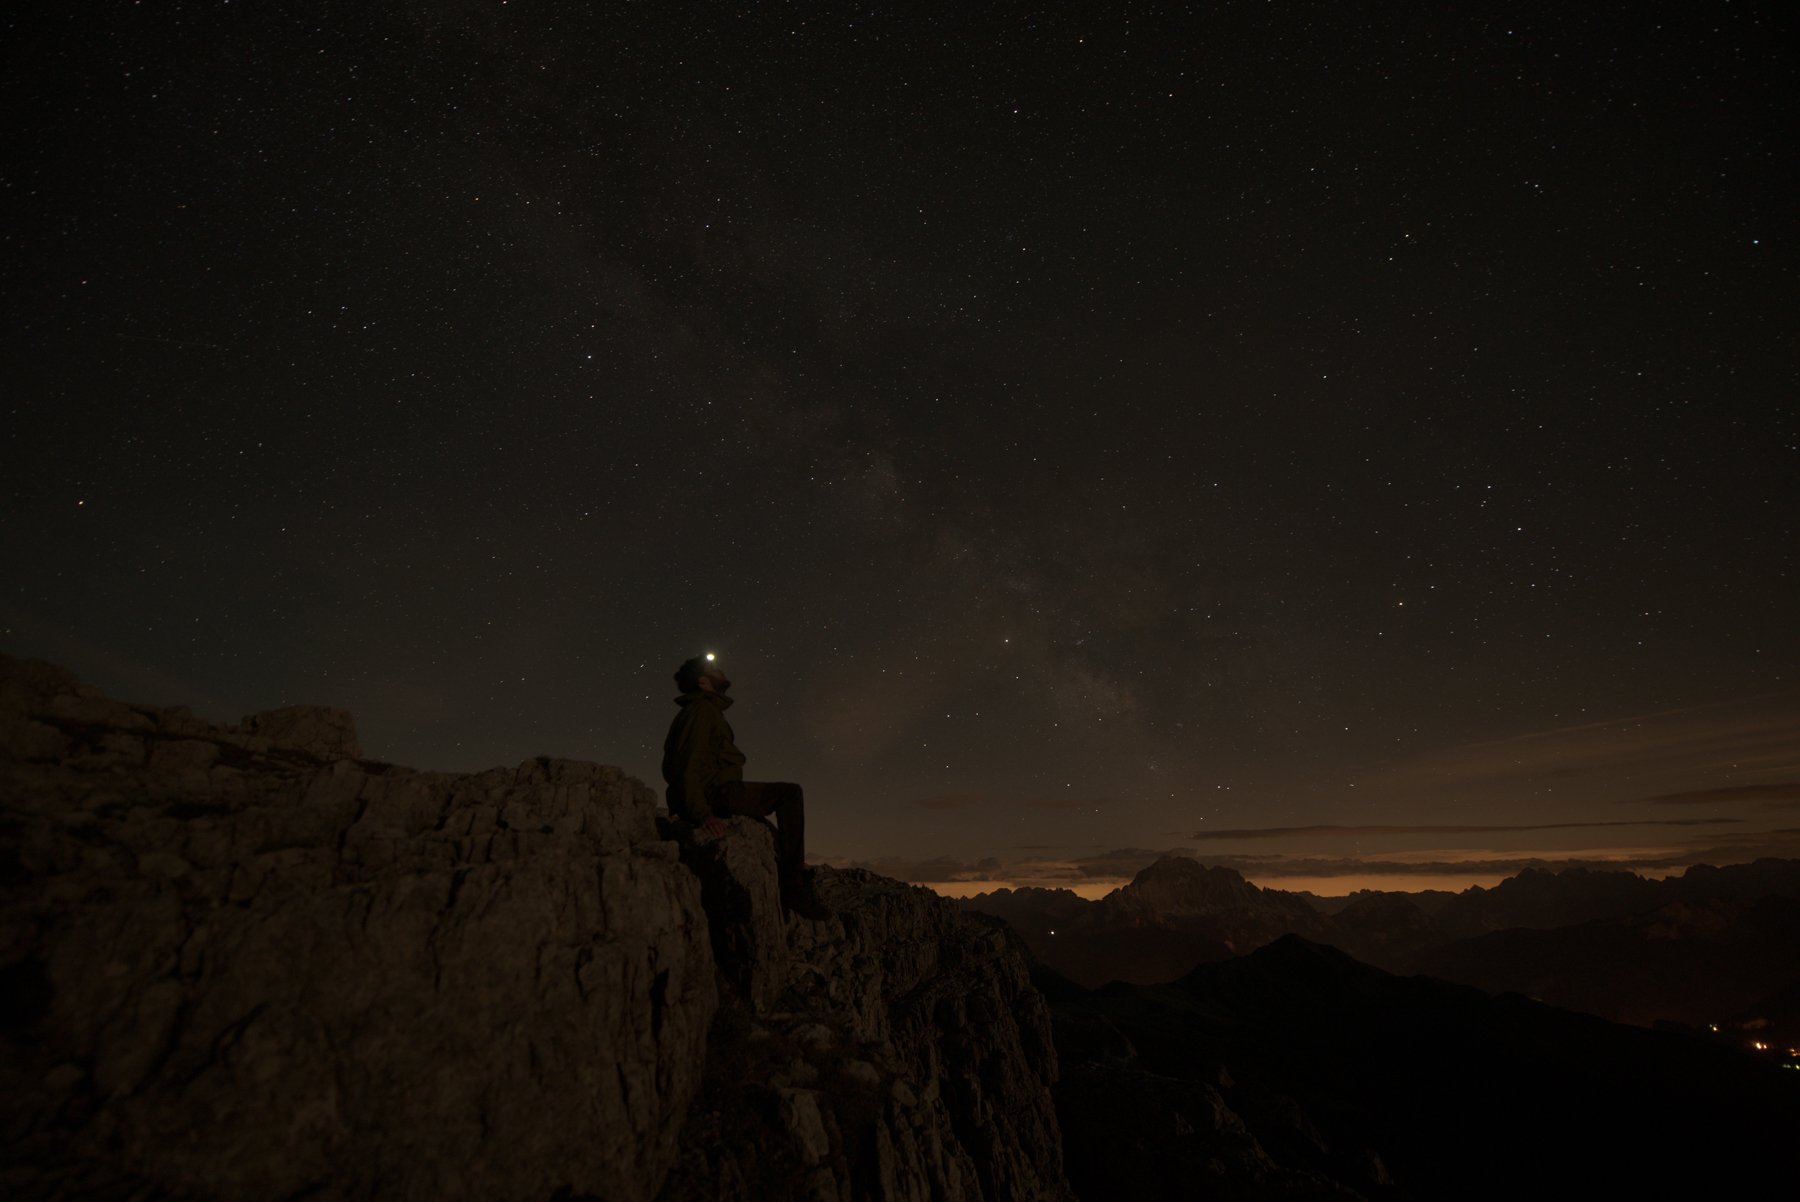
Kiss Goodnight
…and this epic selfie
Nightscape
Astrophotography landscapes, or “Nightscapes” for short, are landscapes shot in the dead of night, often in the middle of nowhere, far away from the light pollution of the inhabited world. That’s where the Milky Way is still visible to the naked eye. But with long exposure night photography, the wow-effect really starts. It’s with the camera settings for night photography like 25 seconds at f/2.8 and ISO 6400, when the faint light of the Milky Way builds up to become this magic cloud that spans the entire night sky.
In this Photoshop editing tutorial we’ll take your night sky images to the stars. In these two sister tutorials in one, one for beginners and one for intermediate to experienced users of Photoshop that builds right on top of the first one, you will learn how to enhance your Milky Way photos without introducing additional noise.
We will cover a lot of specific post-processing techniques for Milky Way photography, including enlarging and blooming individual stars, enhancing the Milky Way without noise, cleaning hot/stuck/dead pixels, and making a feature out of light pollution instead of trying to eliminate it completely.
My nightscapes of the Milky Way and the northern lights are the ones that win awards. Now it’s your time to learn these advanced techniques one step at a time.
What you will learn in this tutorial
Everything that I know about nightscape post-processing.
✔️ Raw conversion to preserve detail in the shadows.
✔️ Star color dodging
✔️ Dual / split raw processing.
✔️ Making selections based on light and color (luminosity masking and hue masking).
✔️ Milky Way Post-Processing in great detail.
✔️ Creating and maintaining a moody atmosphere.
✔️ Focus stacking the foreground.
✔️ Twilight blending to get a highly detailed foreground.
✔️ Stacking in the field and pre-processing stacked images in Sequator (free, PC). StarryLandscapeStacker also available with a similar workflow on Mac.
✔️Using a tracking mount on your tripod to lengthen the shutter speed beyond 30 seconds.
✔️ Post-processing the most noise-free image of the Milky Way.
✔️ Split raw processing to add color, detail and highlights all while keeping the noise down.
✔️ Making selections based on light and color (luminosity masking and hue masking).
✔️ Light effects such as star color dodging, Orton and Light Bleed (a different method than in all my other videos).
✔️ Getting rid of halos due to poor processing.
✔️ Color grading and luminosity matching (Making the foreground and background sit well together).
✔️ Cloning out distractions.
✔️ Dodging.
✔️ Sharpening and Exporting for the Web to keep the colors exactly the same as you see it in Photoshop for the whole world.
What’s included in this course
⭐ More than 4,5 hours’ worth of processing advice in total. No filler!
⭐ First part: PSD-file (resized) of “Contemplation” with every adjustment still present.
⭐ Second part: PSB-file (resized) of all three levels left in the layers palette with every adjustment still present. That’s a BIG file. Please be patient when you open that in Photoshop. It includes stacked layers, tracked layers and even a combination of the two.
⭐ All raw files (DNG) with every adjustment still present.
⭐ Intermediate TIFF files, so you don’t have to stack them yourself (although I recommend you follow along anyway).
⭐ An article with additional tips for better nightscapes, including links to additional tools such as TK Actions and the last sharpening tool you will ever need.
⭐ A bunch of ever updated videos that keep up with tools, updates and versioning, to make these videos absolutely timeless.
Buy now
Specs, how to watch and other fine print
After payment, you will download a PDF document containing links to download the actual videos and files needed to follow along from a private Dropbox link. You don’t need Dropbox, or any other account, it’s just hosted there on mine. There’s additional information in that PDF as well.
Note that this is a Digital Download product. No physical DVD or USB thumb drive is included.
I do not offer refunds on digital products.
Video: H264 MP4, 3840x2160p (4K Ultra HD). 25fps, variable bitrate
Audio: AAC 48 kHz, 320 kbps stereo
Fully English subtitled by me. Narrated by Michael in English, a professional American voice actor.
Total running time: 4,5 hours PLUS nearly two hours of additional videos as a free bonus.
Total size of the package: about 21,3 GB.
Don’t worry, you can download the files separately, so you don’t have to download one huge file all at once.


