
Return to the Dark Forest
Forest photography holds many challenges. Whether you’re shooting against the light or in complete absence of light, there’s always some technical aspect that blocks the creative process. In this video, we’re taking 3 images from the raw stage all the way to a final image that looks like it was shot on the set of The Lord of the Rings.
In this course
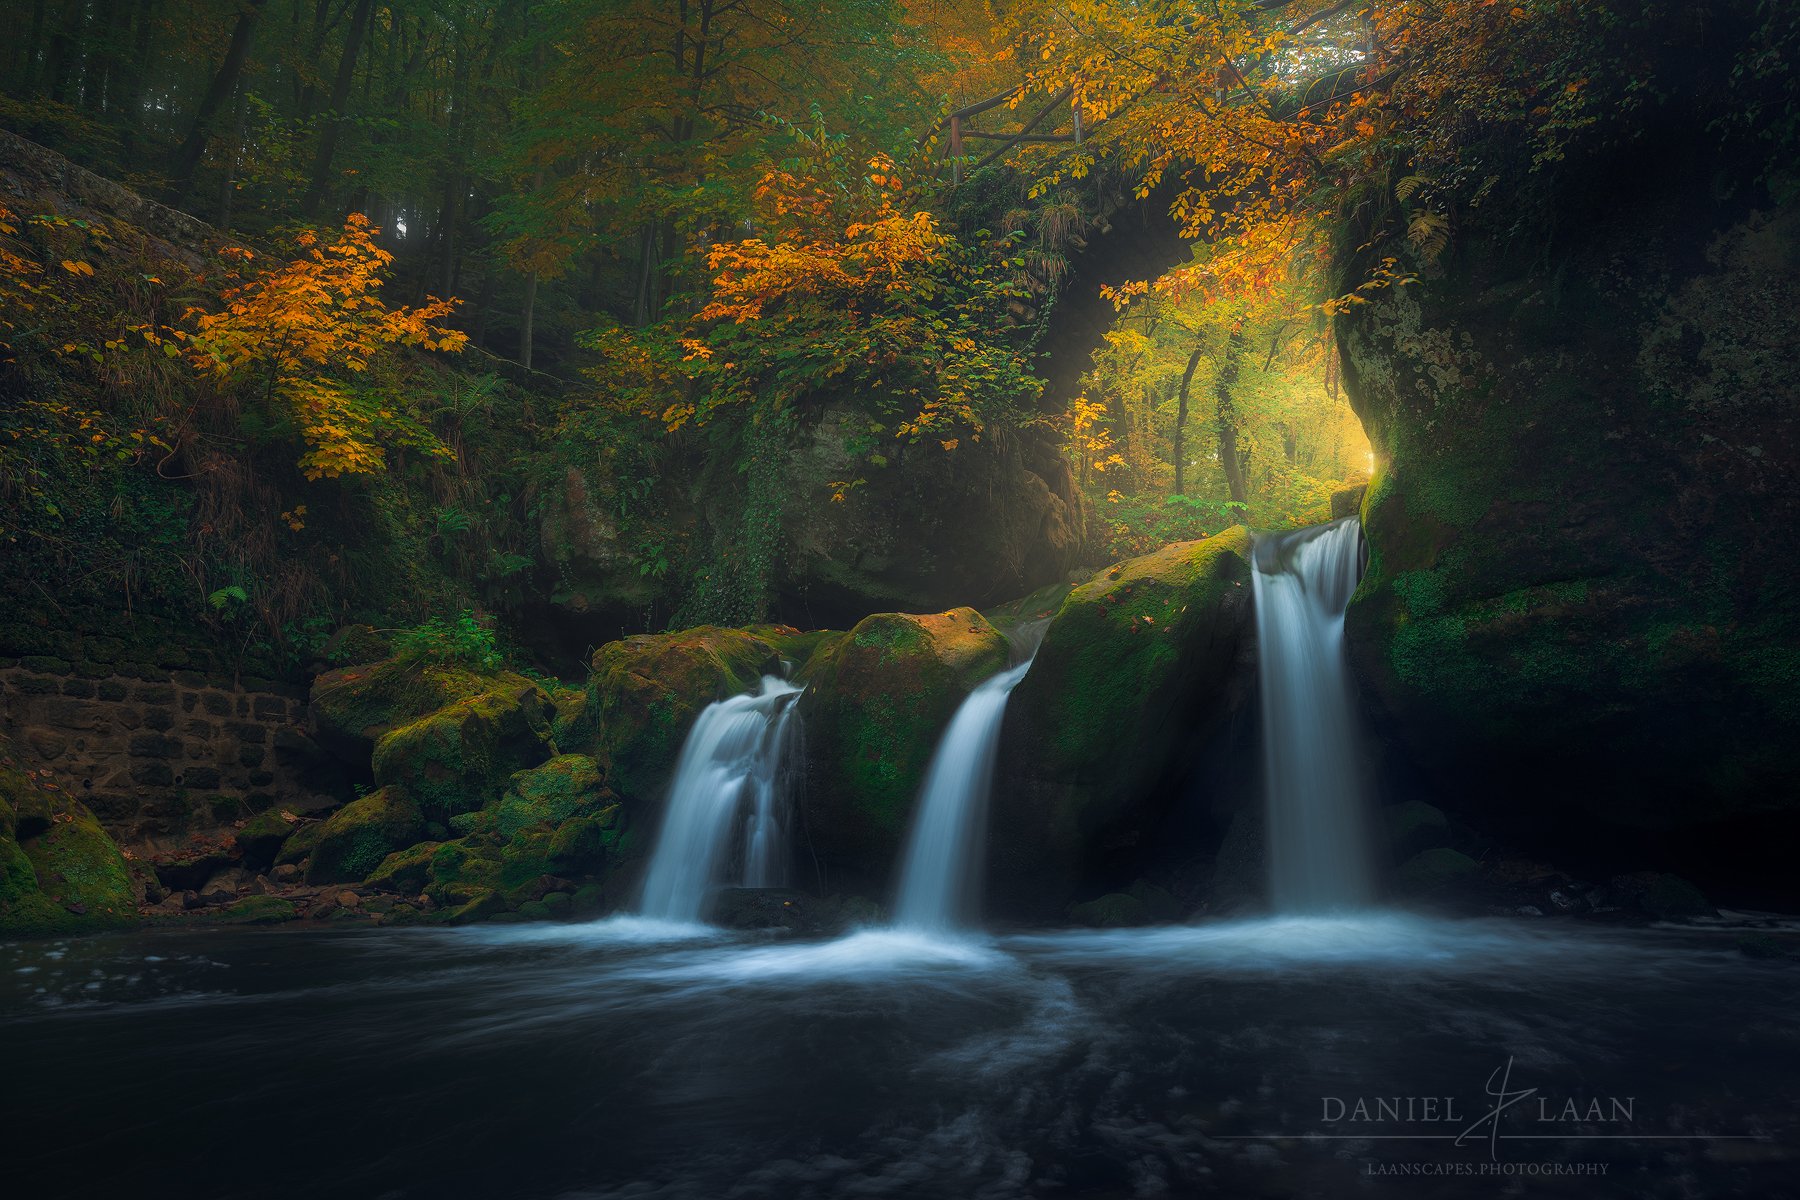
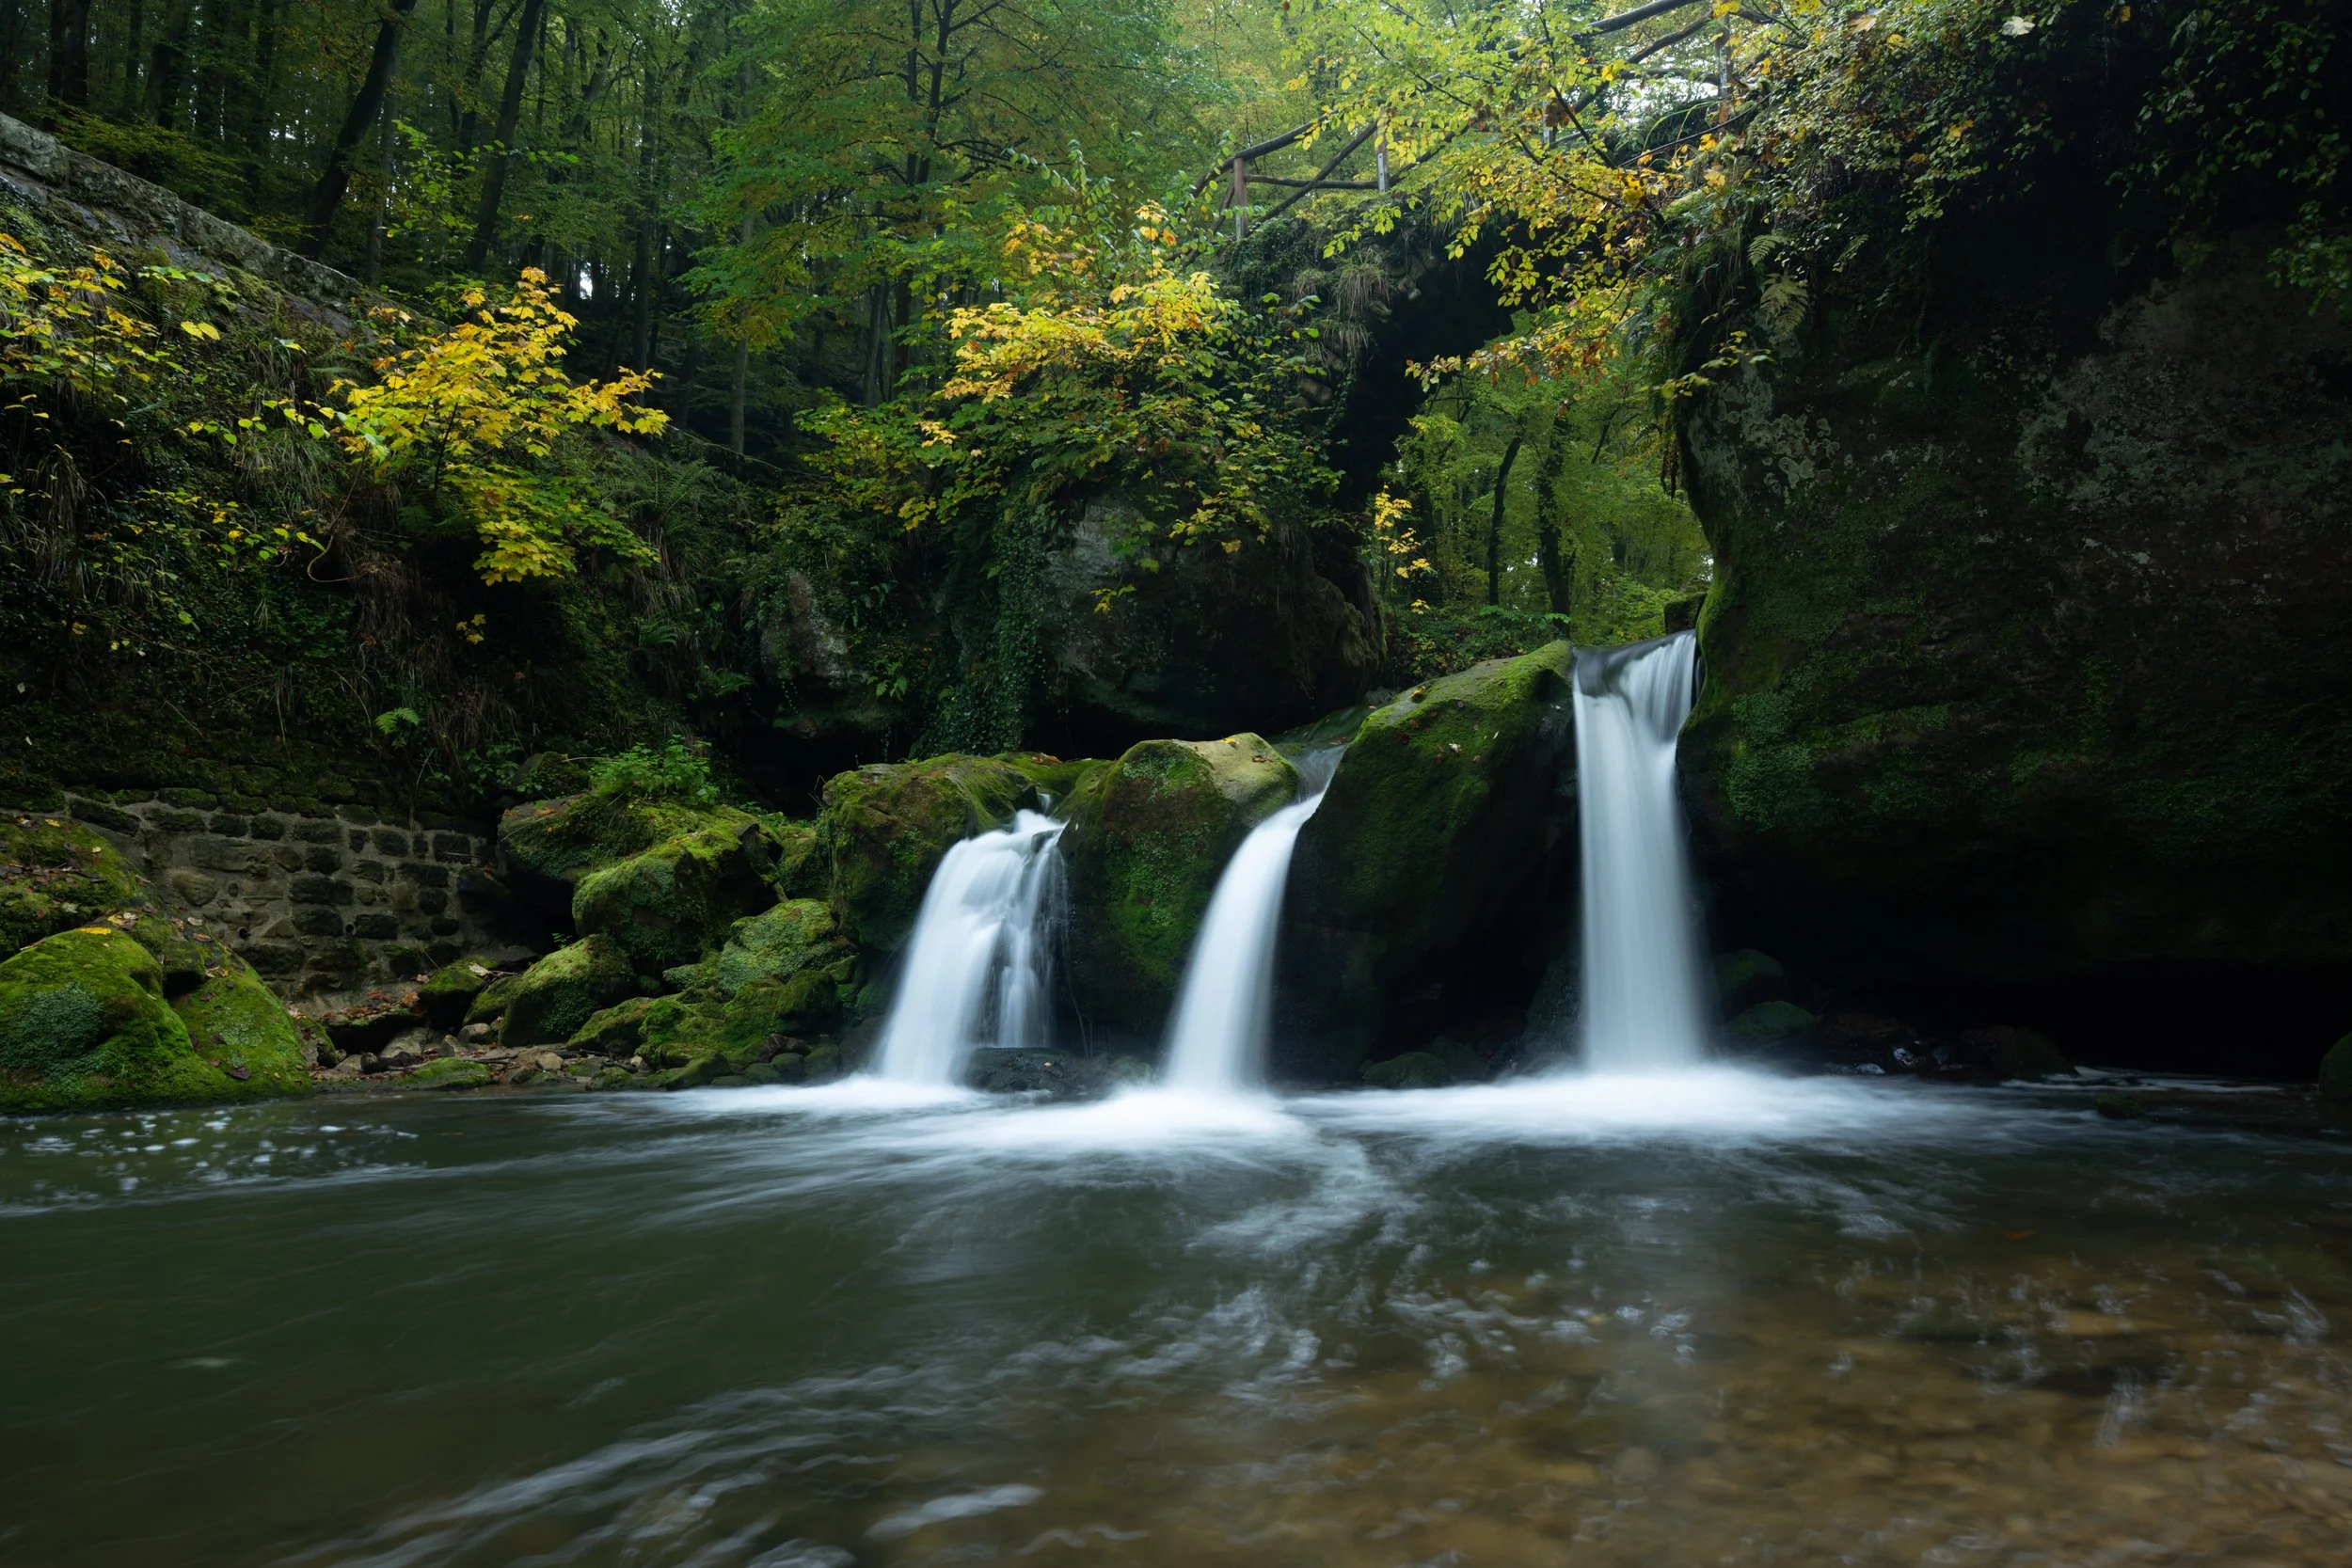
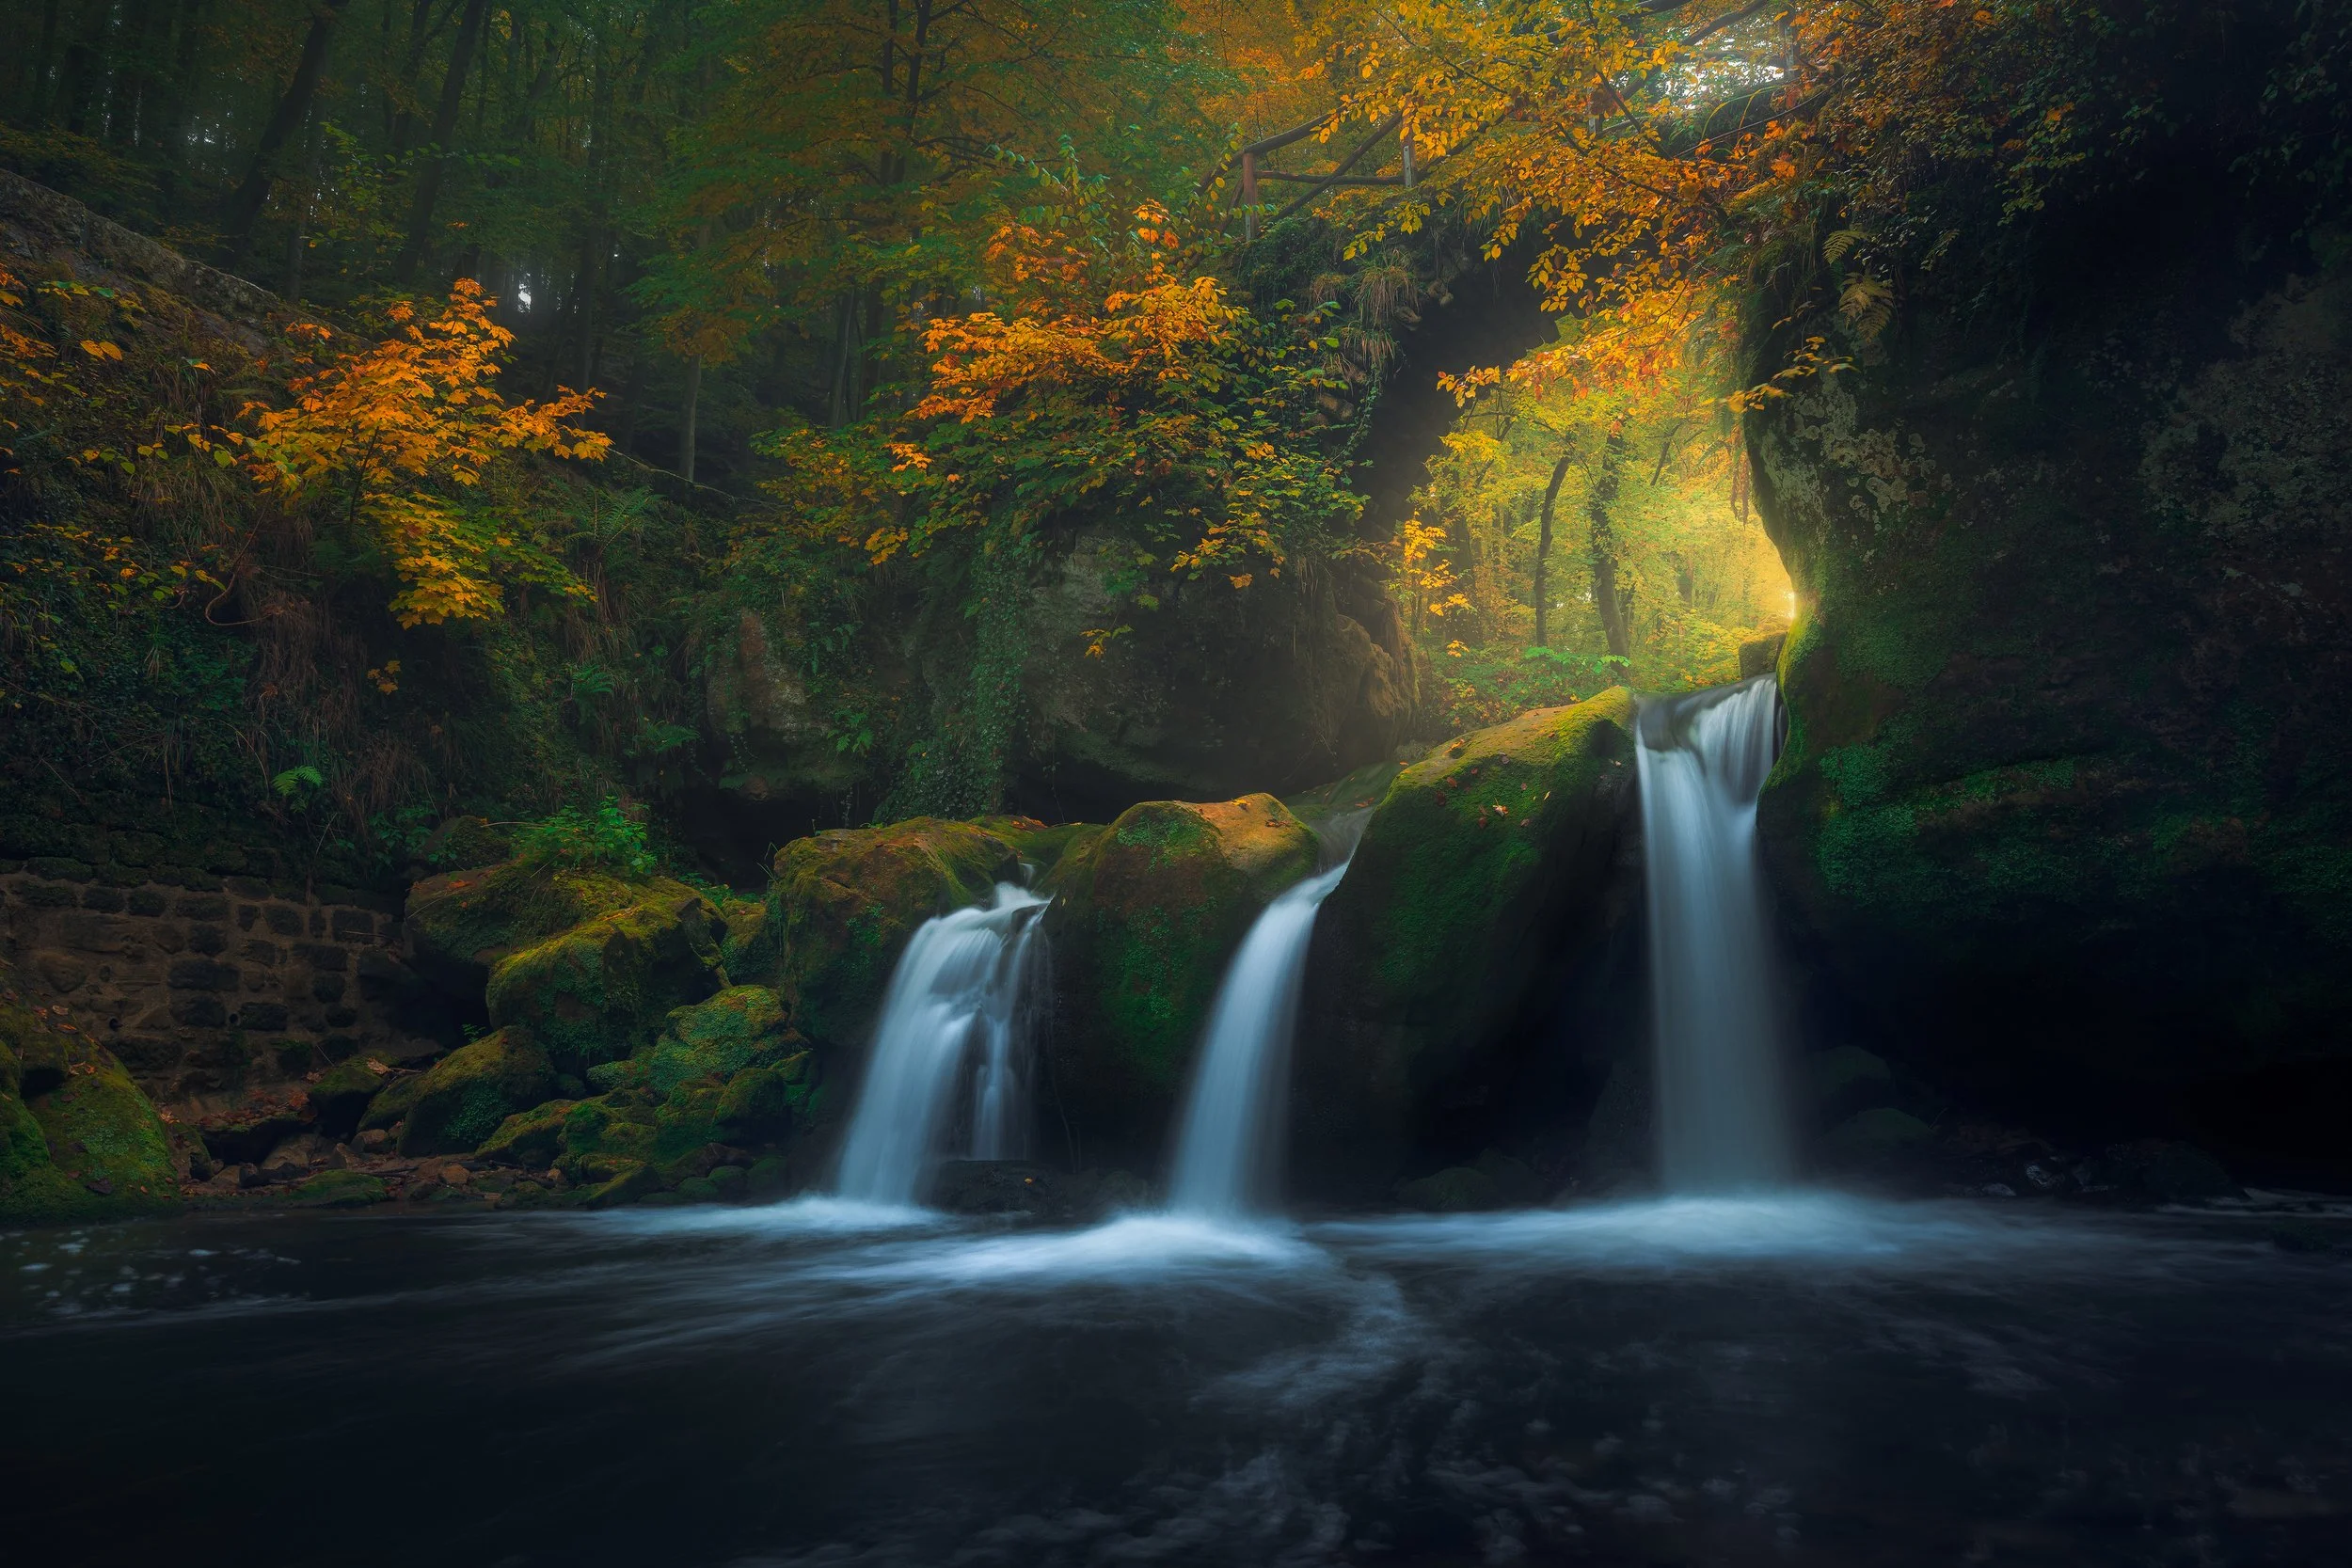
Trifecta
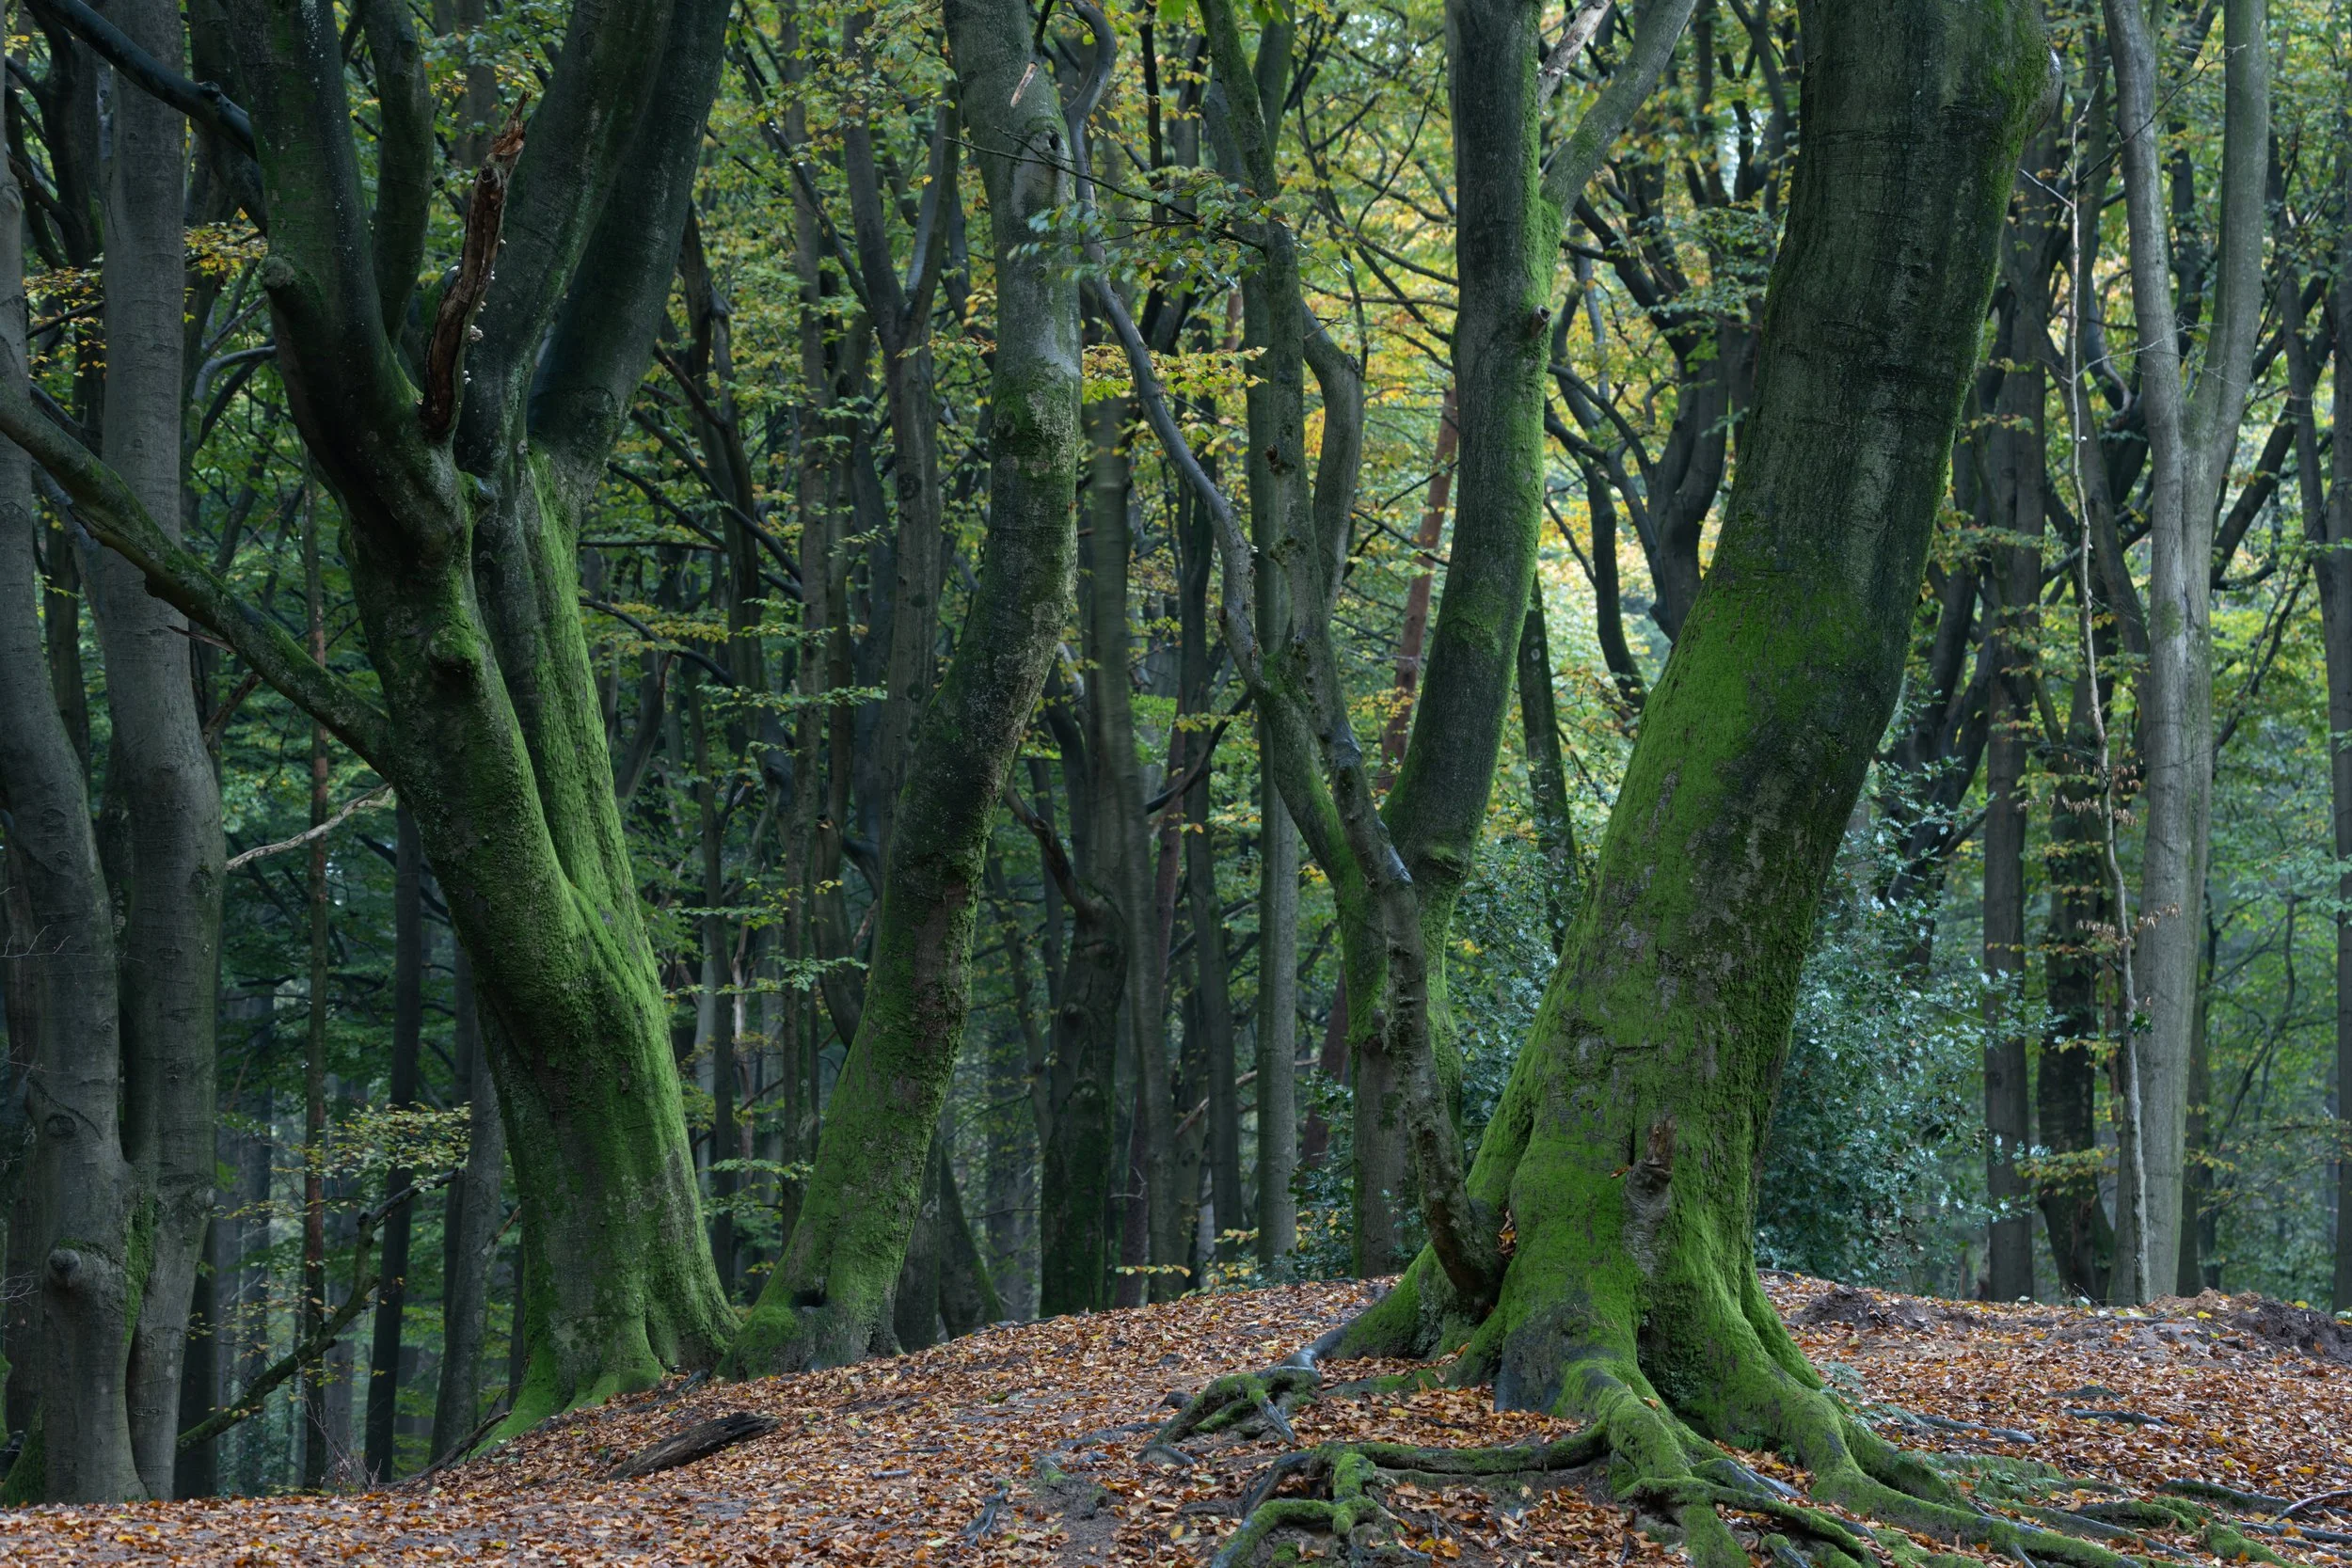
Feet of Fangorn
Communal Hill
Fantasy Landscape
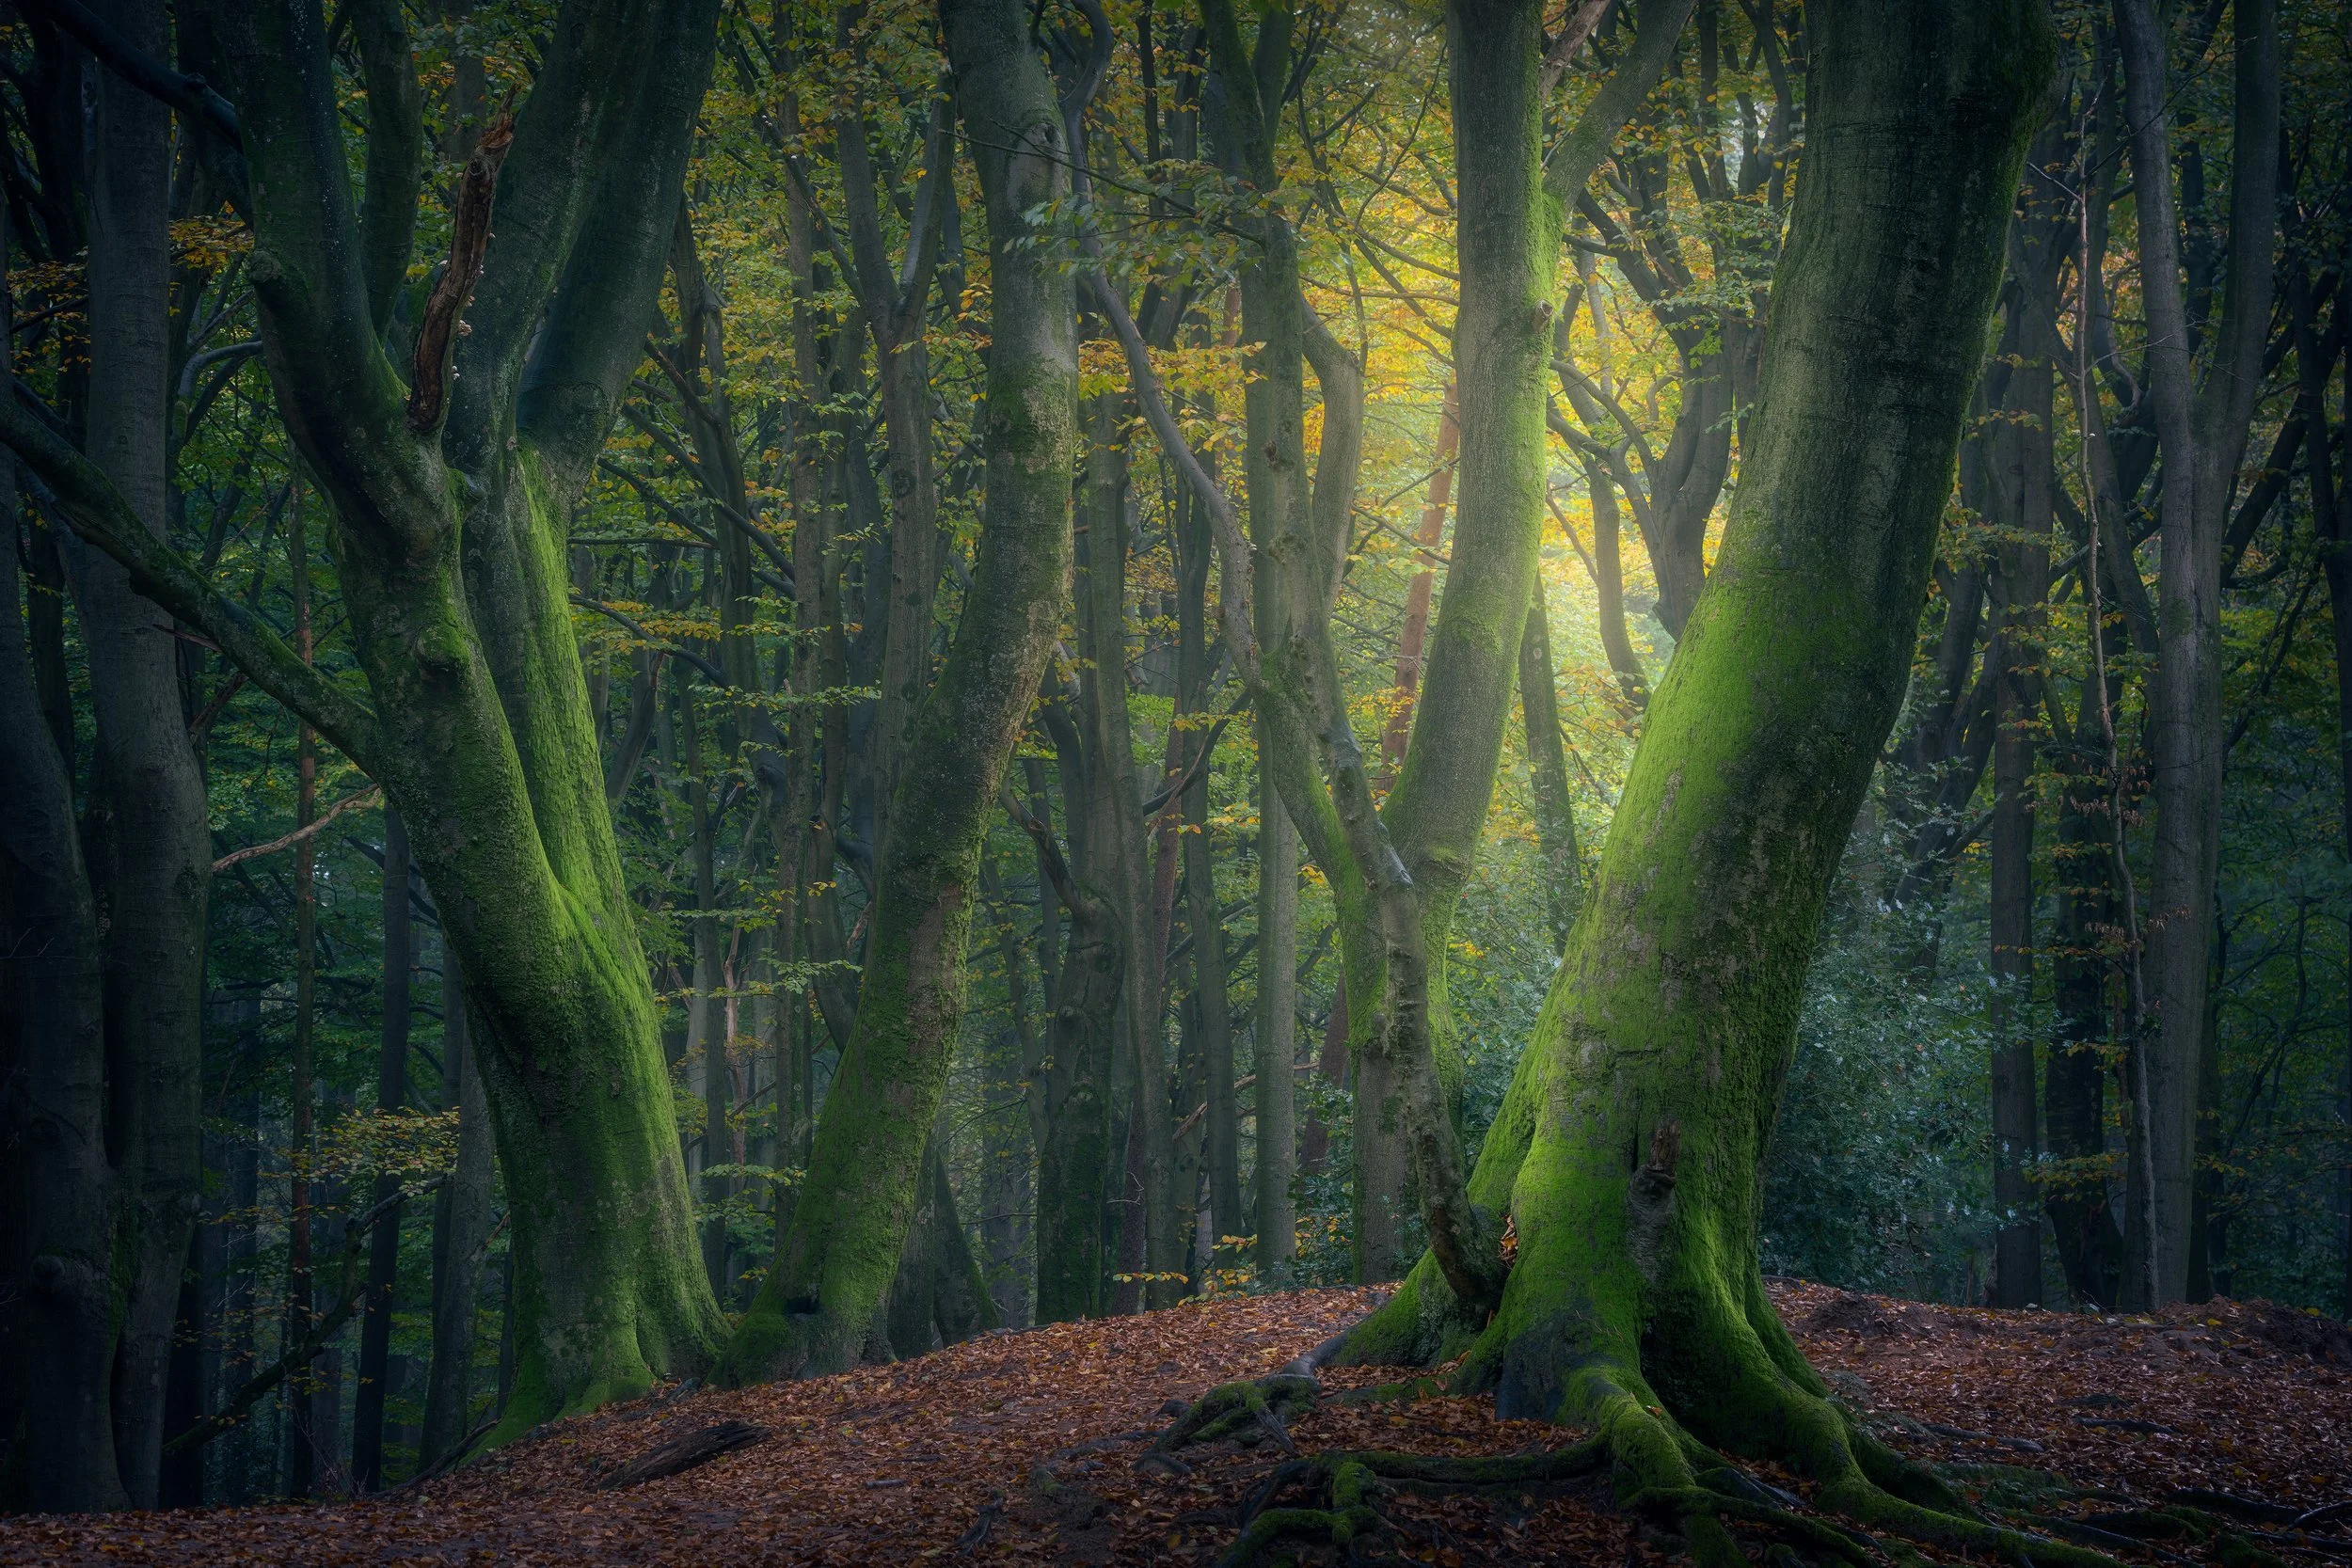
It’s tough to place the chaos of the forest under your spell. Isolating subjects to create a fantasy landscape like this can be challenging.
First tip: Go to the forest on overcast, rainy days or very early in the morning for a chance of mist. But what do you do after capturing? How do you release the magic of the Dark Forest? That’s where this tutorial comes in.
In this complete 4-part video tutorial, you will learn how to handle difficult lighting situations. We’ll start out with a thorough explanation on composition forest photography.
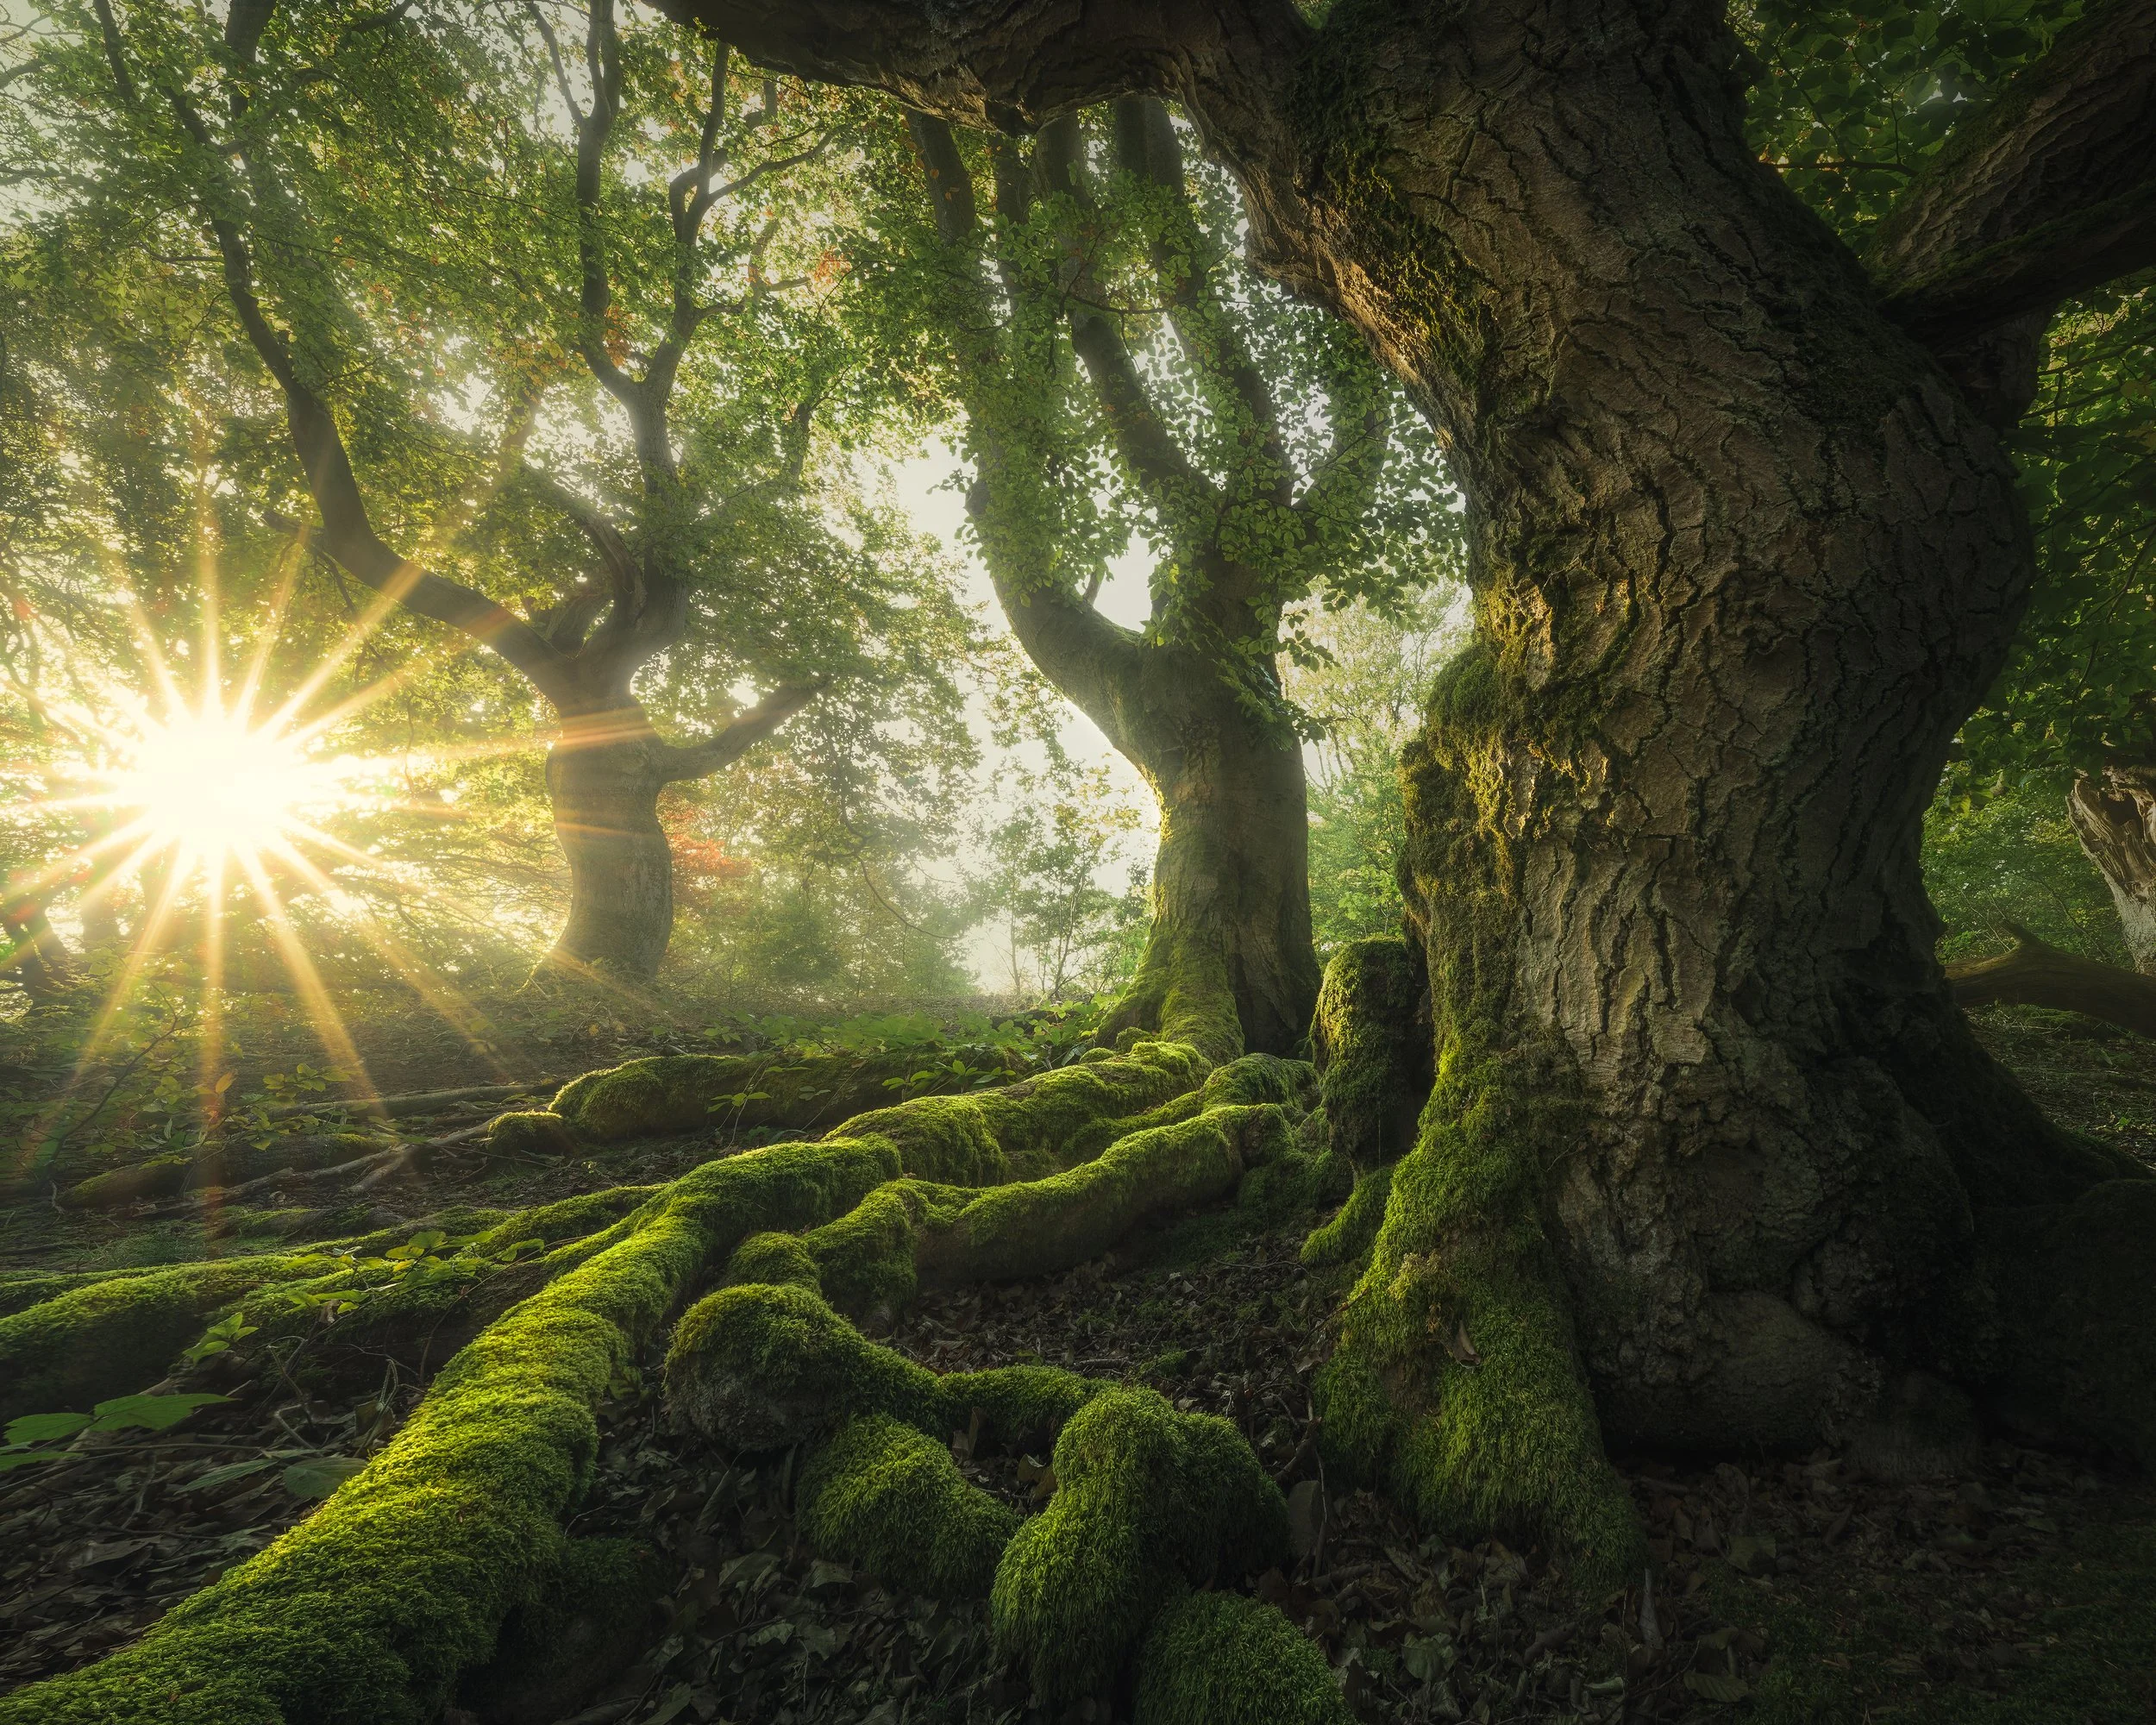
Next, we’re going to my go-to Dutch forest: Speulderbos. Here we work with flat, overcast light. After that we’ll move on to Kellerwald in Germany with a wildly different kind of image featuring insane amounts of dynamic range. I bet anyone would be tempted to use HDR techniques tame those highlights, But I’m showing you that there’s much more information in the highlights and shadows than meets the eye. In the last part, I’ll take you to Luxembourg in peak autumn, where’s it’s all about separating and controlling color. And all of those images are shown from start to finish!
You will learn to get detail out of shadows and highlights without using HDR. Additionally, you will learn lighting techniques such as Color Dodging, Diffuse Light and my very own Specular Highlighting light effects to make your images appear to have come straight from a fantasy world.
We will make good use of Luminosity Masking in the included videos too. Follow along and you will get the results you’re looking for to make every fantasy landscape sing! There are free tools out there and you will find links to them within the document you’ll download first. That PDF also contains the download links to all video material and learning material needed to follow along.
Resized PSDs and DNG raw-files are included for all images. All videos are fully narrated and annotated/subtitled (English only) to explain what’s going on.

What you will learn in this tutorial
✔️ Directing attention to the parts that matter (and redirecting the eye away from the edges).
✔️ Range Masking: Controlling light in Camera Raw and Lightroom.
✔️ Creative Controlled Warping & The Transform Tool.
✔️ Highlight Color Dodging.
✔️ Specular Highlighting – a trick that I invented.
✔️ Separating autumn colors.
✔️ Changing the Hue without Artifacts.
✔️ Applying negative Clarity and Dehaze to make a dreamy effect.
✔️ Blending sun stars.
✔️Getting great results in both overcast conditions and shooting high dynamic range images against the light.
✔️ Applying negative Clarity and Dehaze to make a dreamy effect.
✔️ Editing the raw file for use in Photoshop.
✔️ Creative Controlled Warping & The Transform Tool.
✔️ Burning Shadows.
✔️ Luminosity Selections (RGB Channels and Tony Kuyper’s luminosity masks).
✔️ Changing the Hue without Artifacts.
✔️ Cloning out distractions.
✔️Handling HDR, direct sunlight and over-exposed skies and blending exposures in the forest (and their necessity).
✔️Focus stacking.
✔️ Sharpening and Exporting for the Web to keep the colors exactly the same as you see it in Photoshop for the whole world.
What’s included in this course
⭐ These four videos contain more than 3,5 hours’ worth of processing in total.
⭐ Three PSD-files (resized) of “Trifecta”, “Feet of Fangorn” and “Communal Hill” with every adjustment still present.
⭐ All resized raw files (DNG) with every adjustment still present. Plus pre-processed focus stacks in case you want to skip this step.
⭐ Read-me file linking to additional tools such as TK Actions and the last sharpening tool you will ever need.
⭐ A bunch of ever updated videos that keep up with tools, updates and versioning, to make these videos absolutely timeless.
Buy now
Specs, how to watch and other fine print
After payment, you will download a PDF document containing links to download the actual videos and files needed to follow along from a private Dropbox link. You don’t need Dropbox, or any other account, it’s just hosted there on mine. There’s additional information in that PDF as well.
Note that this is a Digital Download product. No physical DVD or USB thumb drive is included.
I do not offer refunds on digital products.
Video: H264 MP4, 3840x2160p (4K Ultra HD). 25fps, variable bitrate
Audio: AAC 48 kHz, 320 kbps stereo
Fully English subtitled by me. Narrated by Michael in English, a professional American voice actor.
Total running time: 3 hours 37 minutes PLUS nearly two hours of additional videos as a free bonus.
Total size of the download: about 6 GB.
You can download the files separately, so you don’t have to download one huge file all at once.