
Getting Started with
Photoshop for Landscape Photographers
This is it. All the basics you need to get started with Photoshop, for absolute beginners. This is the knowledge that you’ll need to follow any of my Start-to-Finish tutorial videos.
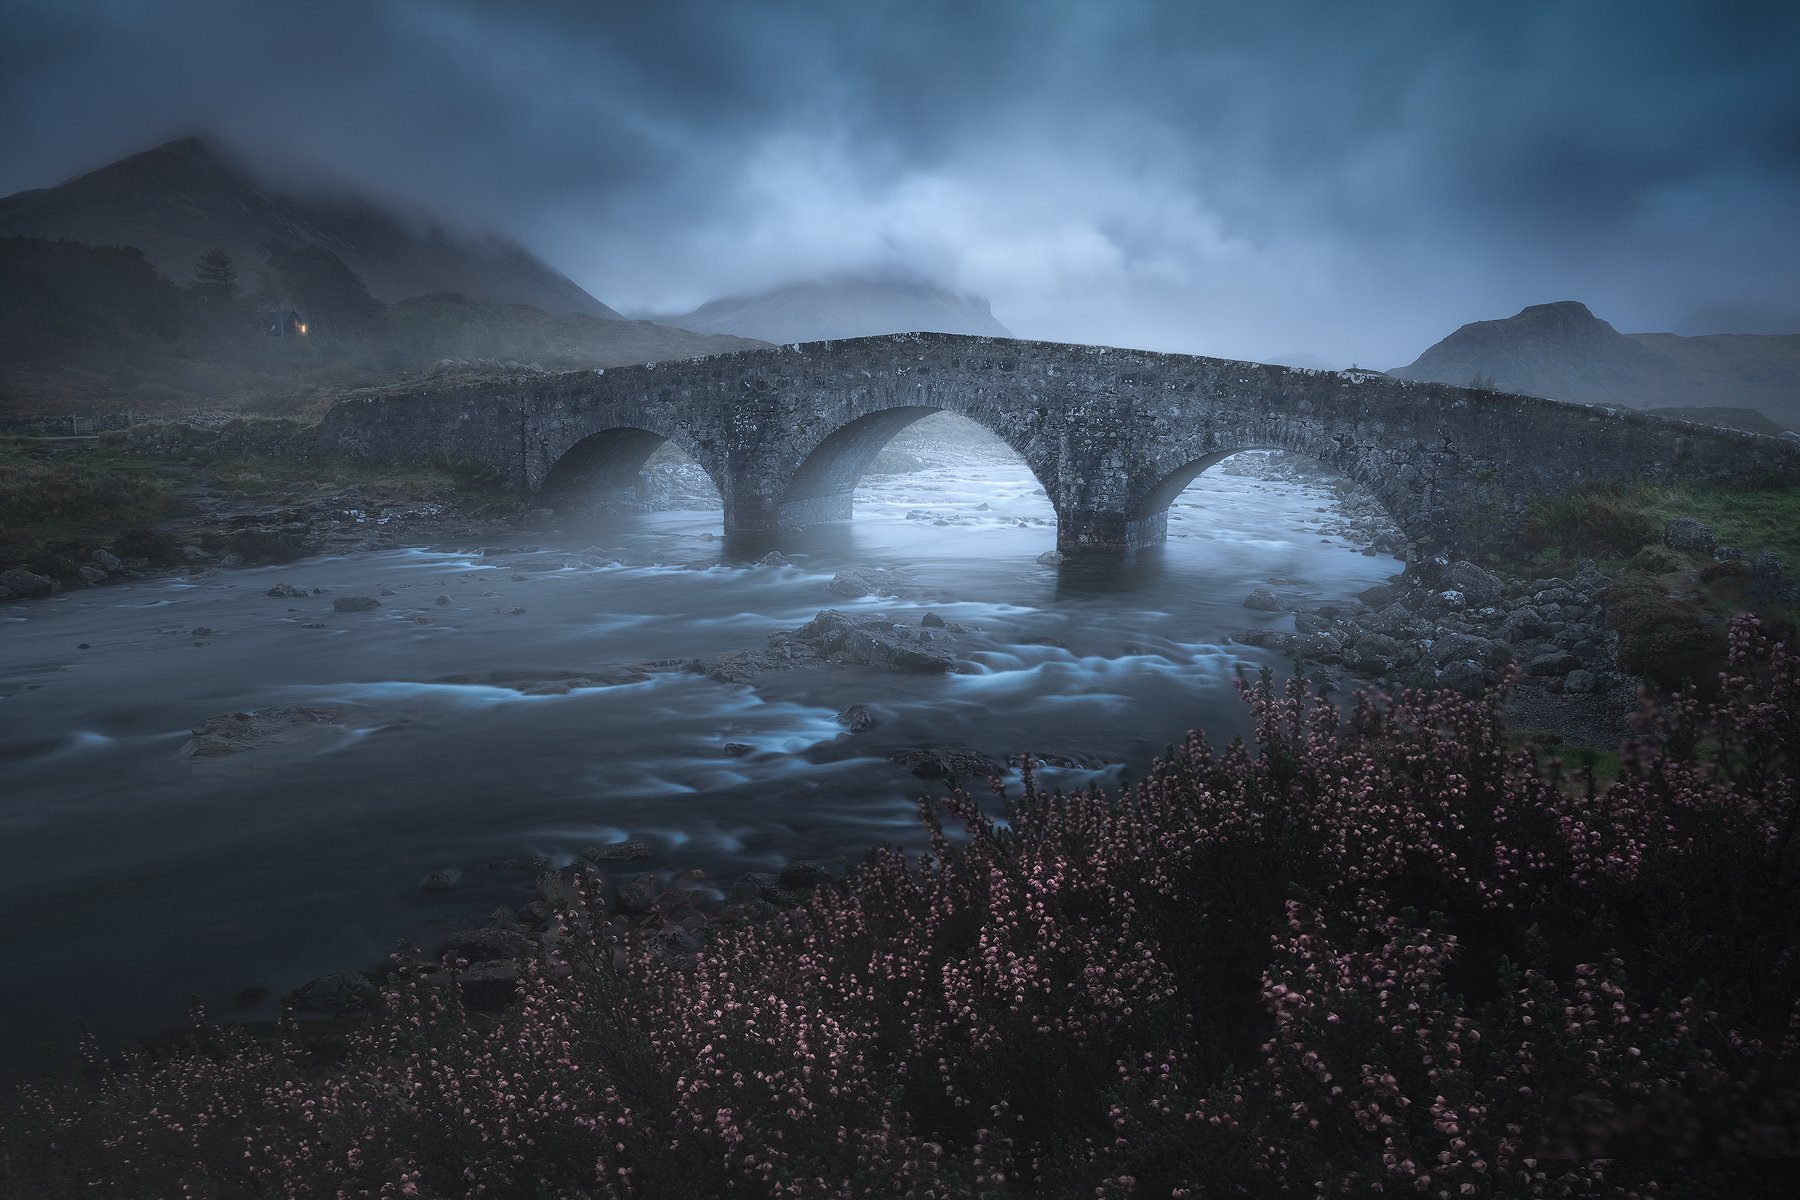
Learning to recreate my style of editing, has to start somewhere. But once you get these basics down you can do this:
Fair disclaimer: The images shown here are for promotional purposes. This particular video is not a start-to-finish tutorial. Instead, you will learn the basics needed to follow along with any of my other videos. If you’re already comfortable using Photoshop, but you’re not sure how to progress to the next level of post-processing, you might be more interested in videos like this.
Best Photo Editing Software for Beginners
It has to be Lightroom, right? Well, yes and no. Lightroom uses the same engine under the hood as Adobe Camera Raw does. And Camera Raw is only a tiny fraction of what Photoshop can do. If Lightroom is a car, Photoshop is a factory that let’s you design your dream car from scratch.
The best photo editing software for beginners is Photoshop. Let me explain why it’s not that difficult to learn. You are going in with a clear goal: you want your photos to look a certain way. The photo editing techniques to get you there will follow. Don’t worry about finding Gaussian Blur, gradients, merging layers…
This tutorial is for absolute beginners with that goal in mind. If you’re dreaming of making moody, atmospheric landscapes that look like they’re from the movies you grew up with, but have never opened Photoshop in your life because you think it’s too difficult for you, this tutorial is what you need.
We will not post-process any photo from start to finish in this video tutorial. That’s for another video once you know what I’m about to teach you. Instead, we will cover what most tutorials do not.
Think of this as a manual, but I’ve ripped out 90% of the pages that are written in languages you don’t understand and are about topics you don’t care about. No text no pen tool, no vectors or swatches, but how you start with a non-destructive workflow.
Photoshop non-destructive workflow
Photoshop’s main advantage is that you can (and should) work in layers. Imagine making multiple edits of your photo in Lightroom. The power of Photoshop lies in the fact that you can show or hide any of those edits down to a pixel in size. So you can have you dark skies, your bright flower and your incredibly sharp mountain peaks, while at the same time prevent the eye from wandering all over the place. And with the techniques shown here, you can come back to your edits just as you’re used to in Lightroom. To be able to come back, I’ll introduce you to smart objects, masks, and the Camera Raw Filter method of post-processing, where you essentially post-process your photo a few times to get the best results from each attempt and mix them together. This is what I do and have done for more than 20 years of using Photoshop. The non-destructive workflow is a fancy way of saying that you can undo and redo all your stuff.
This tutorial is full of photography tips for beginners, who have seen those pictures on Instagram, but are afraid that it’s going to take years to get at that skill level. Believe me, I’ve walked that route myself. I’ve learned too much and forgotten all the crap I never use.
Primer for start-to-finish tutorials
This video tutorial is the product of a few conversations I had among students who never used Photoshop, but were familiar with Lightroom. It’s definitely not a formal education in all things Adobe. This tutorial is what gives you wings to pursue those amazing images you’ve always dreamed of.
What you will learn in this tutorial
✔️ This is Photoshop - The default workspace: Layers palette, Channels palette, Toolbar, Histogram, Properties.
✔️ Using Camera Raw Filter.
✔️ Setting the correct color settings, so you can be sure the colors will be the same when exporting for the web/social/print.
✔️ Setting up the workspace for efficiency. Getting rid of clutter you don’t need, like the contextual task bar.
✔️ Separating the layers and channels palettes.
✔️ Showing the histogram.
✔️ Plugins and why this one is important: TK9 Multi-Mask.
✔️ Actions and changing preferences.
✔️ Moving around the workspace with Panning and Zooming.
✔️ Photoshop’s tools we actually use explained: Move, Rectangular marquee, Polygonal lasso / Lasso tool, Quick select / Magic wand, Crop tool, Eyedropper, Brush tool, Spot Healing Brush, Healing Brush, Clone stamp tool, Gradient tool.
✔️ Opening your first photo in Photoshop.
✔️ Camera raw vs Lightroom and Camera raw filter
✔️ Unlocking the layer, Smart objects and Duplicating the layer vs Smart object via copy.
✔️ Creating a new layer, a new group and nesting groups and layers.
✔️ Layer opacity and Layer blending modes worth mentioning.
✔️ Why you should use layer masks and forget about erasers.
✔️ Layer masks: density and feather.
✔️ Creating a new adjustment layer.
✔️ Making selections: Color range, Focus area, Sky, Subject.
✔️ Using selection tools: polygonal lasso tool, lasso tool, rectangle tool, Quick mask.
✔️ Modifying selections: Expand & Contract, Feather, Border.
✔️ Getting started with advanced selections: TK Multi-Mask & Channel selections, adding, subtracting and intersecting selections.
What’s included in this course
⭐ High quality voice guiding by a professional, native English speaking voice actor!
⭐ A 1 hour and 15 minute introduction to Photoshop with the intention of creating dreamy landscape photographs.
⭐ Read-me file linking to additional tools such as TK Actions (includes a 15% discount) and the last sharpening tool you will ever need.
⭐ A bunch of ever updated videos that keep up with tools, updates and versioning, to make these videos absolutely timeless.
Buy now
Specs, how to watch and other fine print
After payment, you will download a PDF document containing links to download the actual videos and files needed to follow along from a private Dropbox link. You don’t need Dropbox, or any other account, it’s just hosted there on mine. There’s additional information in that PDF as well.
Note that this is a Digital Download product. No physical DVD or USB thumb drive is included.
I do not offer refunds on digital products.
Video: H265 MP4, 2560x1440 (WQHD). 25fps, variable bitrate
Audio: AAC 48 kHz, 320 kbps stereo
Fully English subtitled by me. Narrated by Michael in English, a professional American voice actor.
Total running time: 1 hour, 15 minutes PLUS nearly two hours of additional videos as a free bonus.
Total size of the package: about 1,6 GB.