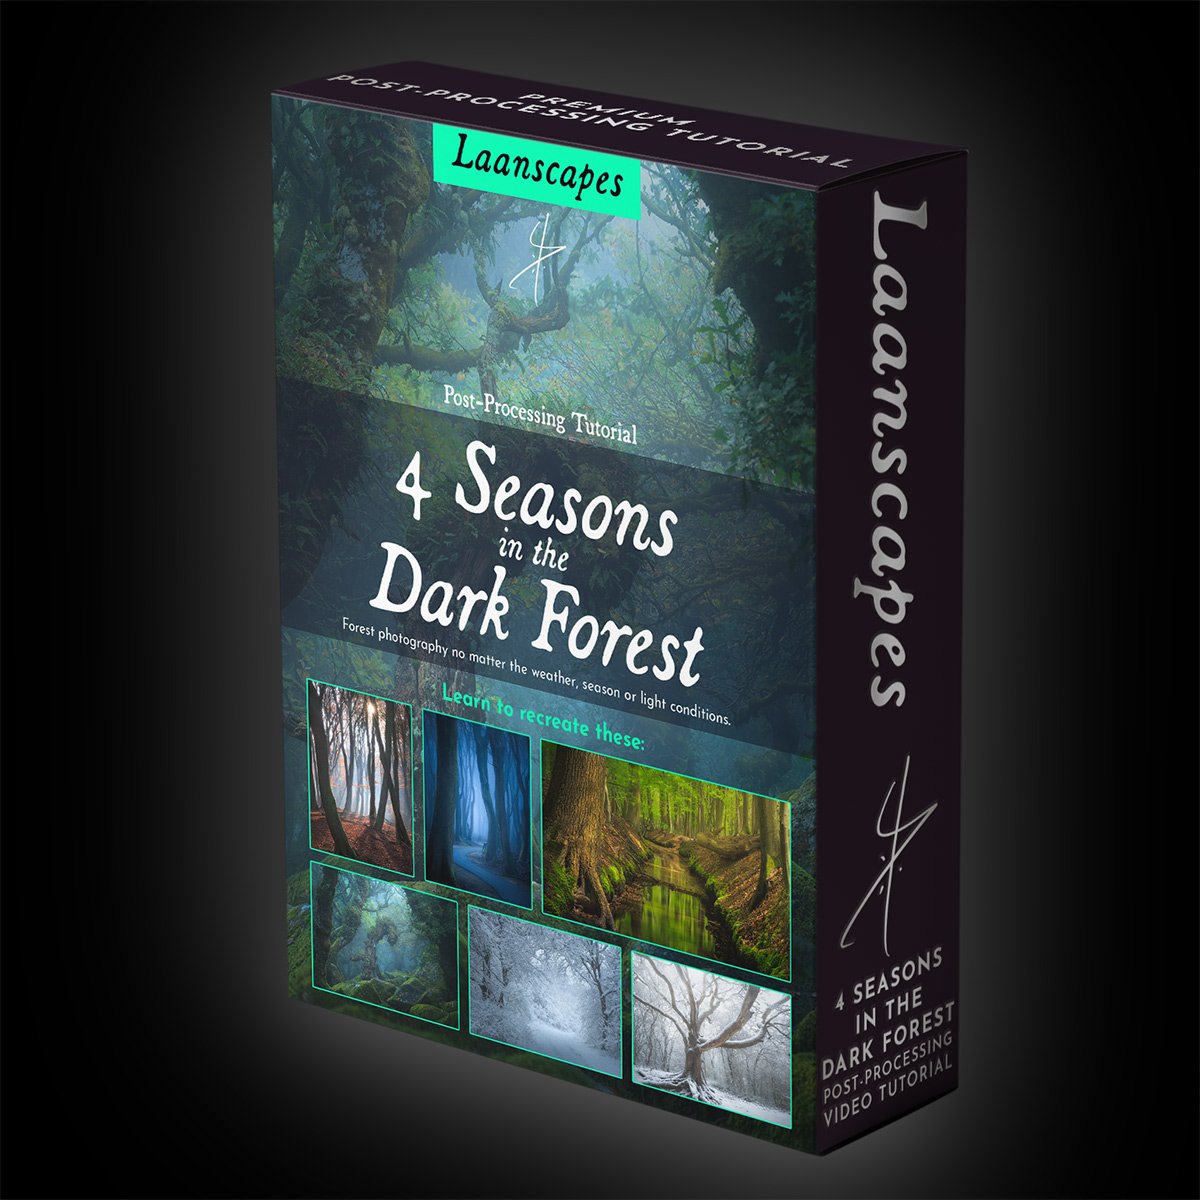
4 Seasons in the Dark Forest
NEW! Four seasons? What about six? In this monstrous tutorial, I’ll show you how to process 6 different image shot in different conditions, seasons and light.
In this course
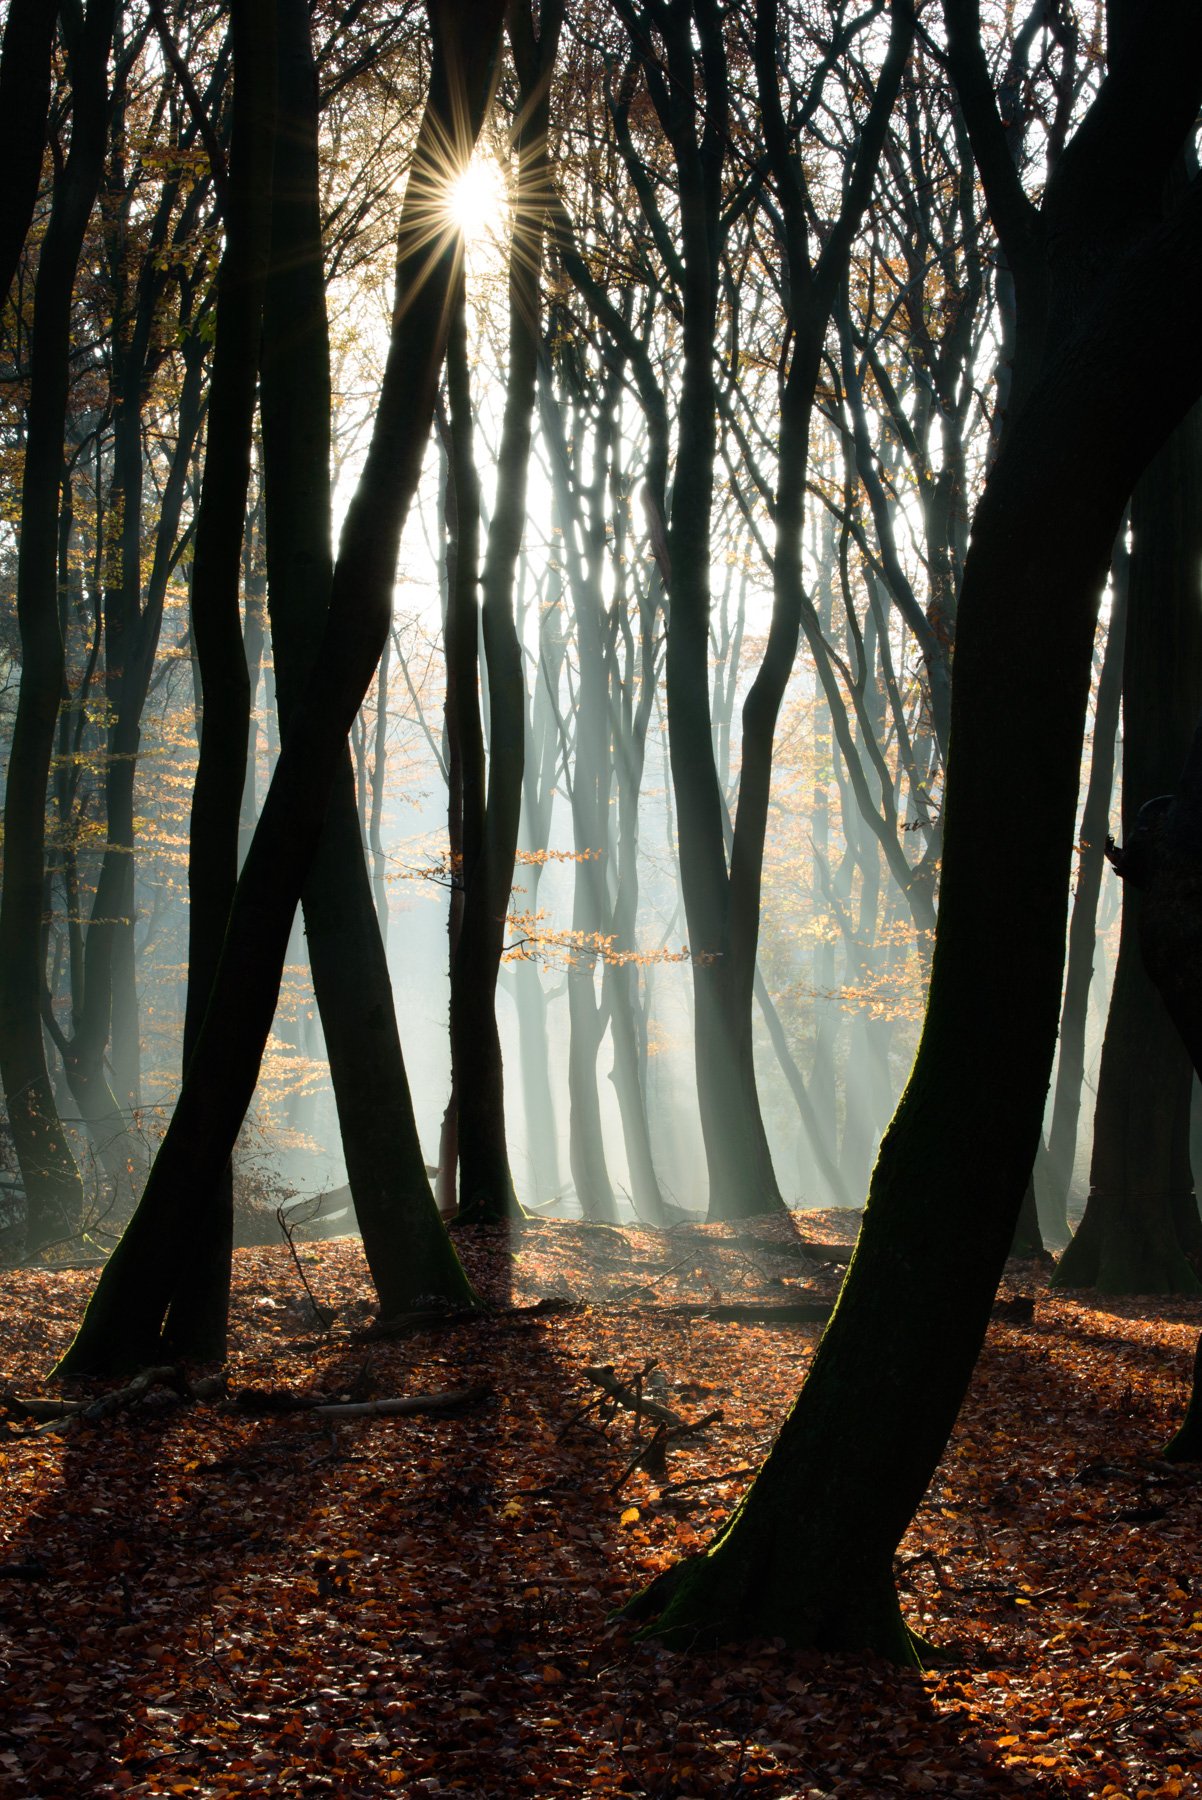
Forest Dweller (Late Summer)
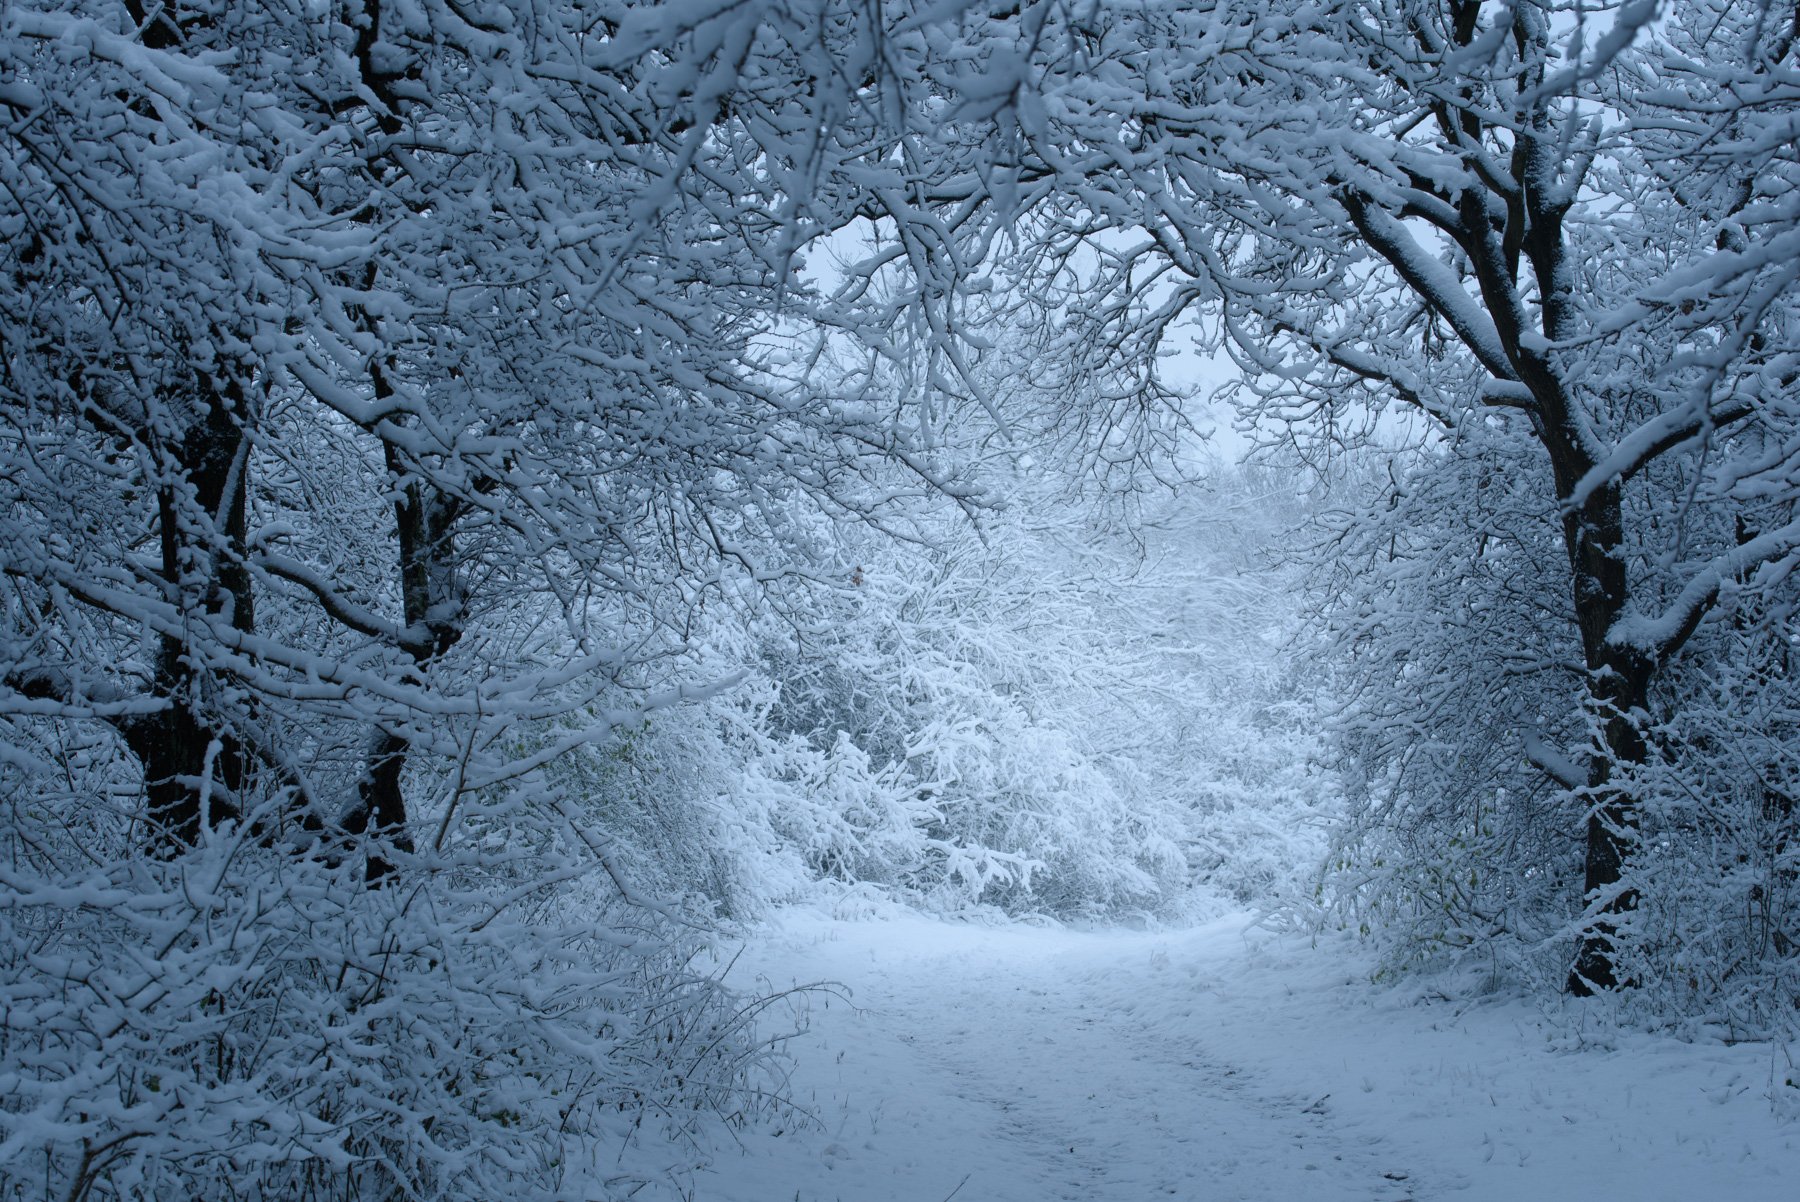
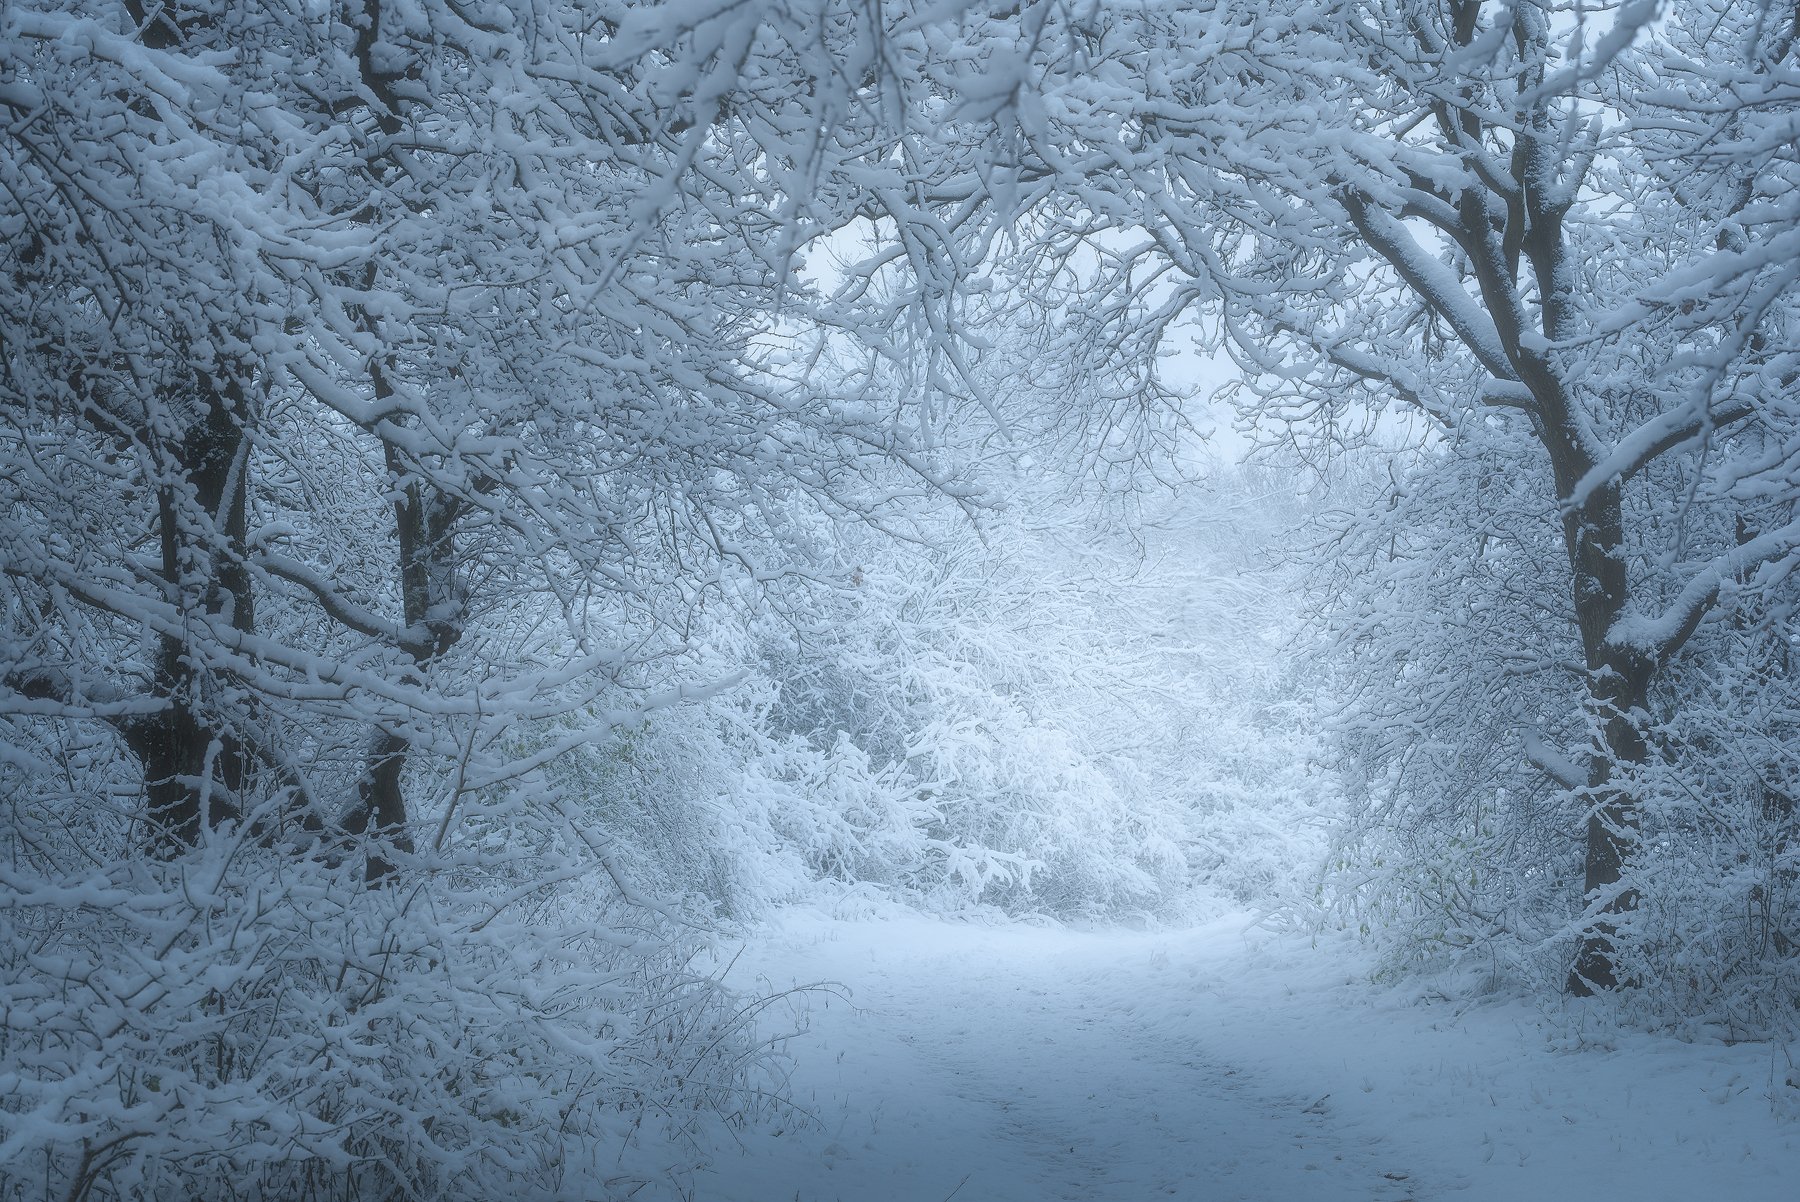
Hoar Frost Tunnel (Snow, twilight overcast)
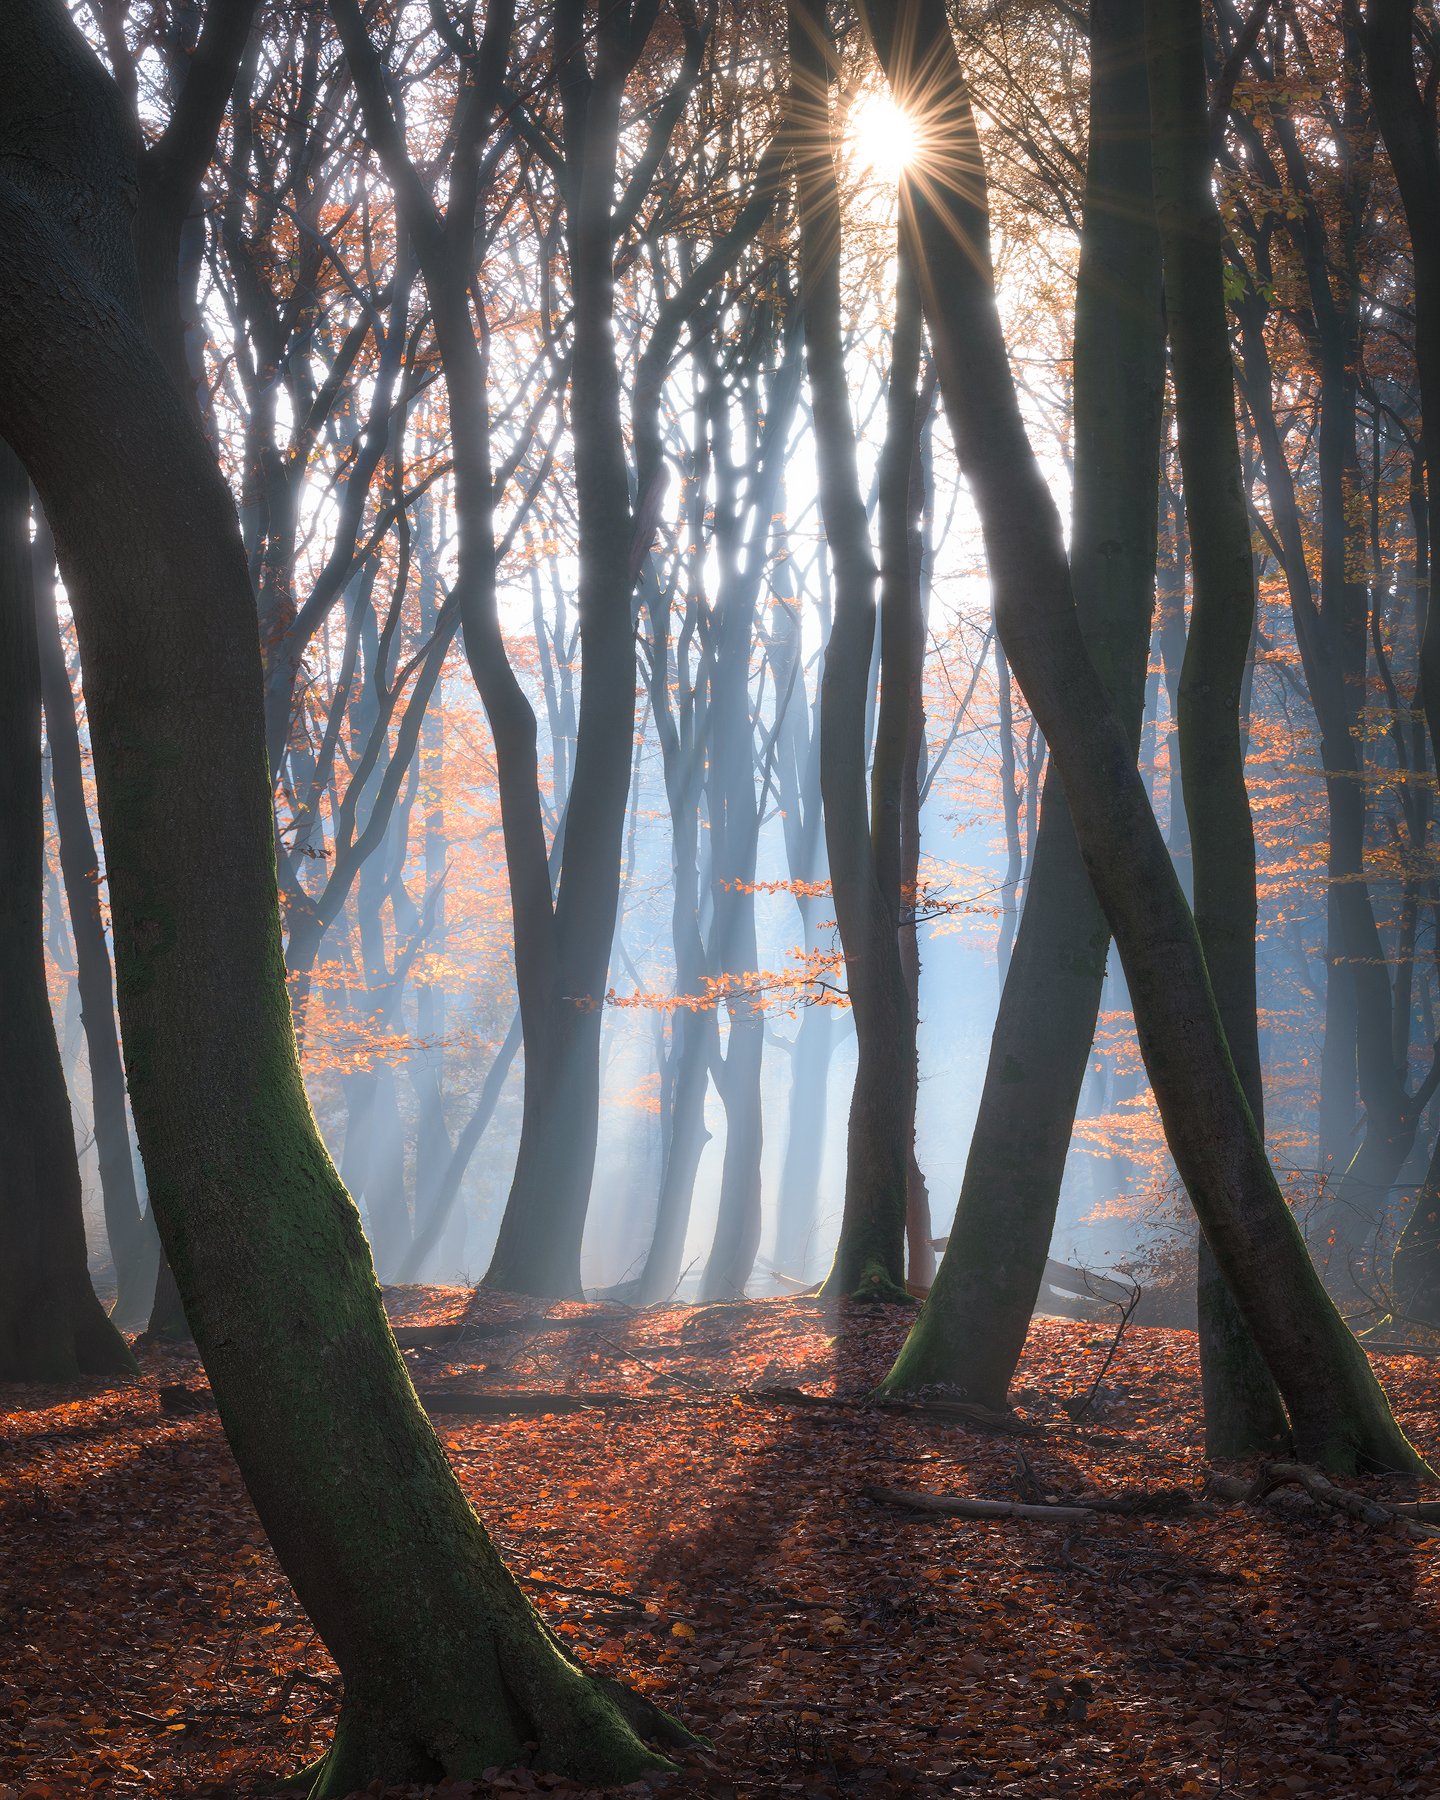
An Autumn for Hope (Fall)
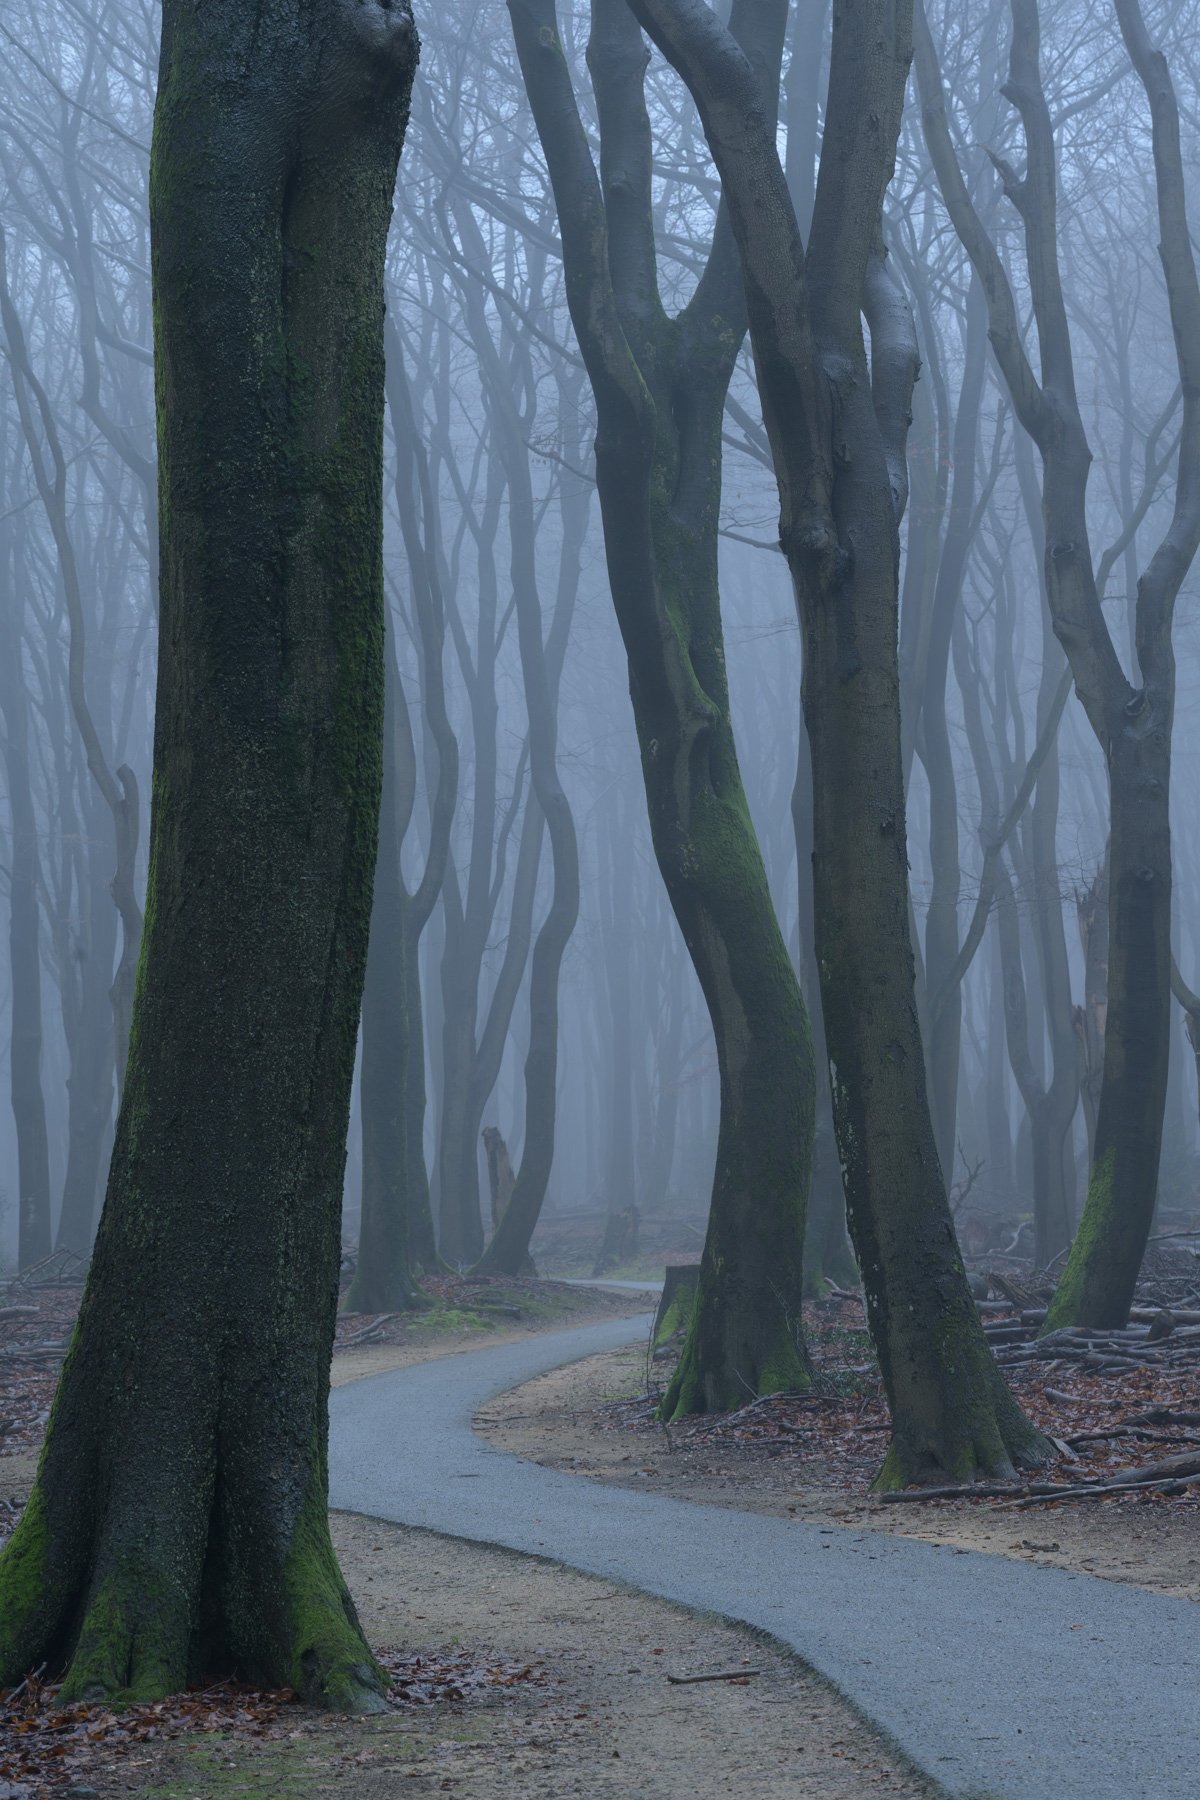
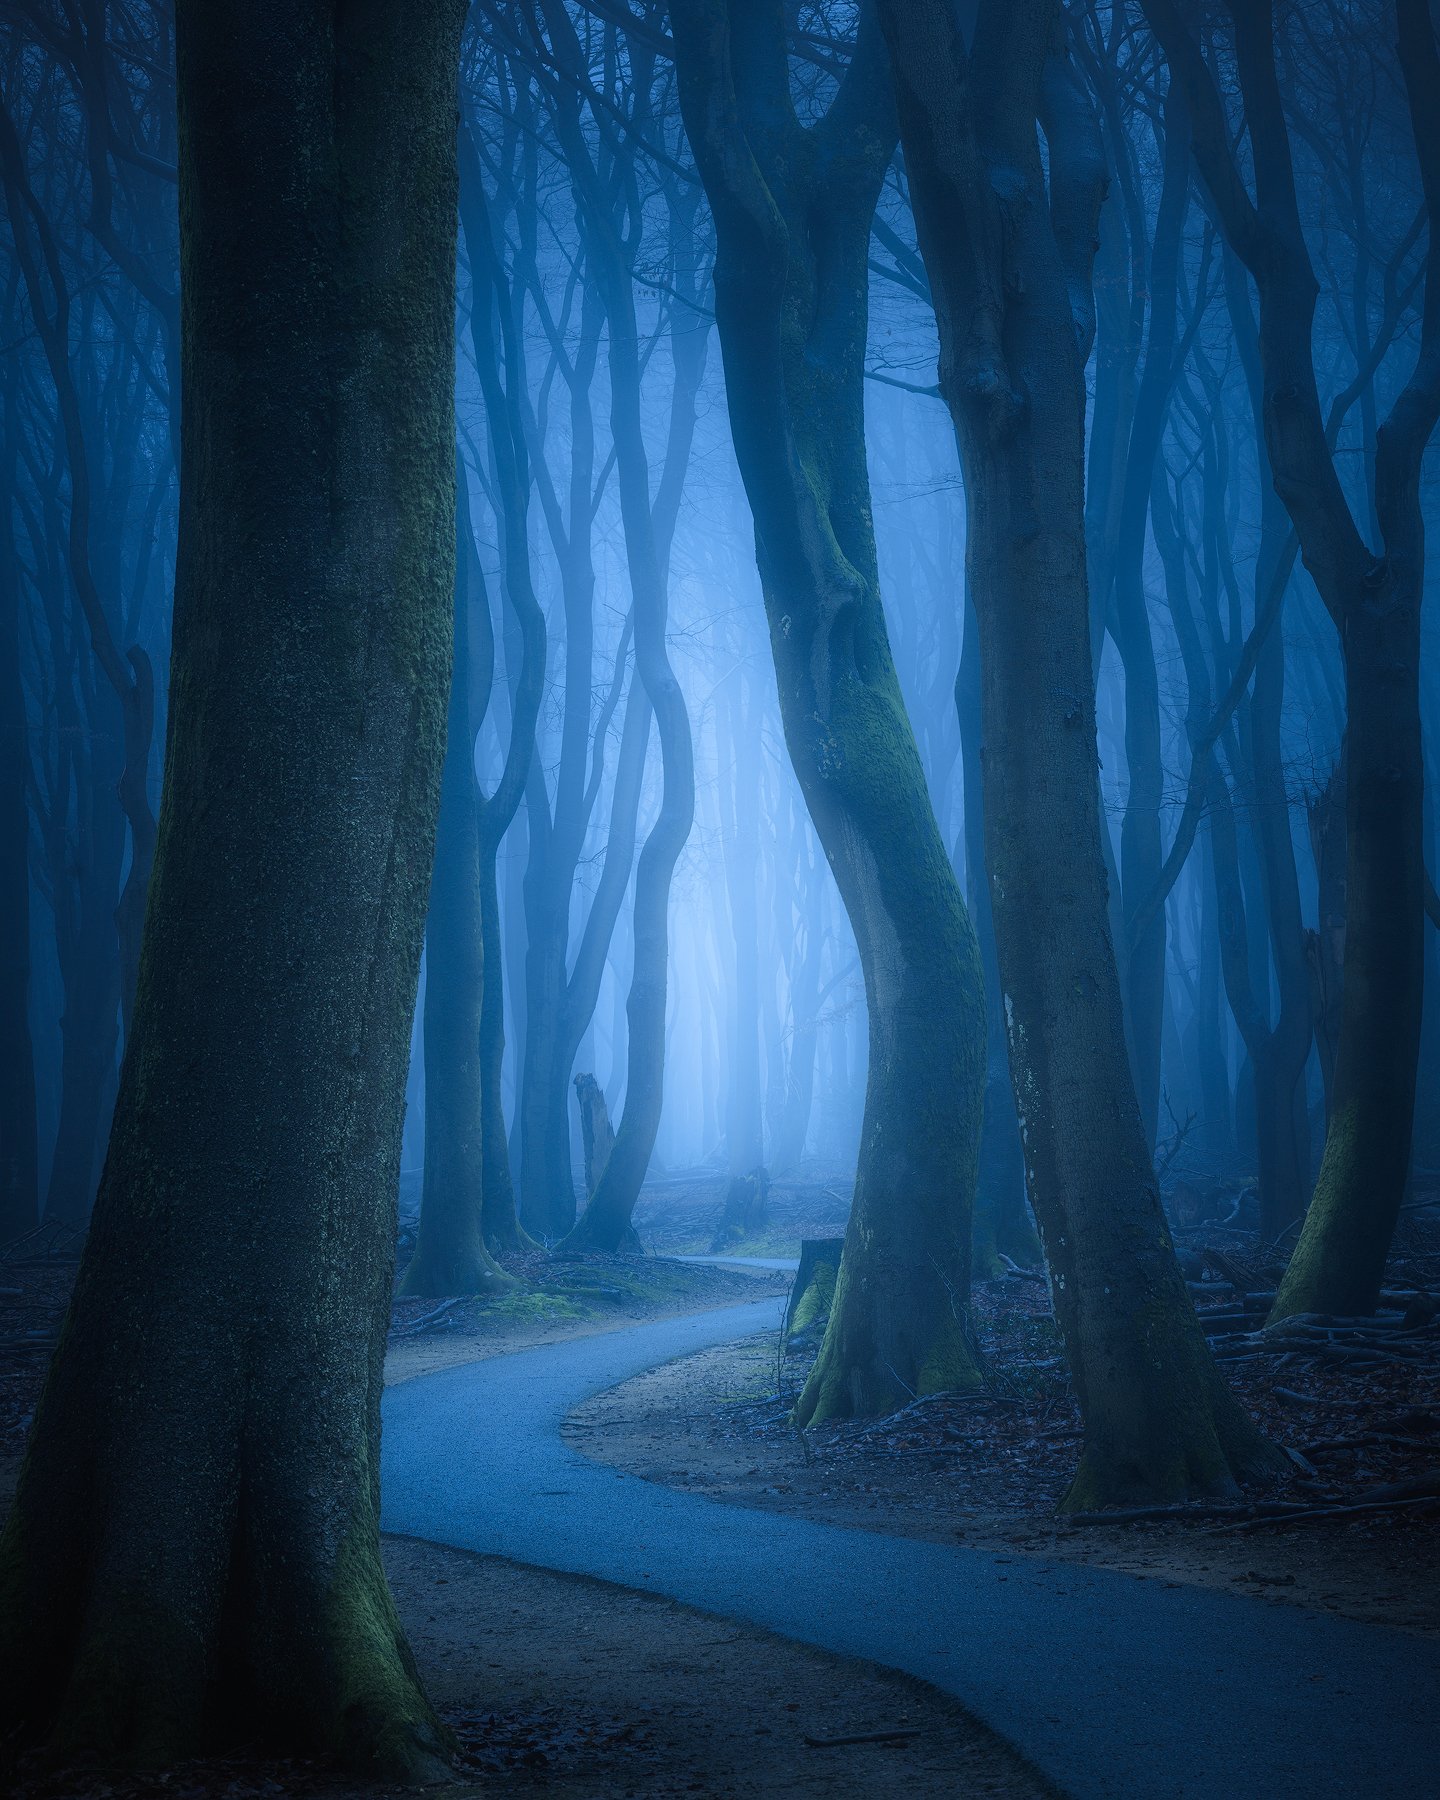
The Alley of Lost Souls (Snowless winters)
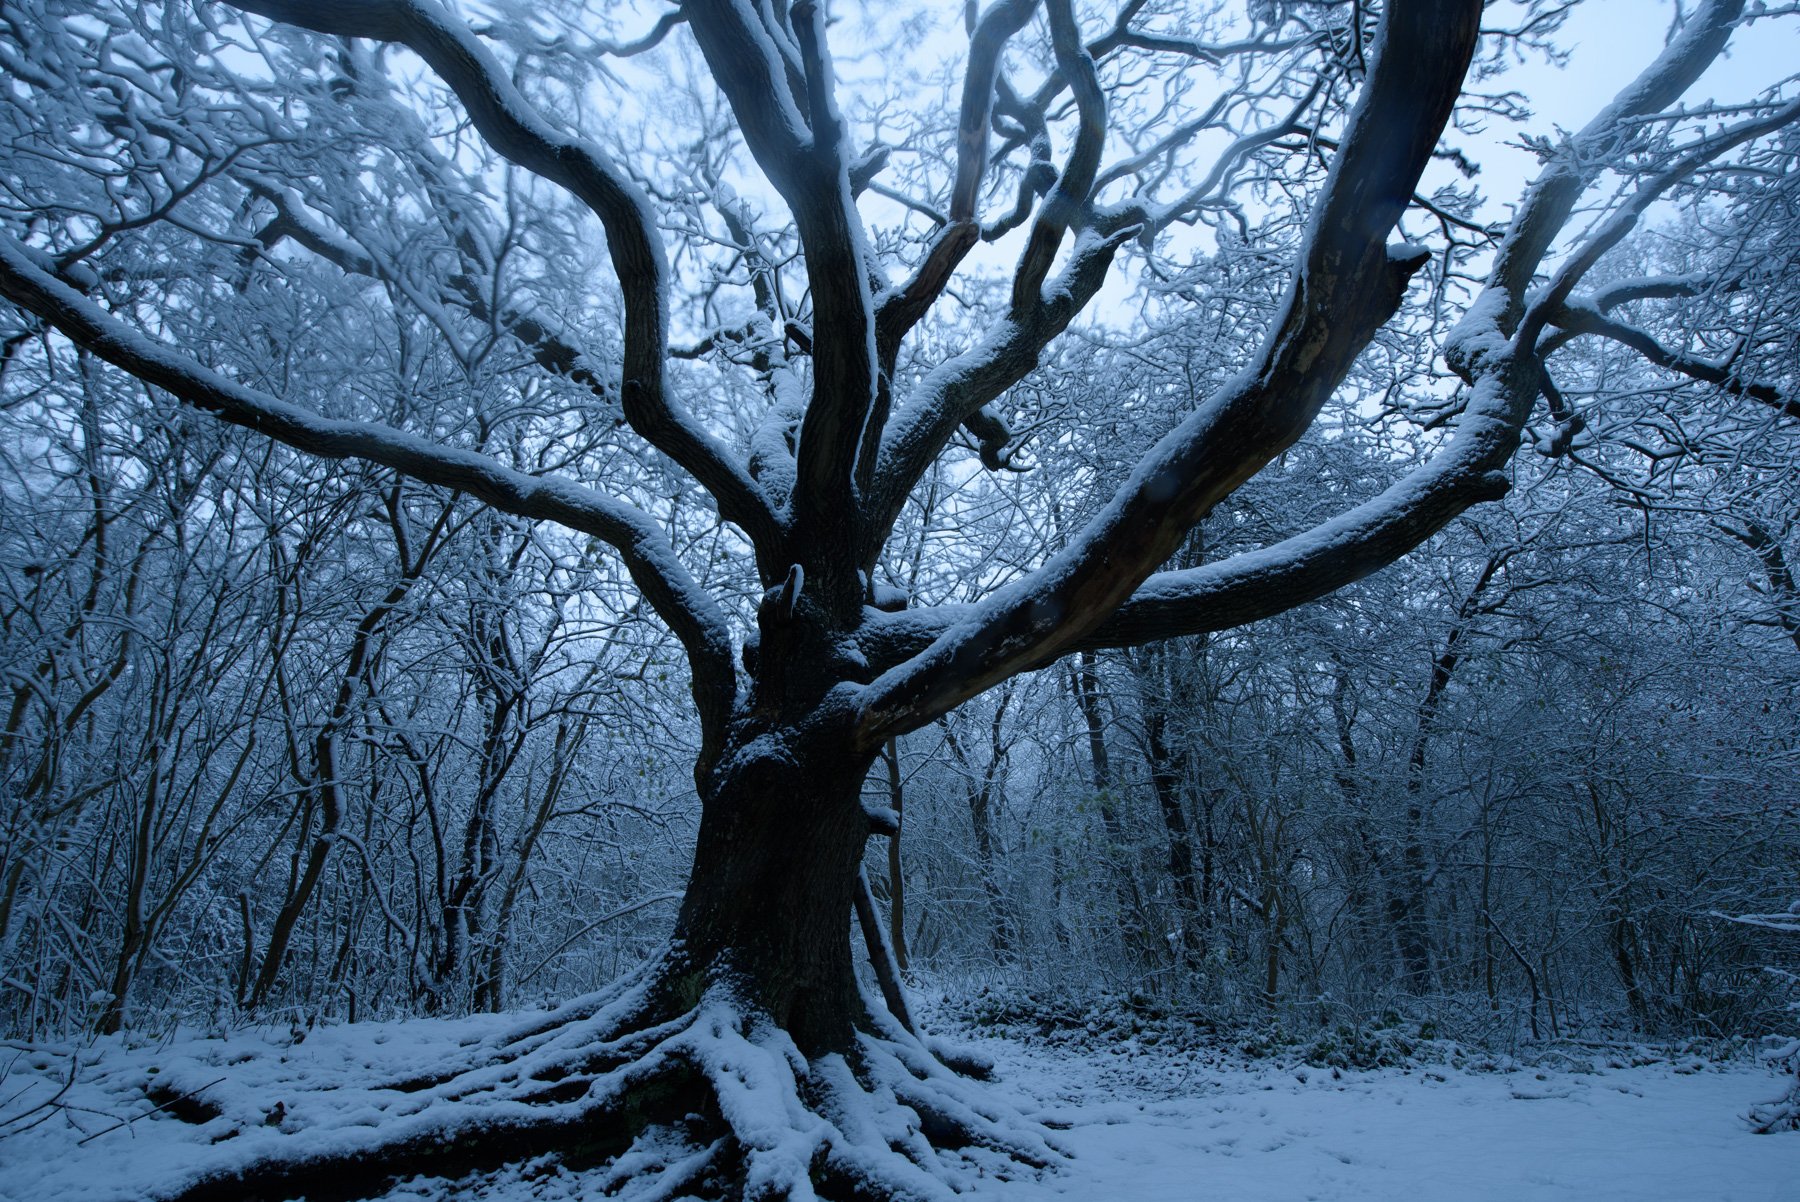
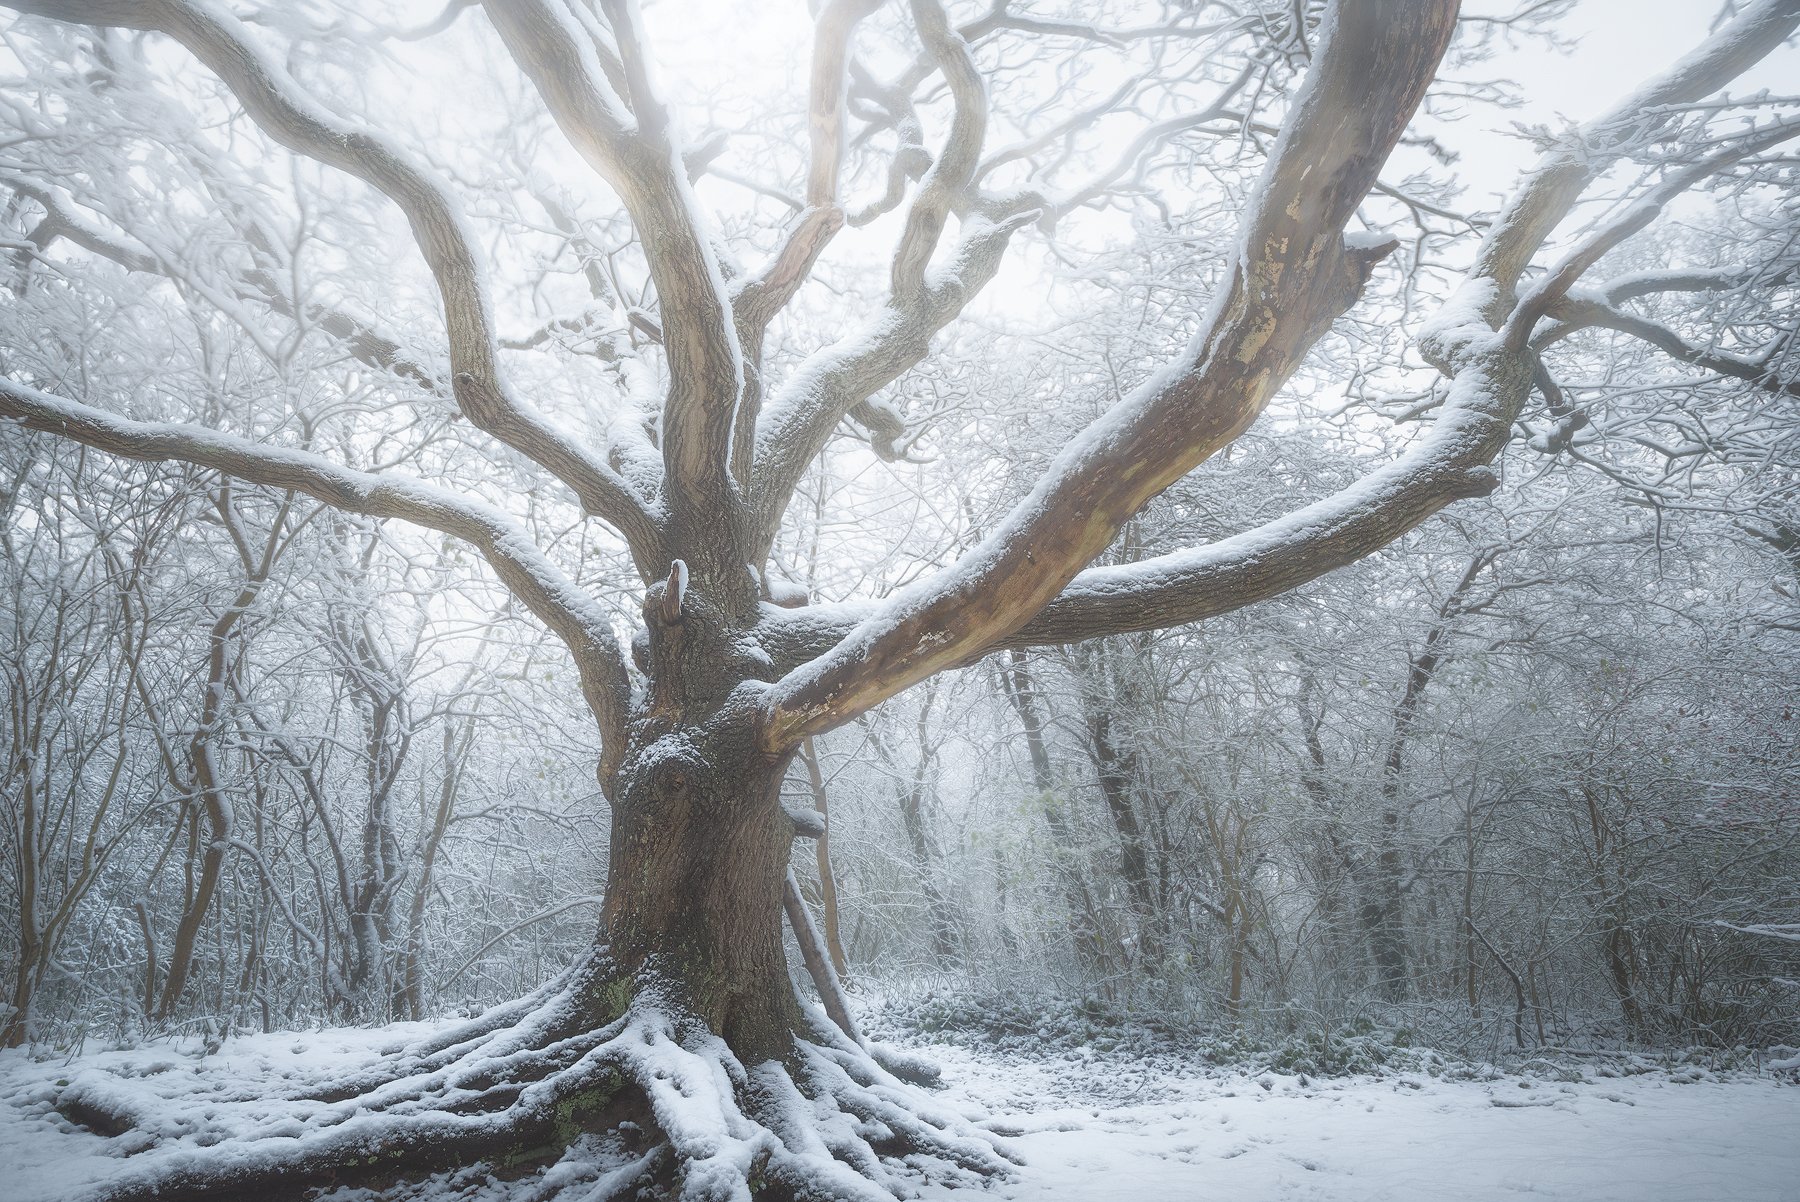
Winter Glow (Snow, daylight)
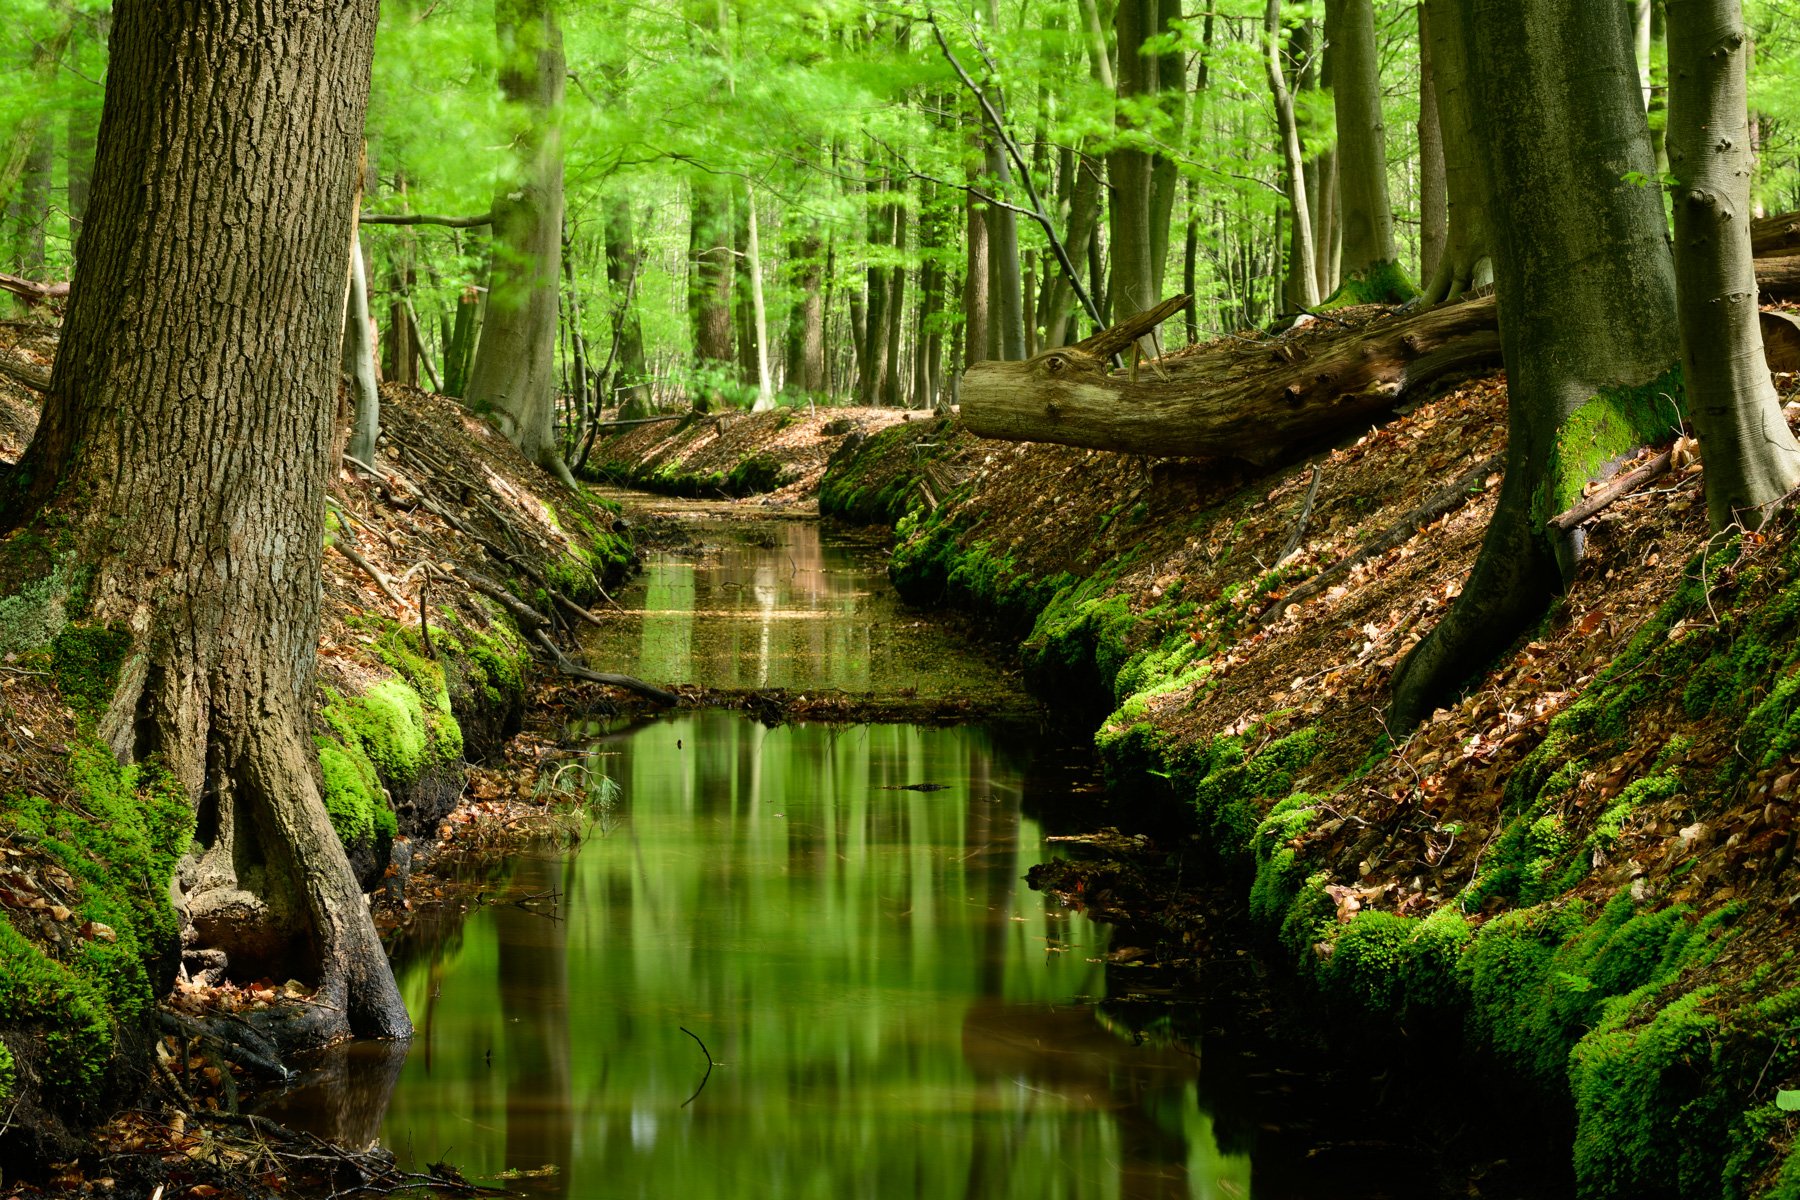
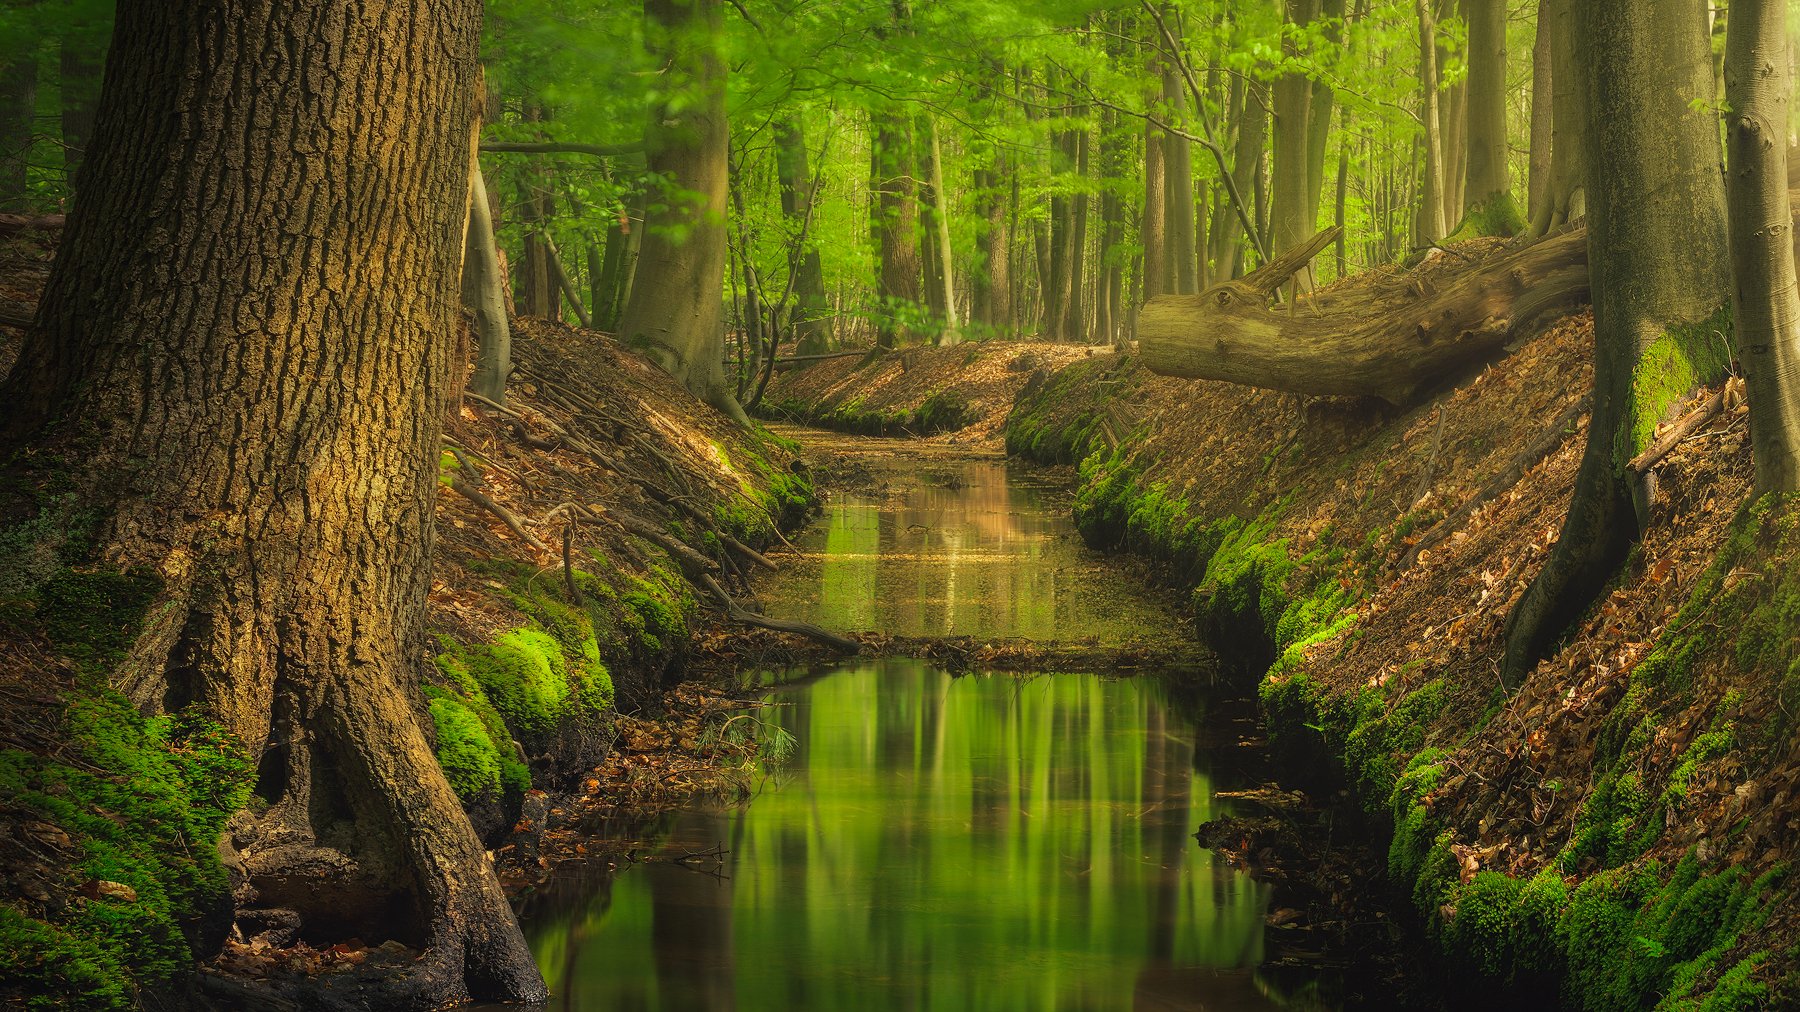
Spring Brook (Afternoon spring)
Enter the Dark Forest
I’ve been coming back to the Dark Forest theme for years now. I love it in here, no matter which season. If you think autumn is the only season worth visiting the forest in with your camera, you’re missing out. This is the third and largest tutorial in a series about woodland photography, where we specifically tackle different locations, seasons and lighting conditions.
A dark winter forest is perhaps my favorite. The bleak, desolate landscape just appeals to me. We used to have a lot of snow here in the Netherlands, but winters have changed. It’s all bare trees now. So let’s bring your camera as I teach you all the ins and outs of woodland photography post-processing.
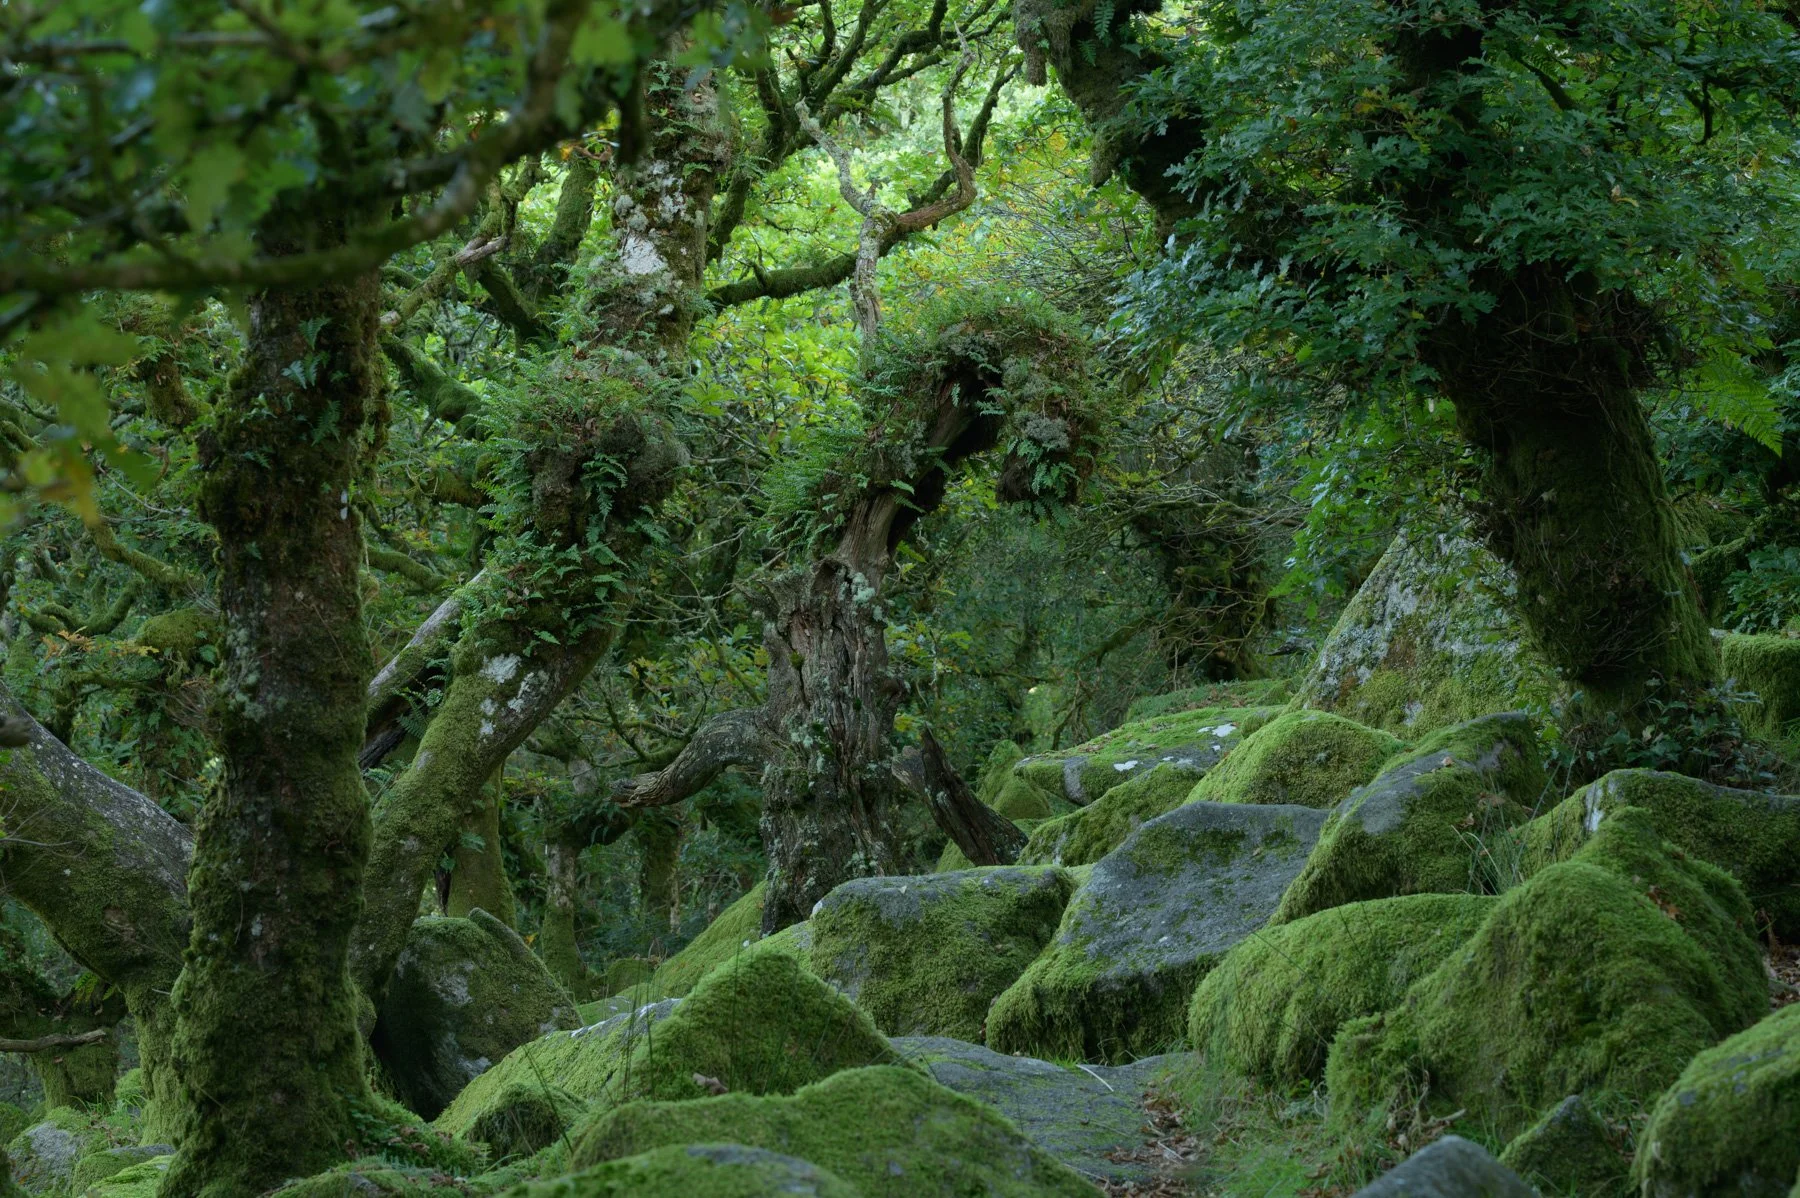
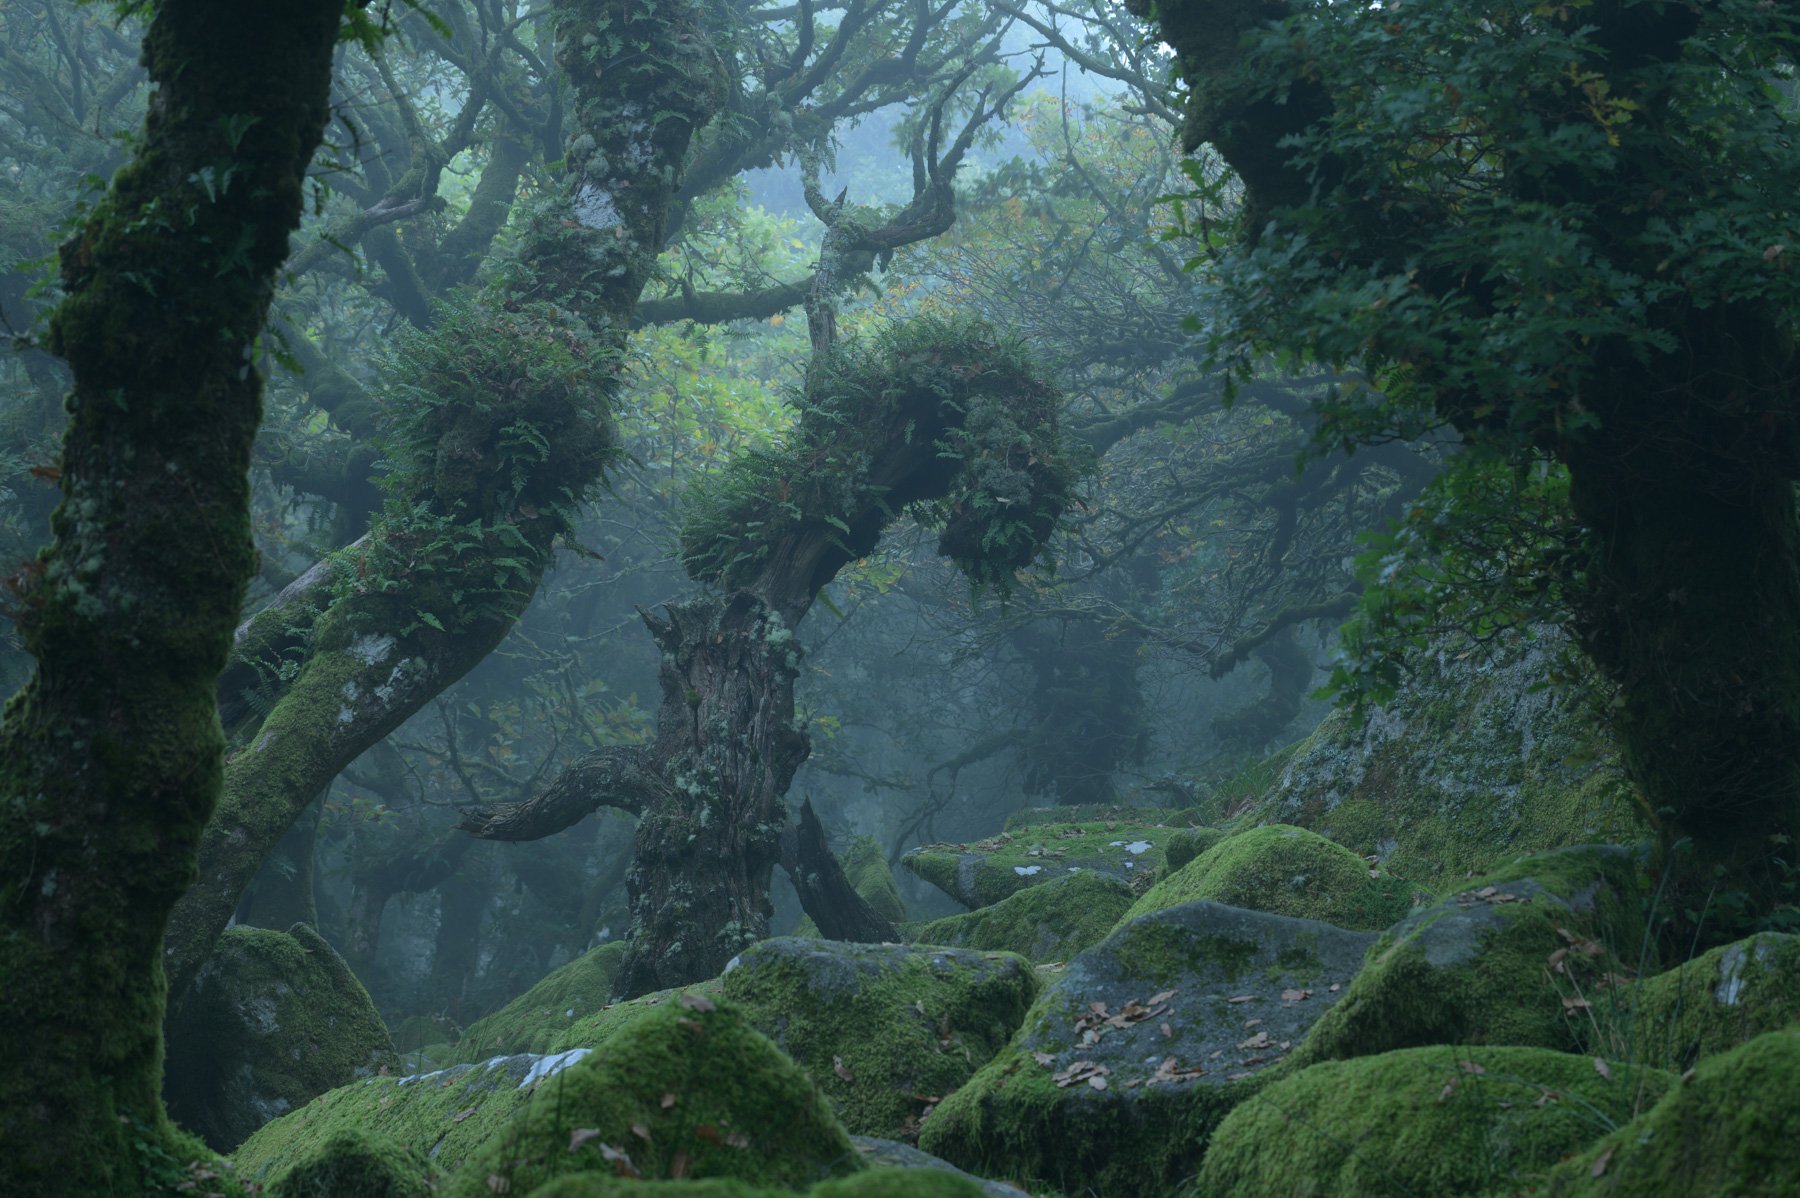
In this complete 6-part video tutorial, you will learn how to edit forest photos from all seasons. We’ll cover summer, spring and several stages of autumn and winter photography so you can go to any forest confidently if the conditions are right. But you still have to go in the right conditions. Check out the difference between these photos:
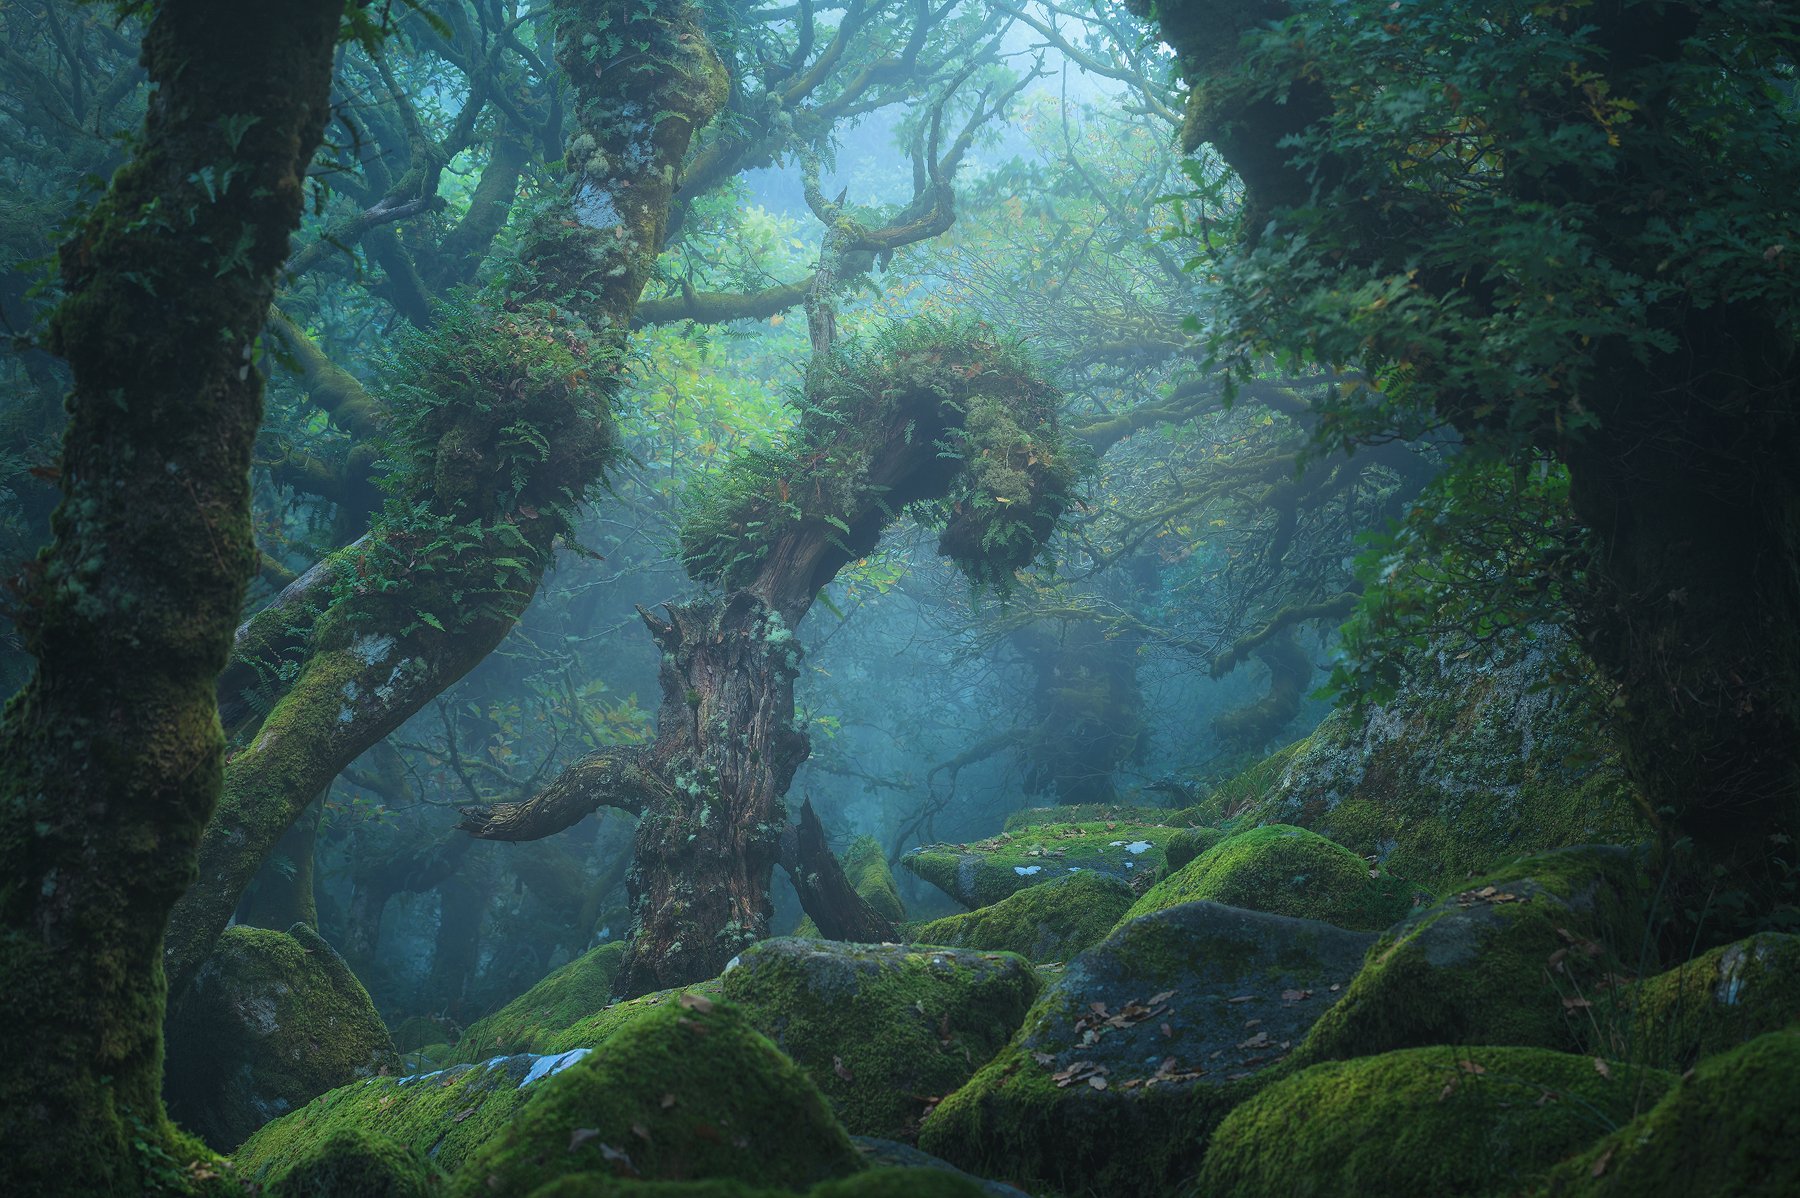
The first image was shot a day before the last image. Both are unprocessed raw files!
What you will learn in this tutorial is not how to save a bad image, but how to make a good image fantastic. Check out the before and after images of all the dark forest photos that you will learn to recreate in this post-processing course.
What you will learn in this tutorial
✔️ Handling White Balance and Exposure for snow photography.
✔️ Range Masking: Controlling light in Camera Raw and Lightroom.
✔️ Creative Controlled Warping & The Transform Tool.
✔️ Highlight Color Dodging.
✔️ Specular Highlighting – a trick that I invented.
✔️ Separating autumn colors.
✔️ Changing the Hue without Artifacts.
✔️ Applying negative Clarity and Dehaze to make a dreamy effect.
✔️ Blending sun stars.
✔️ Separating colors that are close together to give more interest in your woodscapes.
✔️ Handling reflections in water.
✔️ Editing the raw file for use in Photoshop with my smart object workflow.
✔️ Dark mood aesthetic and working on your portfolio for consistency..
✔️ Burning Shadows.
✔️ Luminosity Selections (RGB Channels and Tony Kuyper’s luminosity masks).
✔️ Cloning out distractions.
✔️ Handling HDR, direct sunlight and over-exposed skies and blending exposures in the forest (and their necessity).
✔️ Focus stacking.
✔️ Sharpening and Exporting for the Web to keep the colors exactly the same as you see it in Photoshop for the whole world.
What’s included in this course
⭐ These four videos contain close to 5 hours’ worth of processing in total. Plus 2 more hours of additional instructional videos about setting correct colors, luminosity masking and channel selections that are updated as my workflow changes, making these tutorials absolutely timeless.
⭐ Six PSD-files (resized) of photos that showcase the immense diversity you can find in your typical forest, with every adjustment still present. No secrets!
⭐ All resized raw files (DNG) with every adjustment still present. Plus pre-processed focus stacks where applicable in case you want to skip this step.
⭐ Read-me file linking to additional tools such as TK Actions and the last sharpening tool you will ever need.
Specs, how to watch and other fine print
After payment, you will download a PDF document containing links to download the actual videos and files needed to follow along from a private Dropbox link. You don’t need Dropbox, or any other account, it’s just hosted there on mine. There’s additional information in that PDF as well.
Note that this is a Digital Download product. No physical DVD or USB thumb drive is included.
I do not offer refunds on digital products.
Video first part: H265 MP4, 3840x2160 (4K Ultra HD). 25fps, variable bitrate
Video parts 2-4: H265 MP4, 2560x1440 (WQHD). 25fps, variable bitrate
Audio: AAC 48 kHz, 320 kbps stereo
Fully English subtitled by me. Narrated by Michael in English, a professional American voice actor.
Total running time: 4 hours 56 minutes PLUS nearly two hours of additional videos as a free bonus.
Total size of the download: about 11,6 GB.
You can download the files separately, so you don’t have to download one huge file all at once.


