The Dark Forest Processing Video


The Dark Forest Processing Video
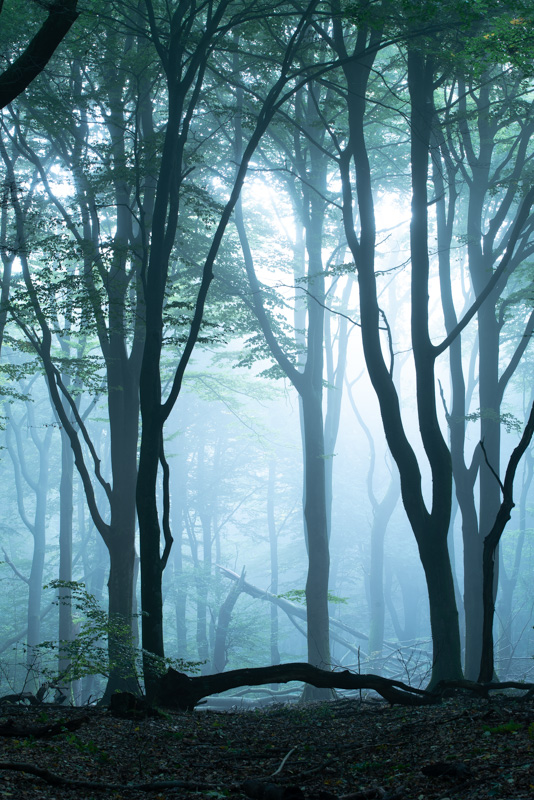
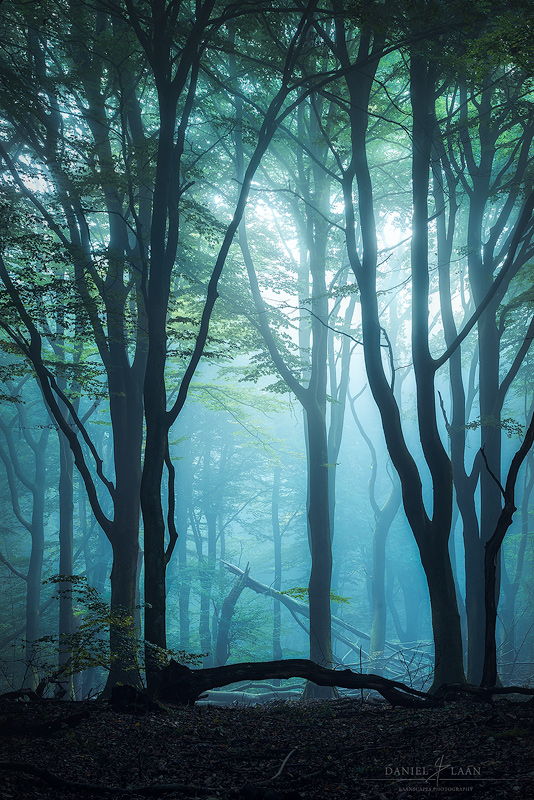
I’m shining a light on my entire “Dark Forest” workflow in this video for that unique, mysterious feel that won me several awards.
What’s Included?
These two videos contains more than 2 hours’ worth of processing together, so my recommendation would be to watch it in two parts.
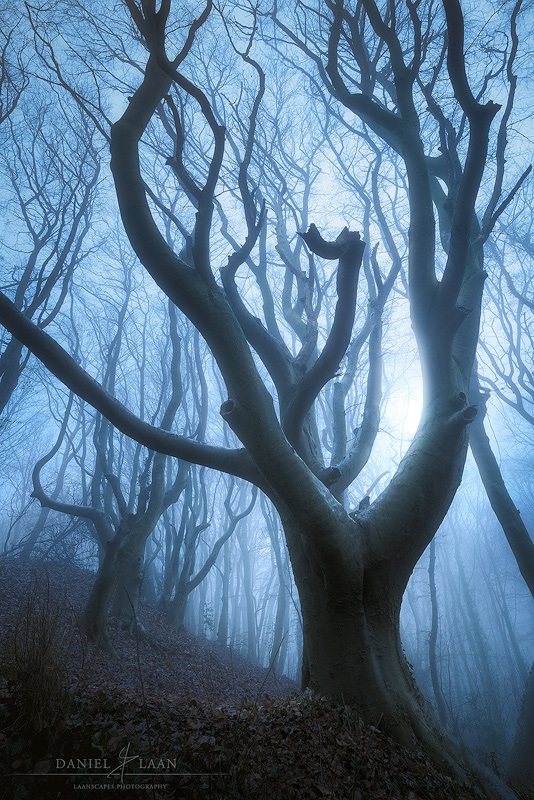
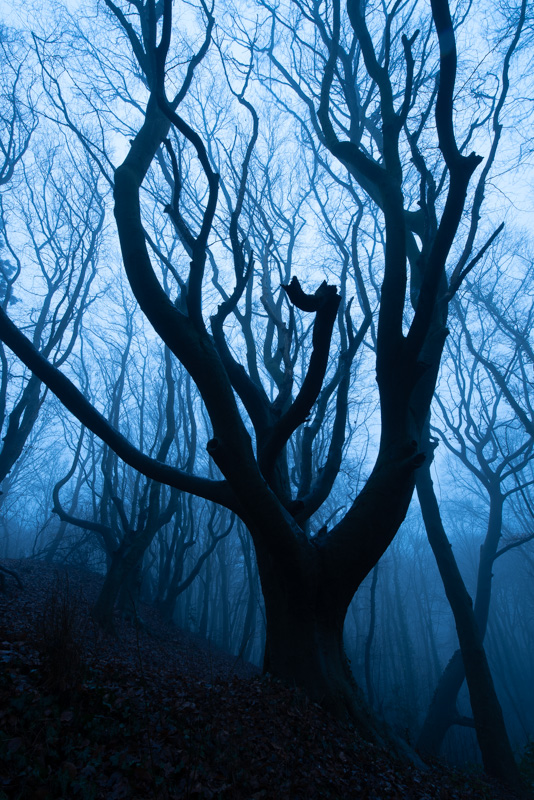
Two PSD-files (resized) of “Lotan” and “Evil Forest” with every adjustment still present.
Two resized raw files (DNG) of “Lotan” and “Evil Forest” with every adjustment still present.
Read-me file linking to additional tools such as TK Actions and the last sharpening tool you will ever need.
What Will I Learn?
This is my entire workflow for a Dark Forest shot. In two videos, we will cover:
Editing the raw file for use in Photoshop
Directing attention to the parts that matter (and redirecting the eye away from the edges)
Range Masking: Controlling light in Camera Raw and Lightroom
Creative Controlled Warping & The Transform Tool
Luminosity Selections (RGB Channels and Tony Kuyper’s luminosity masks)
Highlight Color Dodging
Specular Highlighting – a trick that I invented.
Burning Shadows
Changing the Hue without Artifacts
Cloning
Post-Processing for a moody, horror-esque forest image.
Orton Effect creation and control
Diffuse Light
Sharpening for the Web
Export for the Web
How do I Watch the Video?
After you pay, you will download a document containing links to download the actual video and files needed to follow along.
Note that this is a Digital Download product. No physical DVD or USB thumb drive is included. I do not offer refunds on digital products.
Enjoy!
Notice: Watch me Edit!
These videos do not contain audible dialog. There are annotations to guide you through what you see me do, but there is no sound. The video is intended to be silent, so you can put some music on and let the creative juices flow. These videos are very competitively priced as a result.