Landscape editing Tutorials
Post-processing is an integral part of landscape photography. These tutorial videos gradually help you getting your skills in Photoshop and Lightroom to the next level, no matter your current knowledge.
Laanscapes Bundles
Includes “Return to the Dark Forest” & “4 Seasons in the Dark Forest” post-processing videos and “Woodland” e-book!
The 5 all-time bestseller processing videos at a big discount.
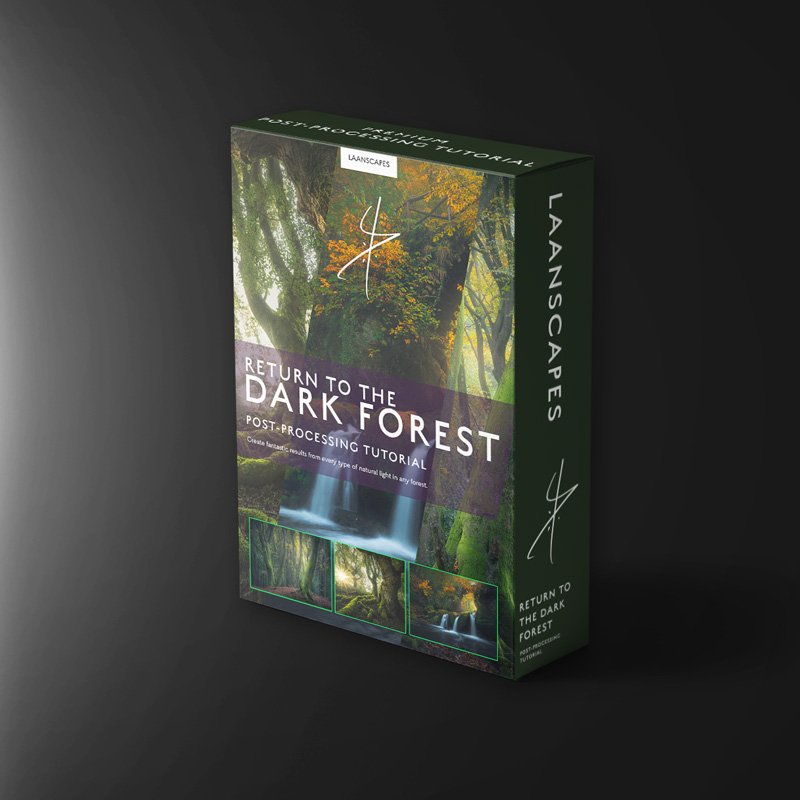
Return to the Dark Forest Processing Tutorial
Enter the Dark Forest and learn its secrets
What Will You Learn?
✔️ Directing attention to the parts that matter (and redirecting the eye away from the edges).
✔️ Range Masking: Controlling light in Camera Raw and Lightroom.
✔️ Creative Controlled Warping & The Transform Tool.
✔️ Highlight Color Dodging.
✔️ Specular Highlighting – a trick that I invented.
✔️ Separating autumn colors.
✔️ Changing the Hue without Artifacts.
✔️ Applying negative Clarity and Dehaze to make a dreamy effect.
✔️ Blending sun stars.
✔️Getting great results in both overcast conditions and shooting high dynamic range images against the light.
✔️ Applying negative Clarity and Dehaze to make a dreamy effect.
✔️Handling HDR, direct sunlight and over-exposed skies and blending exposures in the forest (and their necessity).
✔️Focus stacking.
It’s tough to get the chaos of the forest under your spell. Isolating subjects that speak to you among stuff that all looks alike is challenging. First tip: Go the forest on overcast, rainy days or very early in the morning for a chance of mist. But what do you after capturing? How do you release the magic of the Dark Forest? That’s where this new tutorial comes in.
Absence of Light
Color Separation
Overabundance of Light
In this complete 4-part video tutorial, you will learn how to handle difficult lighting situations. We’ll start out with part one, in which I explain a thing or two about composition. Next, we’re going to my go-to Dutch forest, Speulderbos and work with flat, overcast light. After that we’ll move on to Kellerwald in Germany with a wildly different kind of image featuring insane amounts of dynamic range. I bet anyone would be tempted to use HDR techniques to get it under control. In the last part, I’ll take you to Luxembourg in peak autumn, where’s it’s all about separating and controlling color. And all of those images are from start to finish!
You will learn to get detail out of shadows and highlights without using HDR. Additionally, you will learn lighting techniques such as Color Dodging, Diffuse Light and my very own Specular Highlighting light effects to make your images appear to have come straight from a fantasy world.
We will make good use of Luminosity Masking in the included videos. Follow along and you will get the results you’re looking for! There are free tools out there and you will find links to them within the document you’ll download first. That PDF also contains the download links to all video and follow along materials.
Resized PSDs and DNG raw-files are included for all images and all videos are fully narrated and annotated (subtitled) to explain what’s going on.
What’s Included?
⭐ These four videos contains more than 3,5 hours’ worth of processing together.
⭐ Three PSD-files (resized) of “Trifecta”, “Feet of Fangorn” and “Communal Hill” with every adjustment still present.
⭐ All resized raw files (DNG) with every adjustment still present. Plus pre-processed focus stacks in case you want to skip a step.
⭐ Read-me file linking to additional tools such as TK Actions and the last sharpening tool you will ever need.
Light FX Tutorial Video
Create stunning effects that transcend your Landscape Photography.
What Will I Learn?
✔️ Orton Effect (popular soft glowing effect).
✔️ Diffuse Light (denser atmospheres, depth and mist).
✔️ Specular Highlighting (making a feature of over-exposed parts in a forest canopy).
✔️ Using the Dodge Tool.
✔️ Light Bleed (adding a dramatic light source that spills into the frame).
✔️ Creating Crepuscular Rays (or God Rays) in Photoshop, without more expensive software.
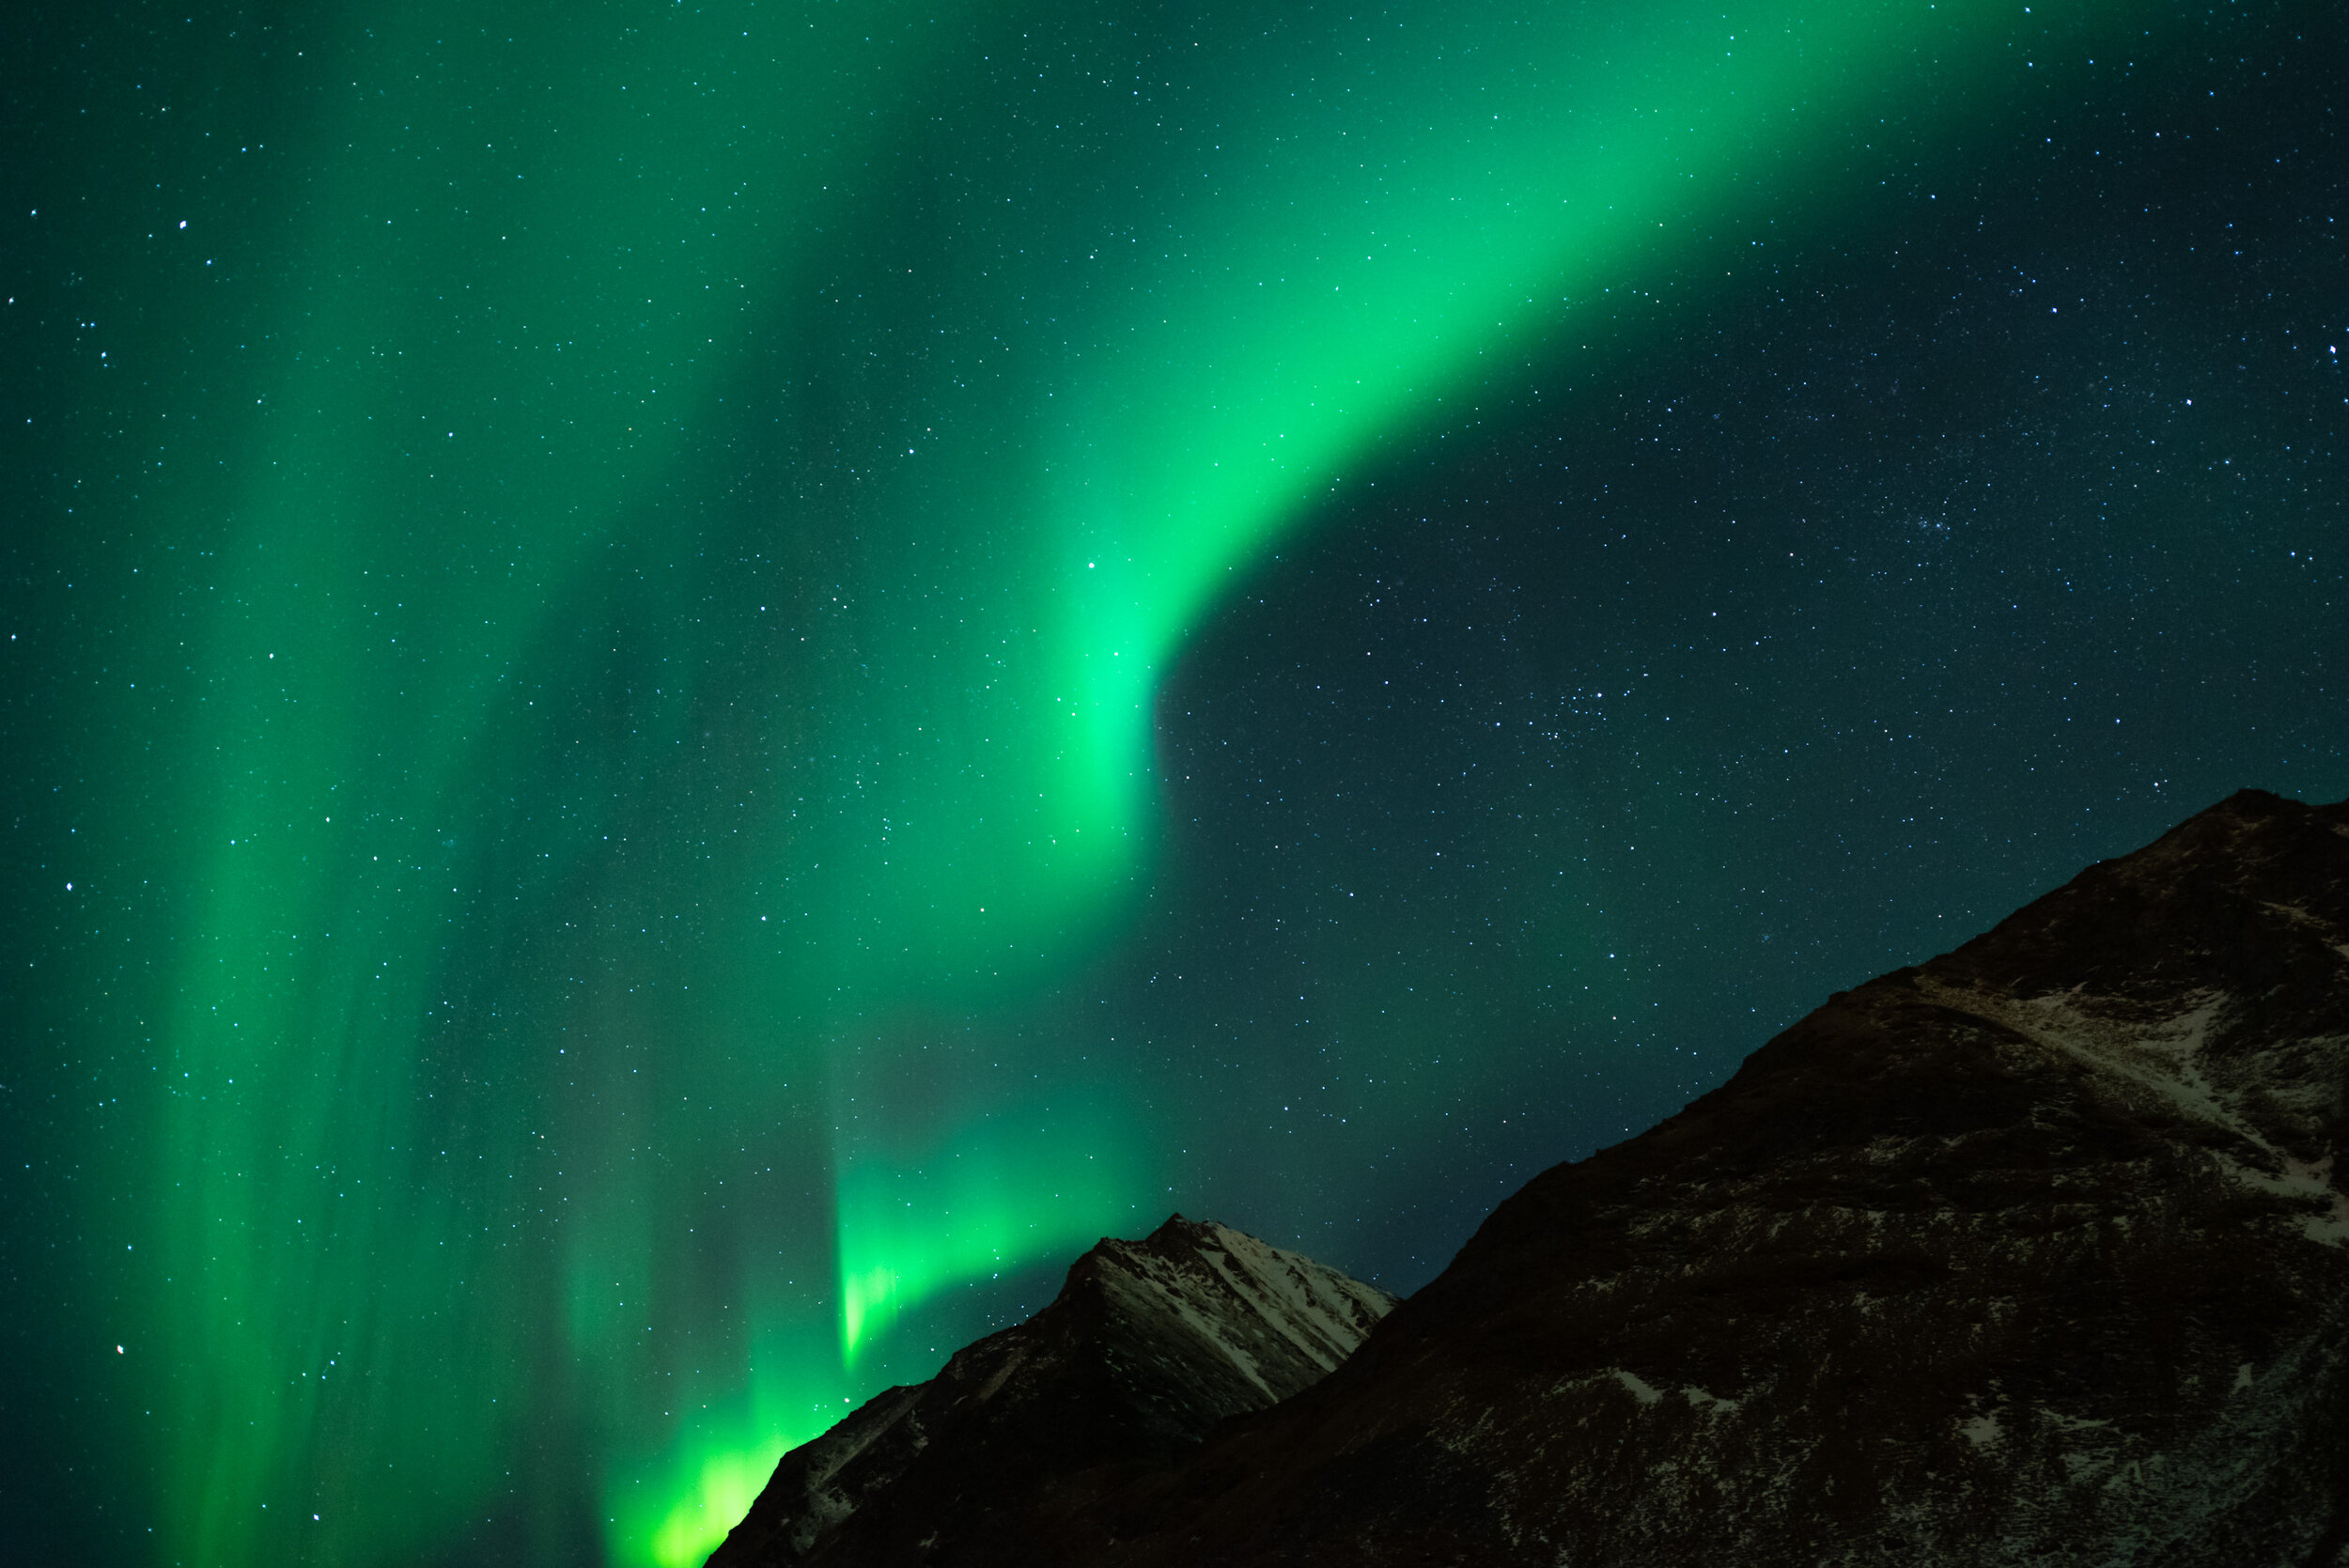
✔️ + Learn various new approaches to dodging, like star dodging, aurora dodging and cloud dodging.
✔️ + An introduction to Channel Selections - the most powerful tool in Photoshop without any panels, actions or plugins.
A tutorial video dedicated to creating and shaping light. Learn how you can dramatize your own work through using special effects made entirely from scratch in Photoshop!
In this video tutorial, you will learn many different techniques that add magic to your images. You’ll discover how to create effects like the Orton Effect, Diffuse Light and Specular Highlighting and when to use them. You will also learn to summon light from nothing by creating Crepuscular Rays and Light Bleed and we’ll explore various Dodging Techniques.
We use Luminosity Masking as well, so follow along and you will get your photos to the next level!
⭐ High quality voice guiding by a professional, native English speaking voice actor!
⭐ A 50 minute in-depth post-processing video.
⭐ Added annotations that help explain the ideas behind the edits.
⭐ Read-me file linking to additional tools.
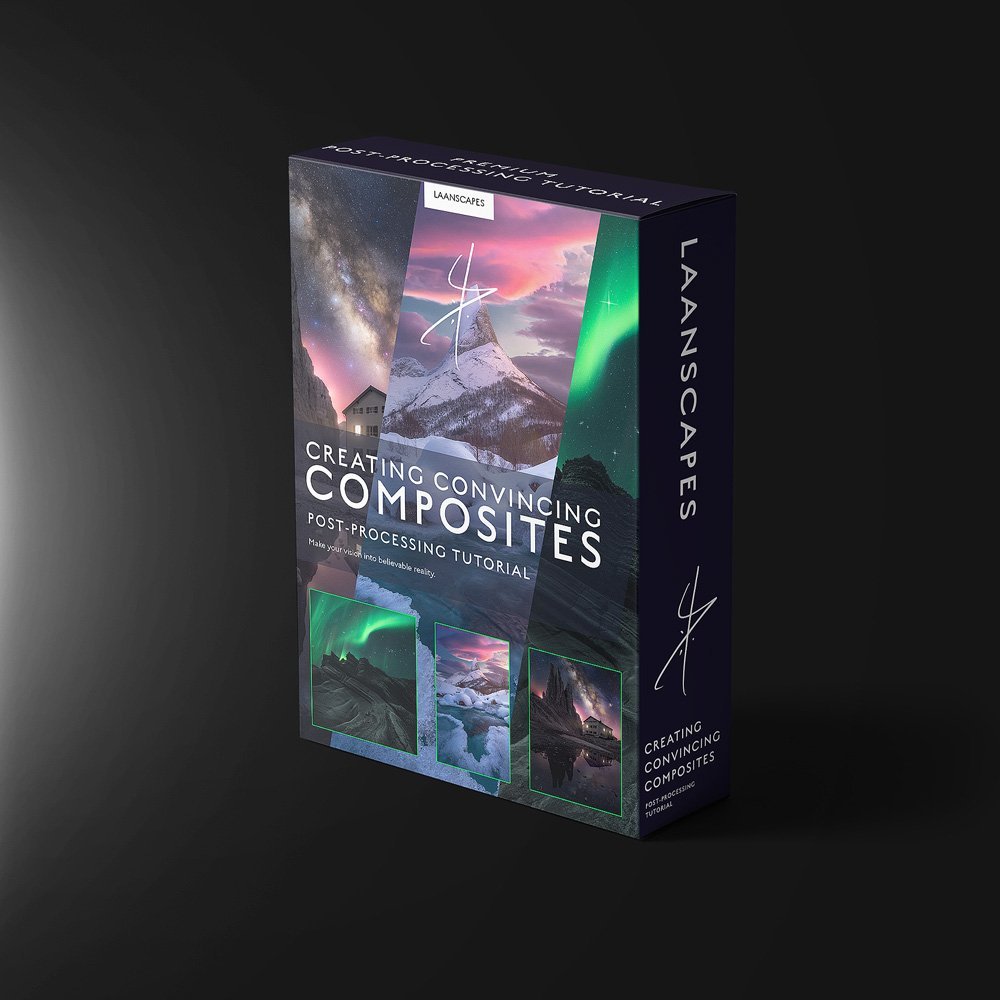
Creating Convincing Composites
Landscape Compositing in Photoshop - Black Magic of Digital Landscape Photography
Unique Things you Learn in this Video
✔️ Raw processing (Lightroom or Adobe Camera Raw) to match other images.
✔️ Putting images from different places together seamlessly.
✔️ Match light, color and contrast for convincing results.
✔️ Focus Stacking.
✔️ All manner of post-processing techniques that give a dreamy look to your images - Orton Effect, Light Bleed, Dodging…
✔️ Milky Way Post-Processing.
✔️ Luminosity Selections (RGB Channels and Tony Kuyper’s luminosity masks).
✔️ Northern Lights Post-Processing.
✔️ Color balancing and color harmony.
✔️ Learn to export and save tack-sharp images for social media.
In today’s social media landscape, you’ll have either noticed composite images are on the rise, or you have not. In the latter case, that’s because they are still there, but done right. In order to create convincing composites, you will have to learn how to wow your audience and pay attention to detail like never before.
This enormous, 5,5 hour tutorial consists of three start-to finish videos and will teach you to seamlessly blend different fore- and backgrounds together to create mesmerizing results.
What’s Included in this Video?
⭐ These three videos contain more than 5,5 hours’ worth of processing together, the longest Photoshop tutorial ever recorded!
⭐ Three PSD-files (resized) of “Freeflow”, “Parallel Worlds” and “Magic in the Mountains” with every adjustment still present.
⭐ All Raw DNG-files (resized) that made it into the final result.
⭐ Read-me file with photography tips and links to additional tools such as TK Actions (with 15% discount) and the last sharpening tool you will ever need.
⭐ Fully narrated by native English speaker and fully subtitled and 4K resolution.
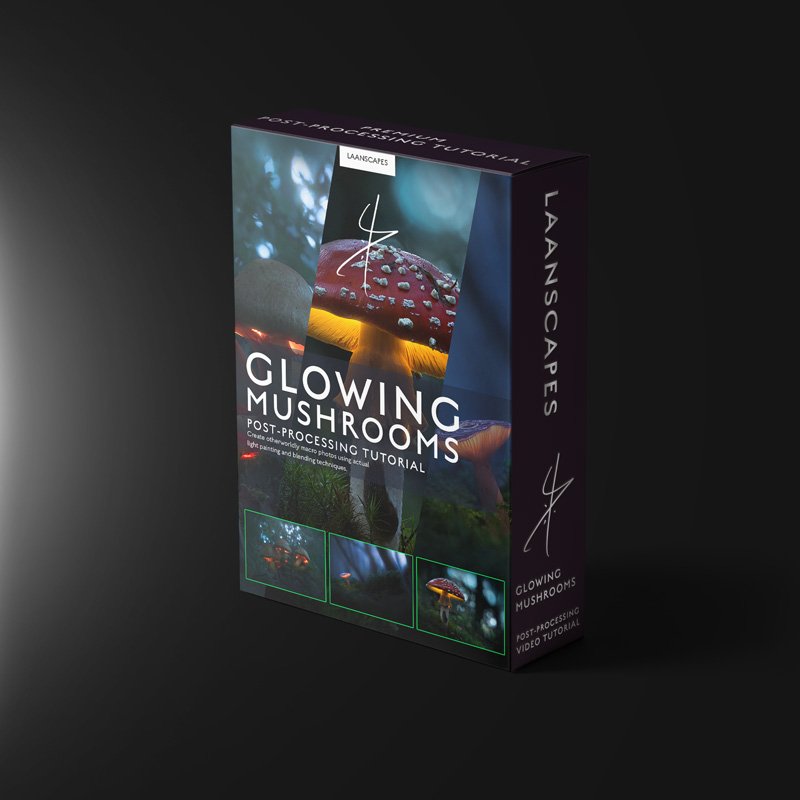
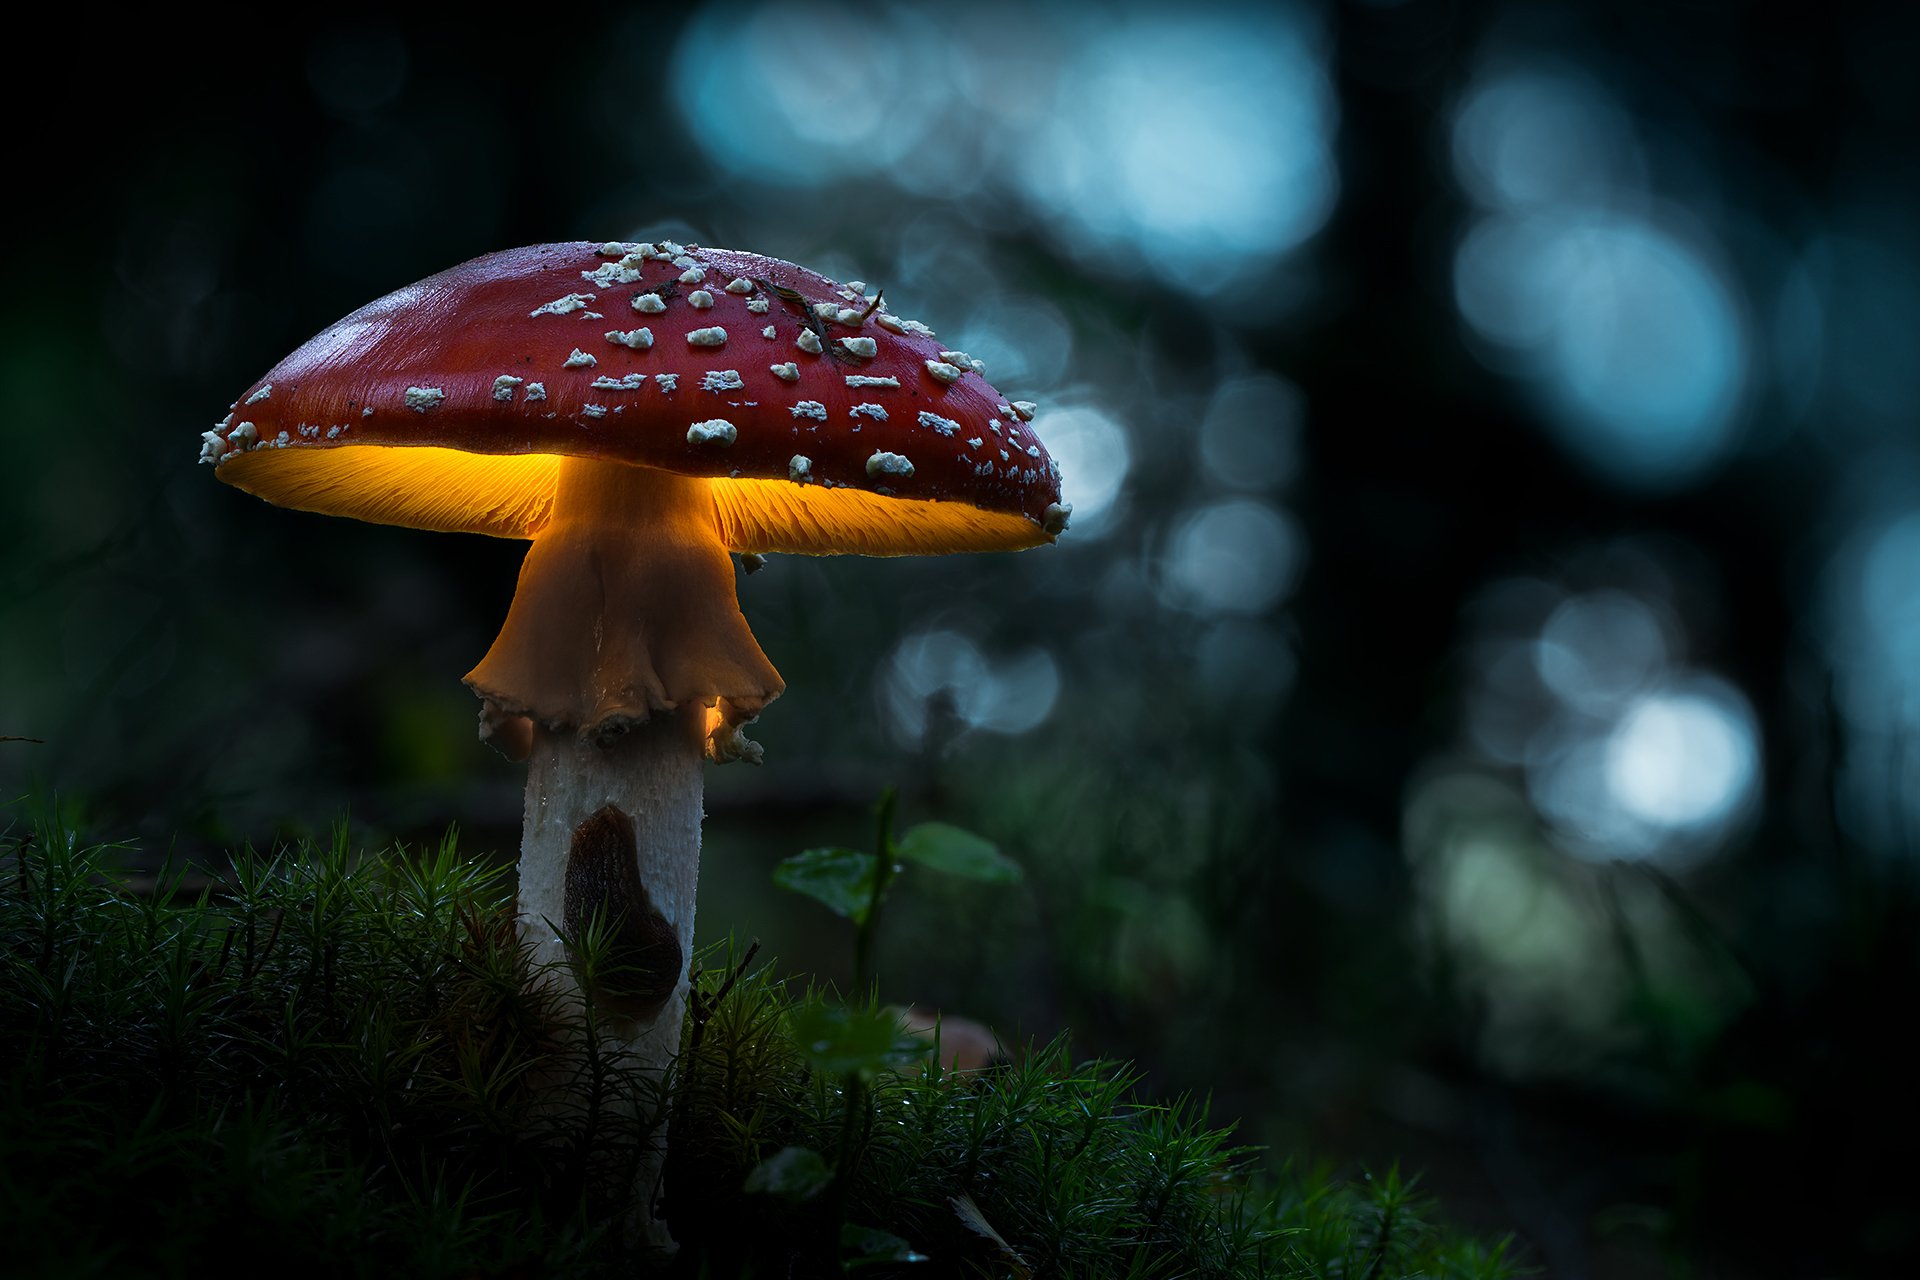
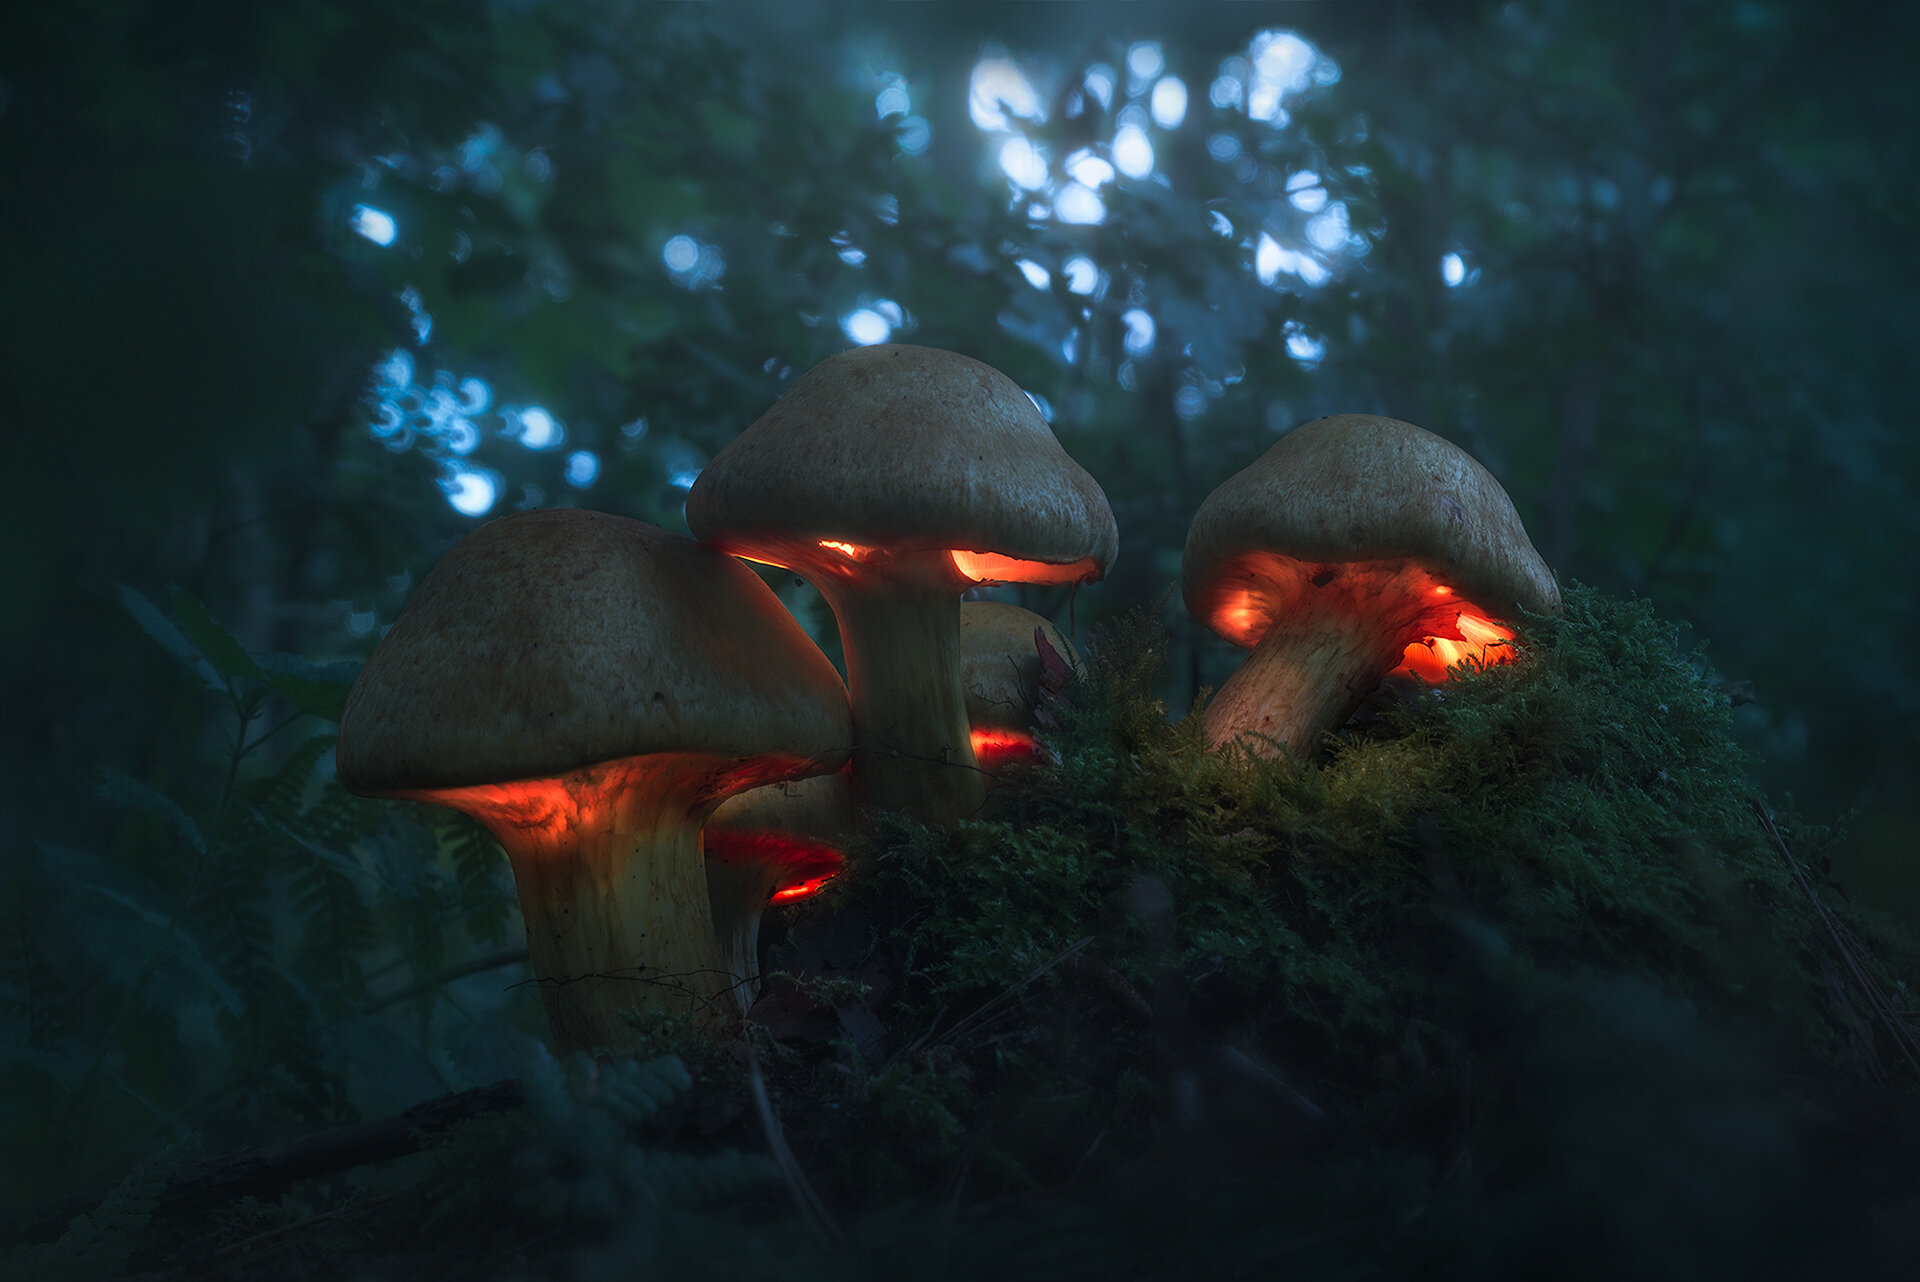
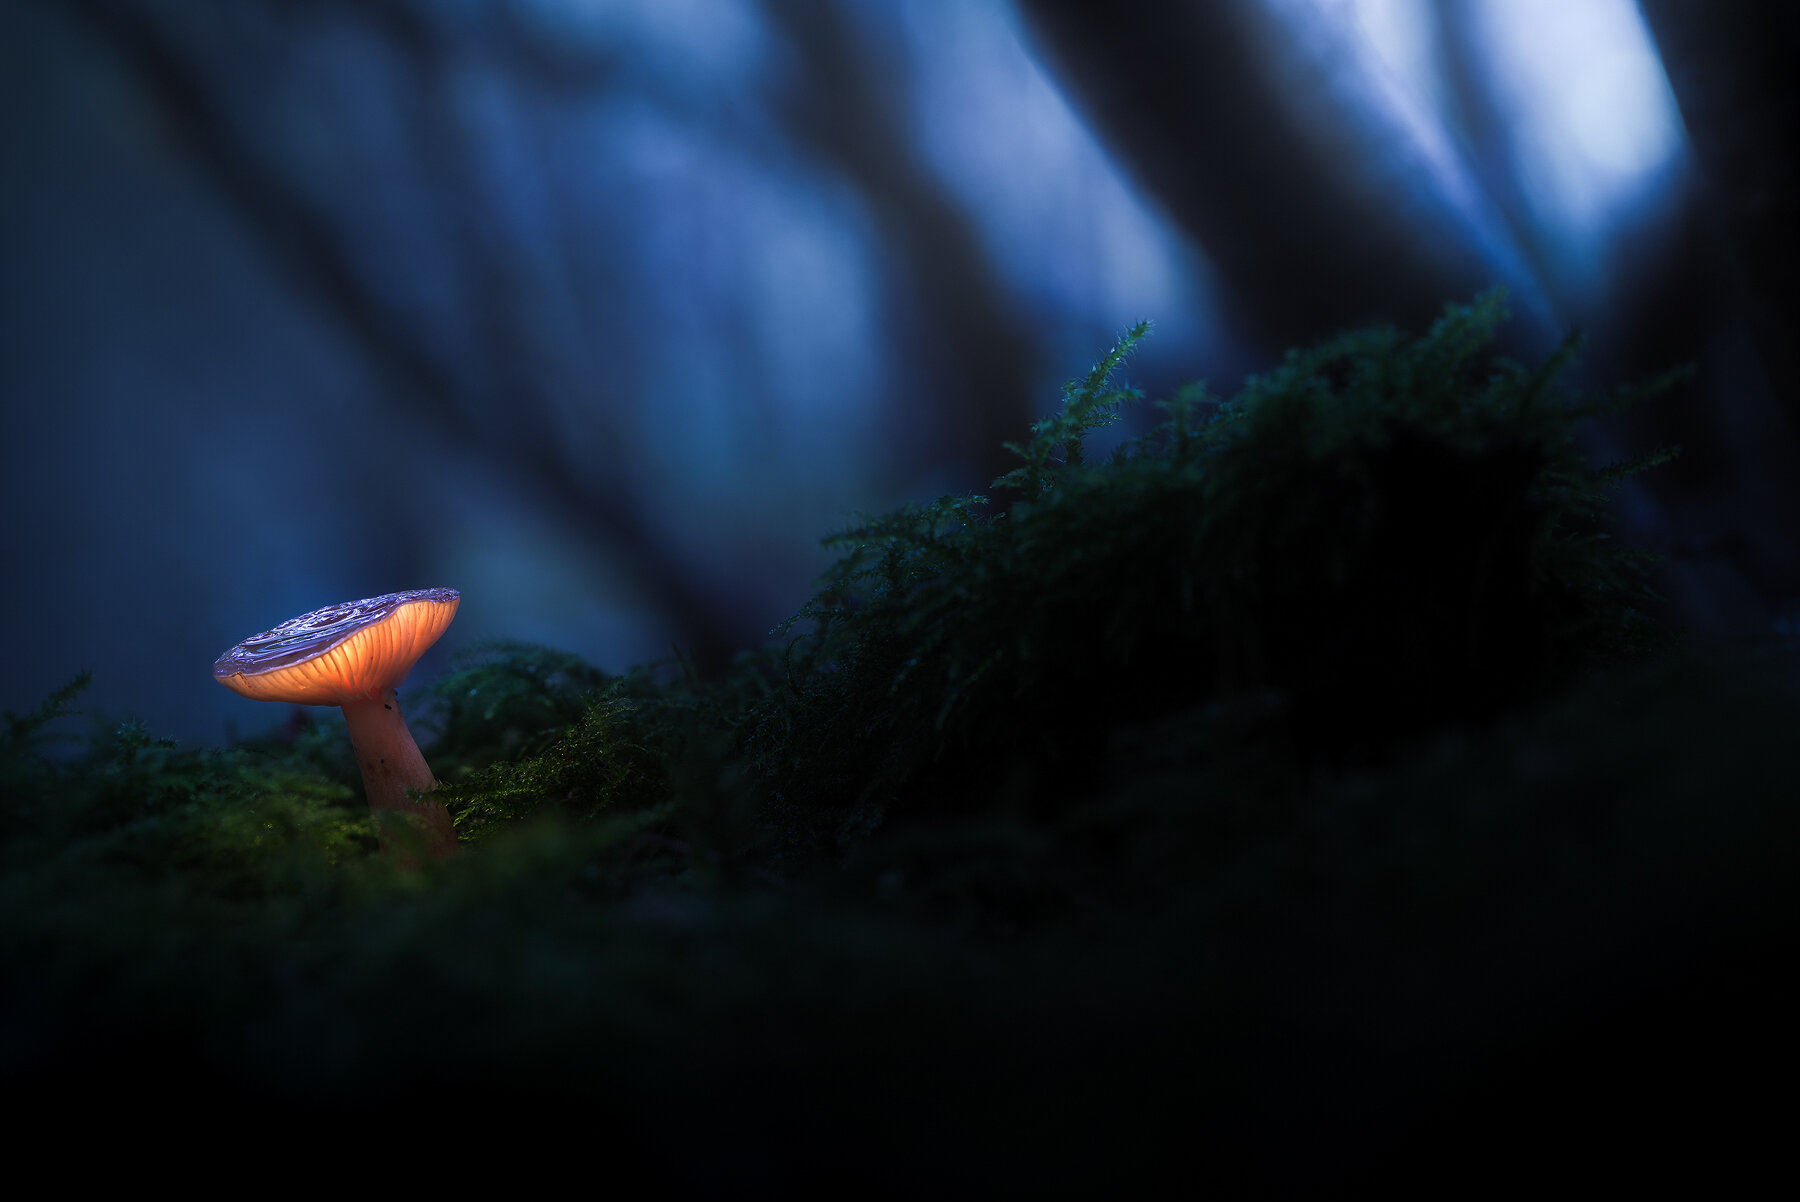
Glowing Mushrooms Processing Video
Everything you want to know about lighting those magical mushrooms.
What will you Learn?
Special attention goes out to get that dark mood that's so prevalent in any of my works.
✔️ Preparing raw files.
✔️ Getting the white-balance right.
✔️ When to use the HSL sliders.
✔️ Balancing Clarity, Dehaze and Contrast.
✔️ The Smart Object Workflow.
✔️ Blending Layers manually and convincingly.
✔️ An introduction to Nik Color Efex.
✔️ Handling difficult blends.
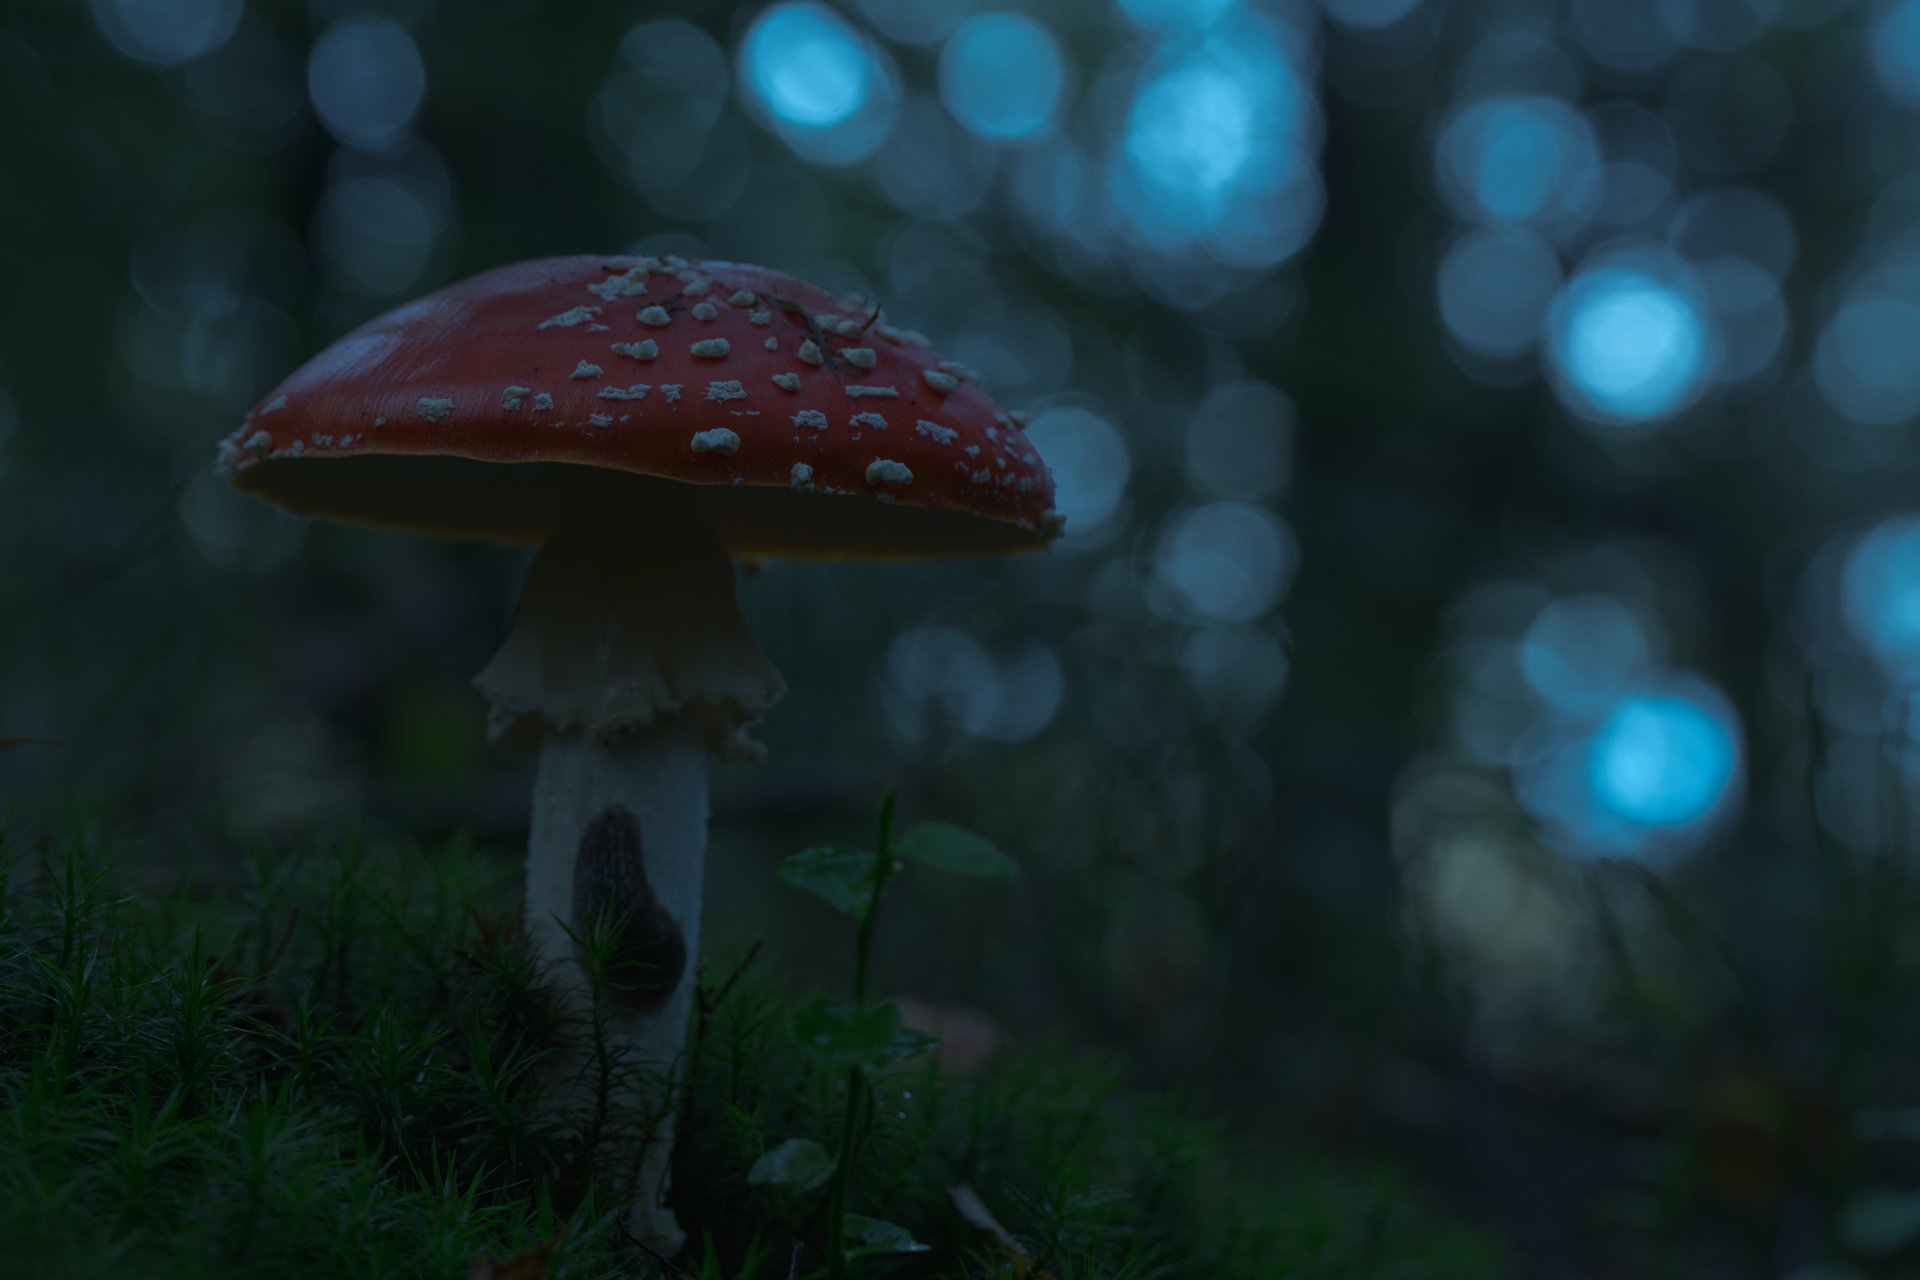
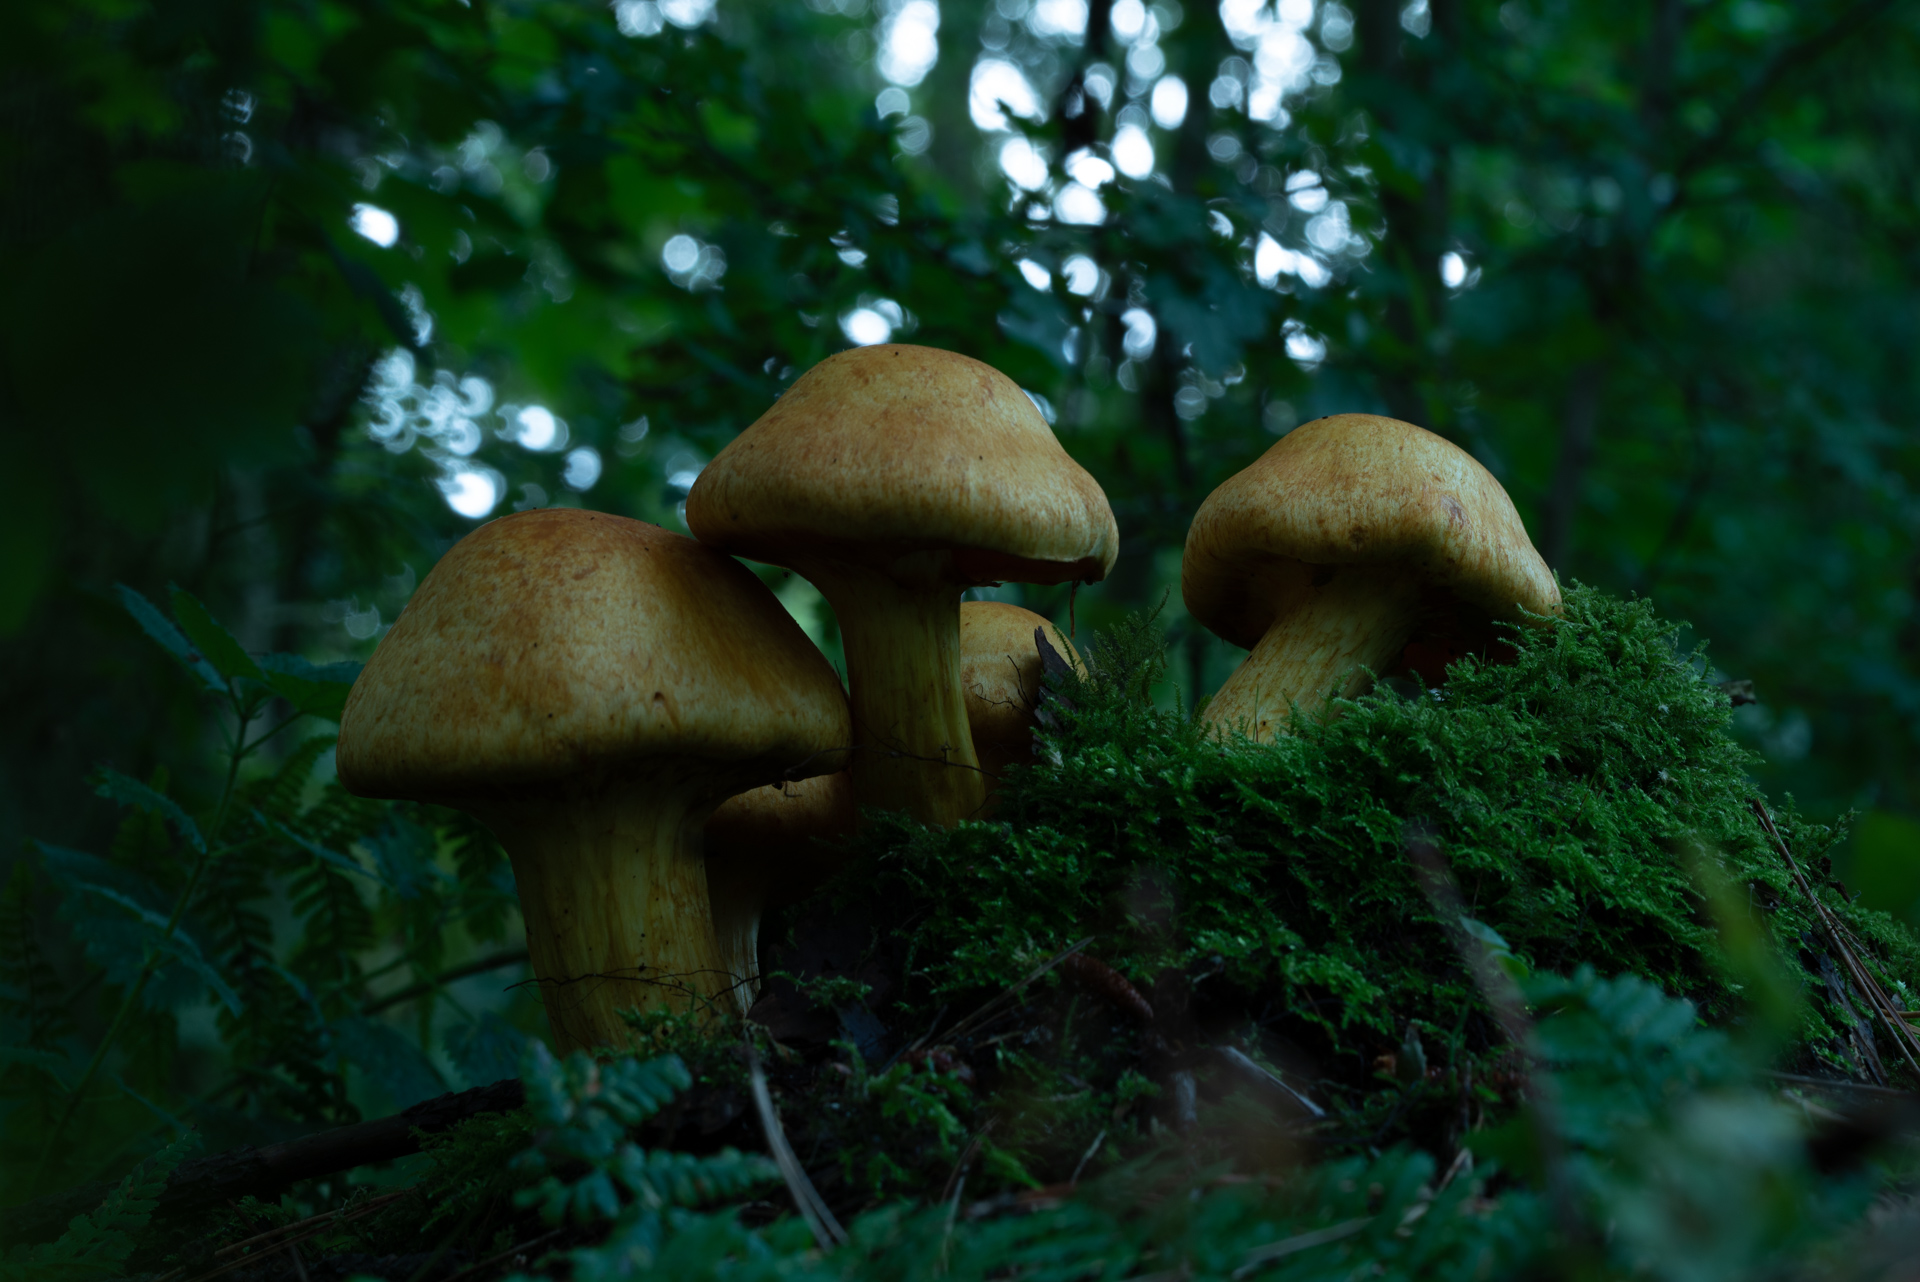
What started out as a little side-project quickly grew out to be the subject I get asked about the most: how do you create those glowing mushrooms?
To be honest, it's a complicated process that involves light-painting and combining many images to make it look completely out of this world. But that's exactly what you will learn to do yourself in this complete processing tutorial.
In three videos and a huge article (included) you will learn everything about glowing mushrooms to recreate little fantasy fairy tales for yourself.
What’s Included?
⭐ 3 Processing Videos - one entirely new video recorded in 2022.
⭐ In-depth article that discusses lighting, composition, and even finding mushrooms - updated regularly with additional information.
⭐ 4 PSD-files (resized) of “The Magic Mushroom” with every adjustment still present.
⭐ All raw-files included.
⭐ Read-me file linking to additional tools.
Now with audio and subtitles!
Monumental Trees in Photoshop Tutorial Video
Forest Processing Video - Creating Moody Light from Strong Daylight.
Unique Things you Learn in this Video
✔️ Working both a single image & focus stacking multiple frames for epic trees.
✔️ Aligning and blending multiple exposures.
✔️ Highlight recovery.
✔️ Cloning and sensor dust removal.
✔️ Luminosity Processing.
✔️ Fine tuning color adjustments.
✔️ Adding sunlight.
✔️ Orton effect creation and control.
✔️ Color dodging.
✔️ Using Camera Raw Filter to full effect.
✔️ Using Color Efex Pro.
✔️ Using Luminosity Masks (TK Rapid Mask explained as well as not using 3rd party tools at all, but plain Photoshop).
These moody forest shots weren’t that moody to begin with! Learn how to create mystical landscape art in broad daylight with this full-length video tutorial. Two very different approaches are shown in each part of this video. In one, we start in Lightroom and in the other we start in Camera Raw and I show you that they their raw conversion engine is the same! In both cases, we move into Photoshop to see the magic happen.
Watch me edit both “The Elder” and "Catch the Spirit" - start to finish. During this 2+ hour long silent editing video, you will learn various visual effects such as Soft Glow, Orton and Color Grading, aside from a host of stuff like warping, focus stacking by hand and dodging that will make your forest images sing.
What’s Included in this Updated video?
⭐ High quality voice guiding by a professional, native English speaking voice actor!
⭐ Two full start-to-finish editing videos, with very different approaches!
⭐ Two PSD-files (resized) of both images with every adjustment still present.
⭐ An enormous amount of subtitles, detailing every thought and theory behind the adjustments shown on screen.
⭐ Read-me file linking to additional tools.
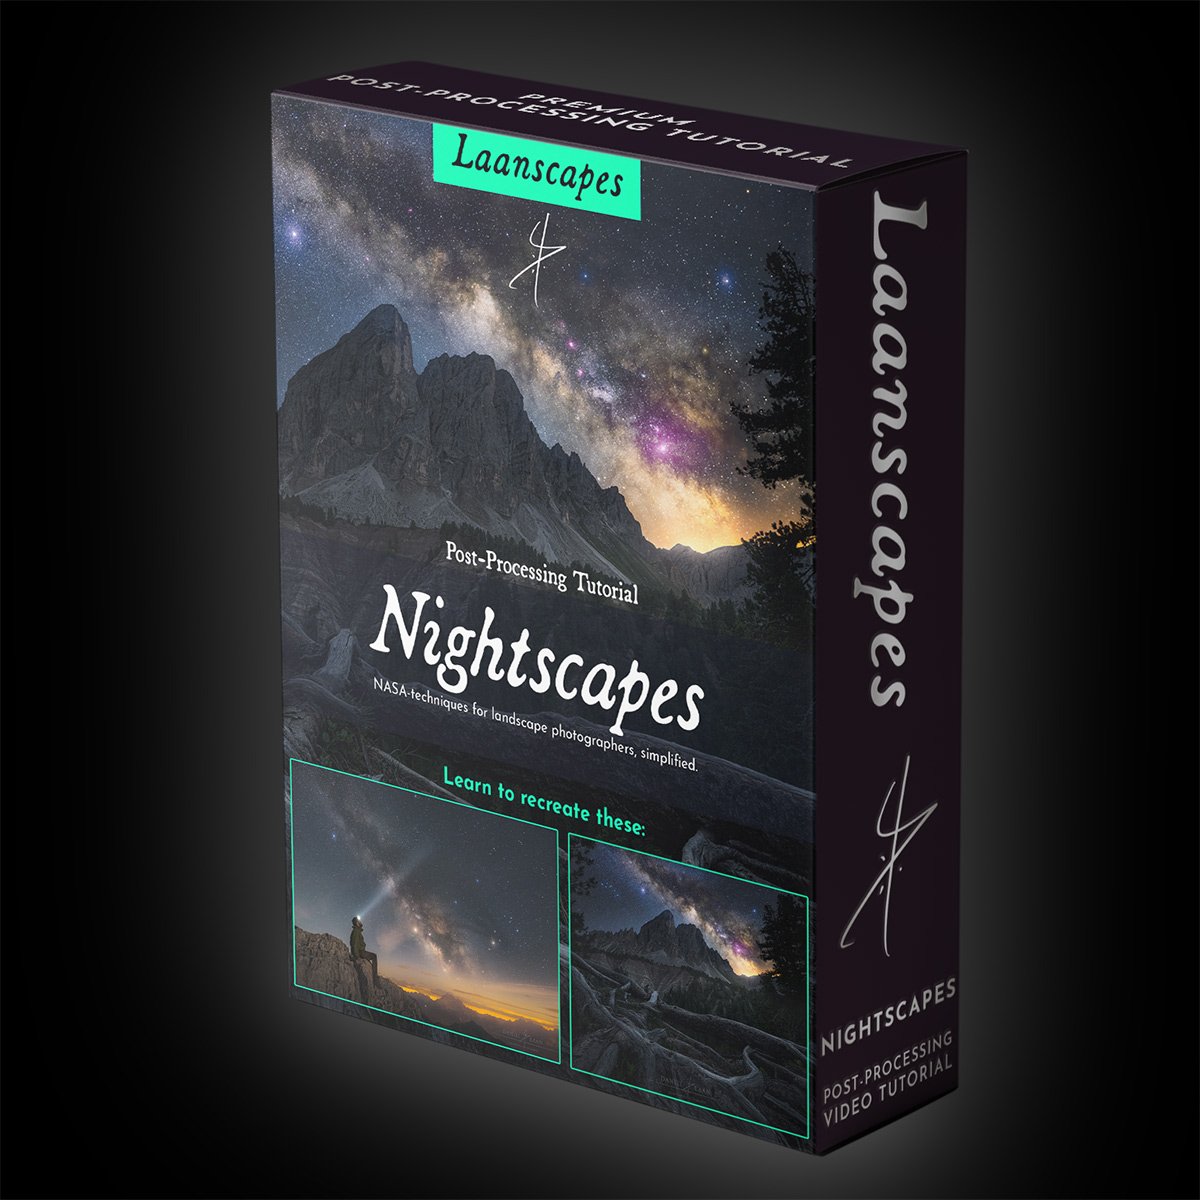
Nightscapes
Learn to create dreamy, noiseless nightscape images featuring the Milky Way in 4 different levels.
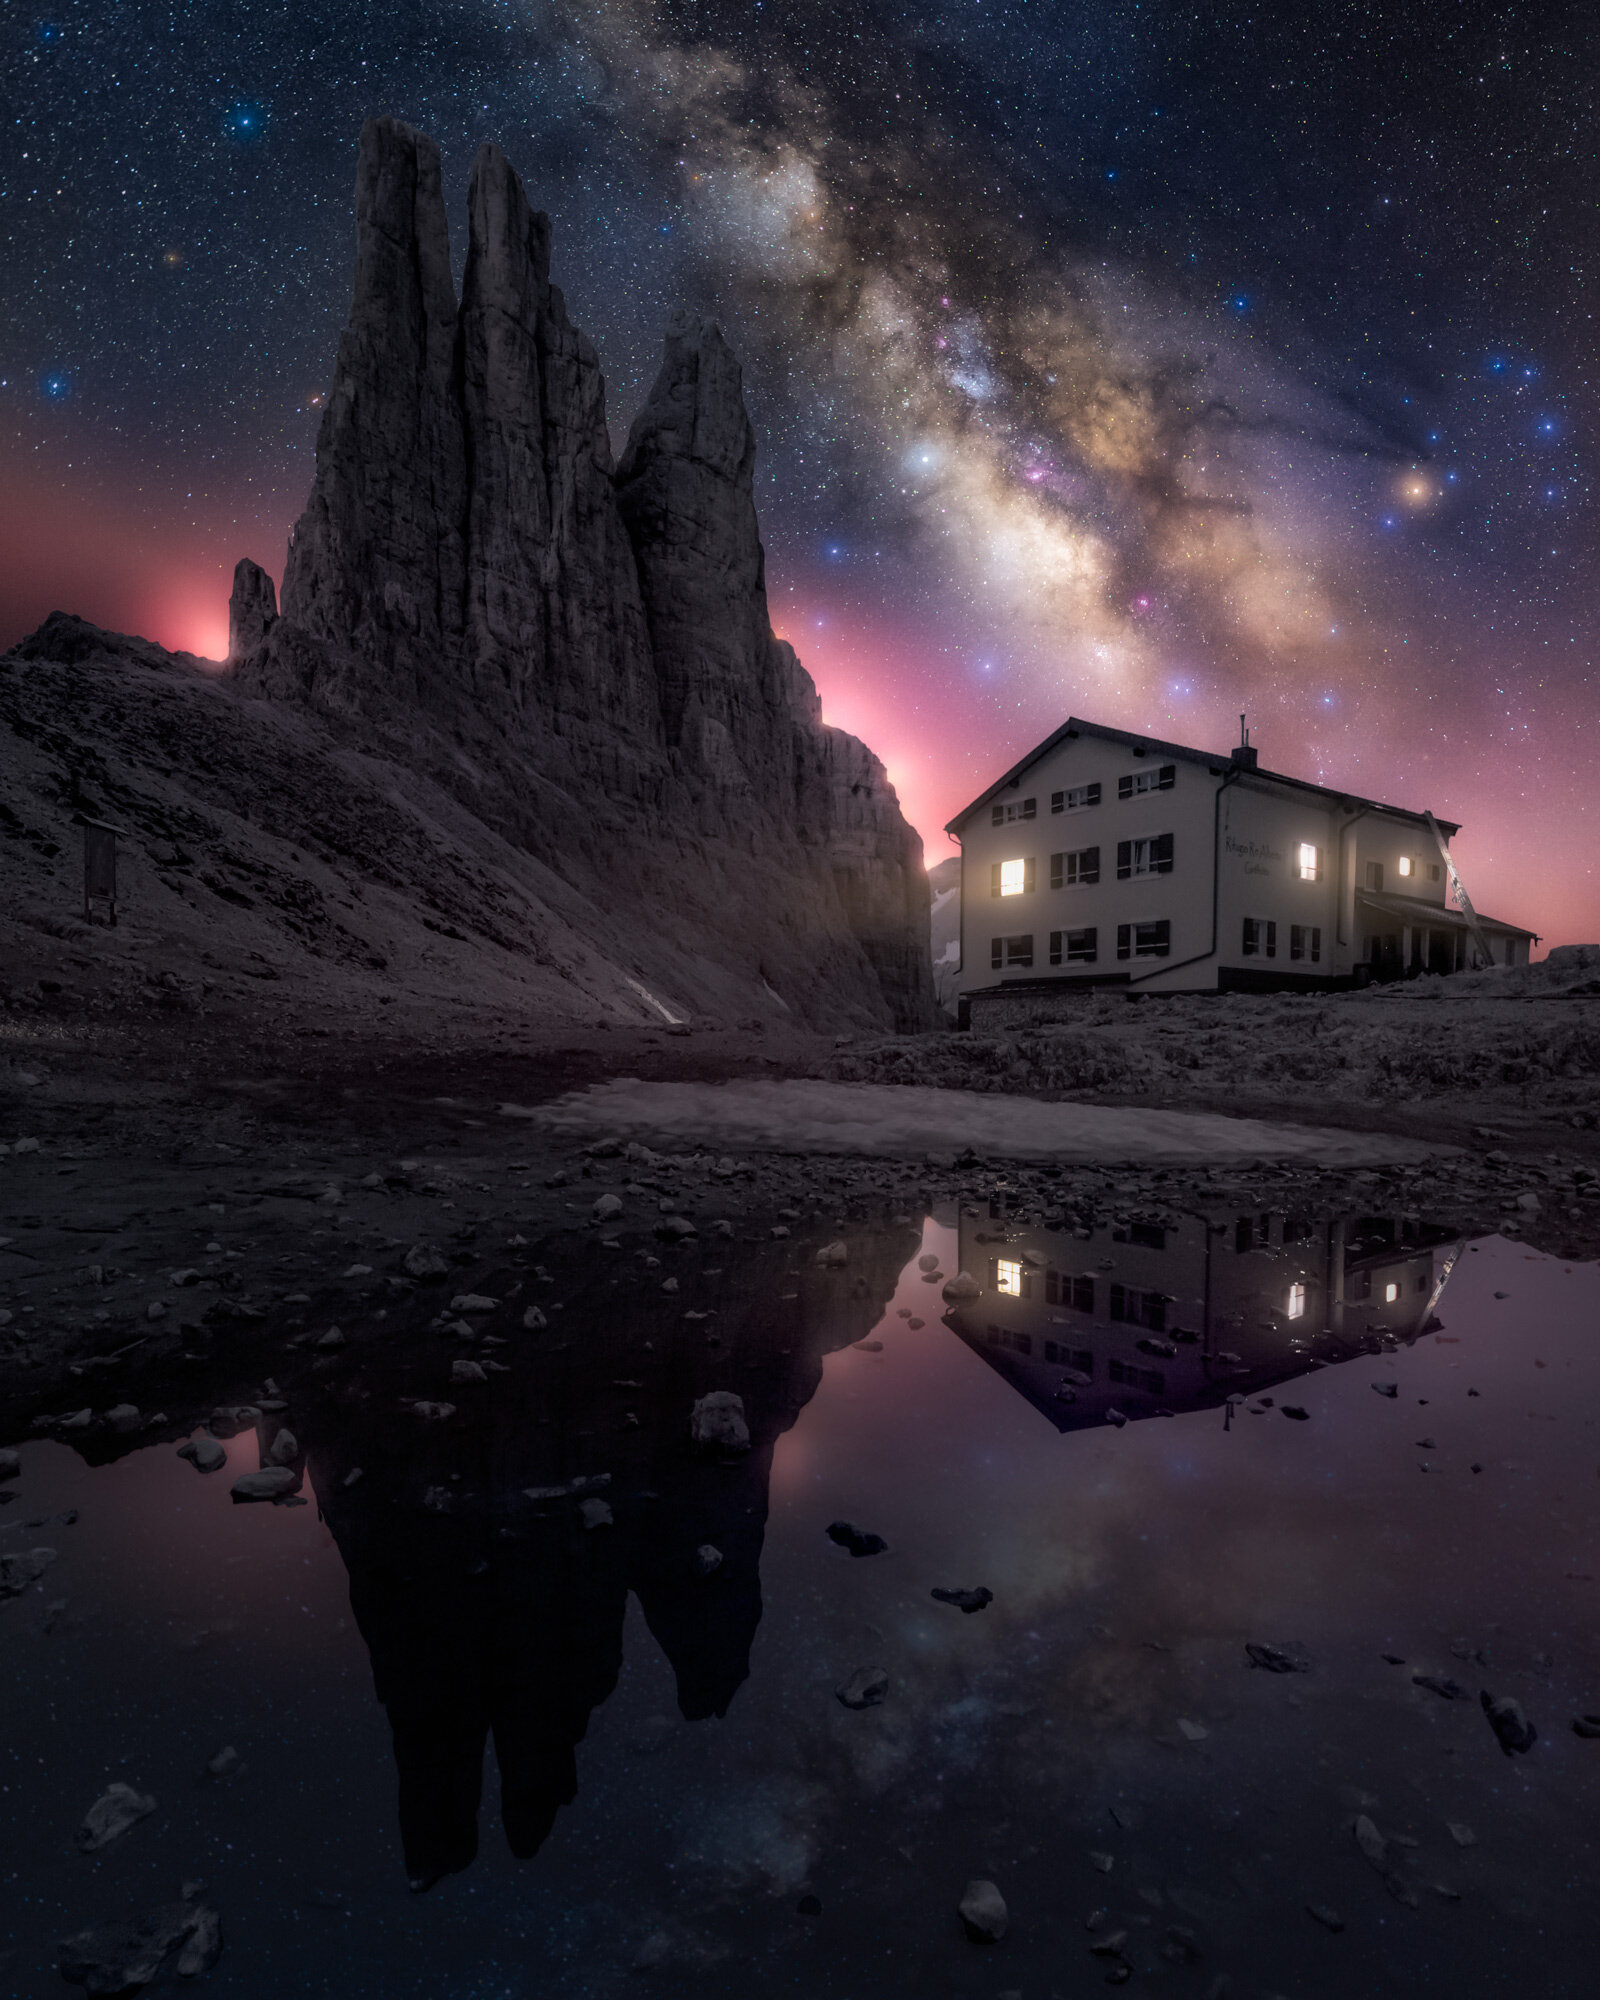
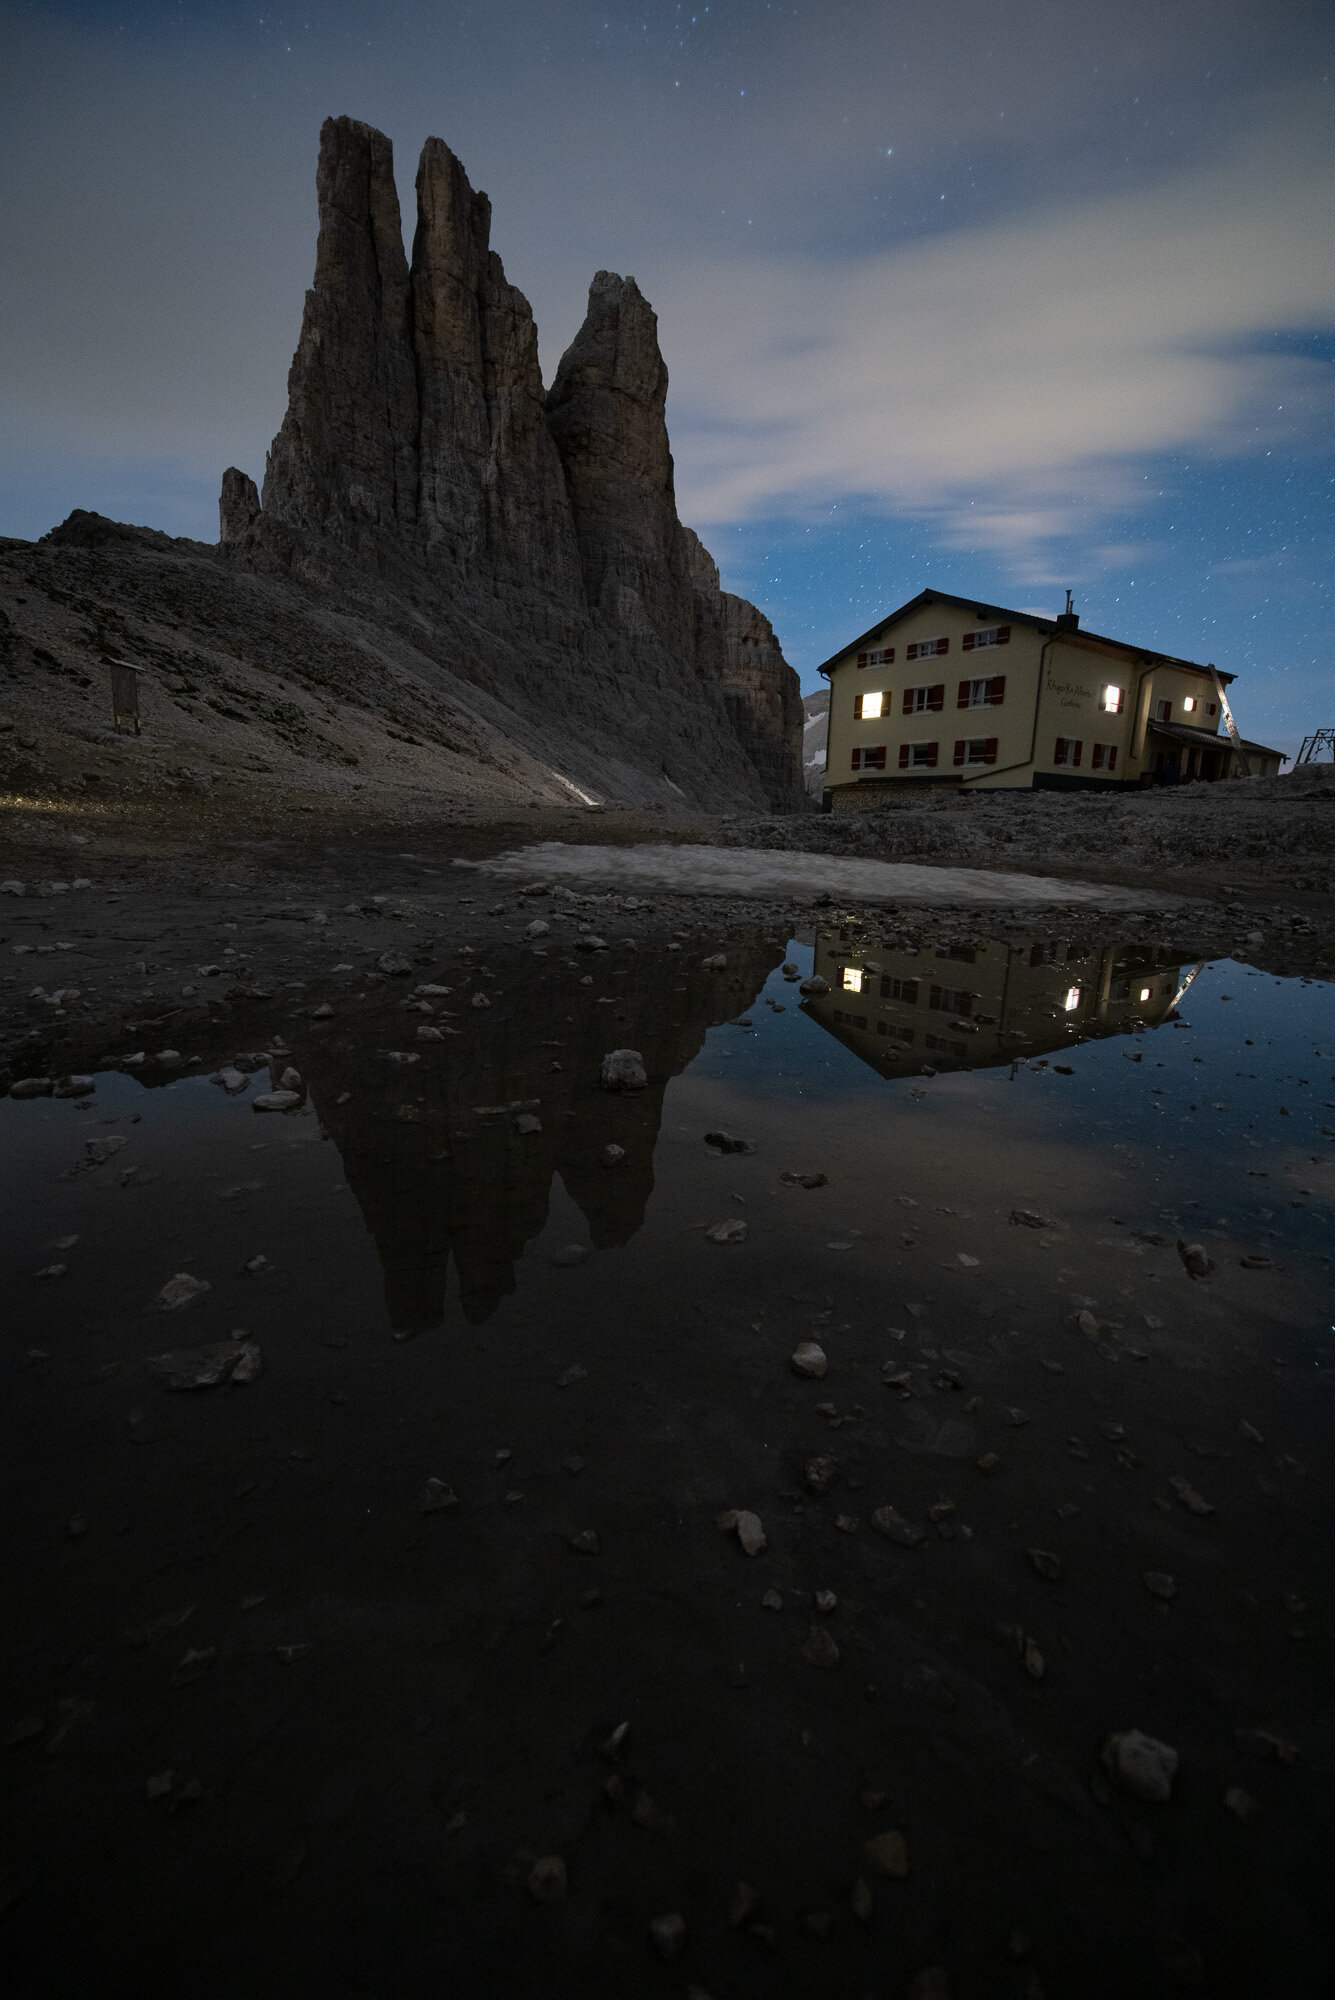
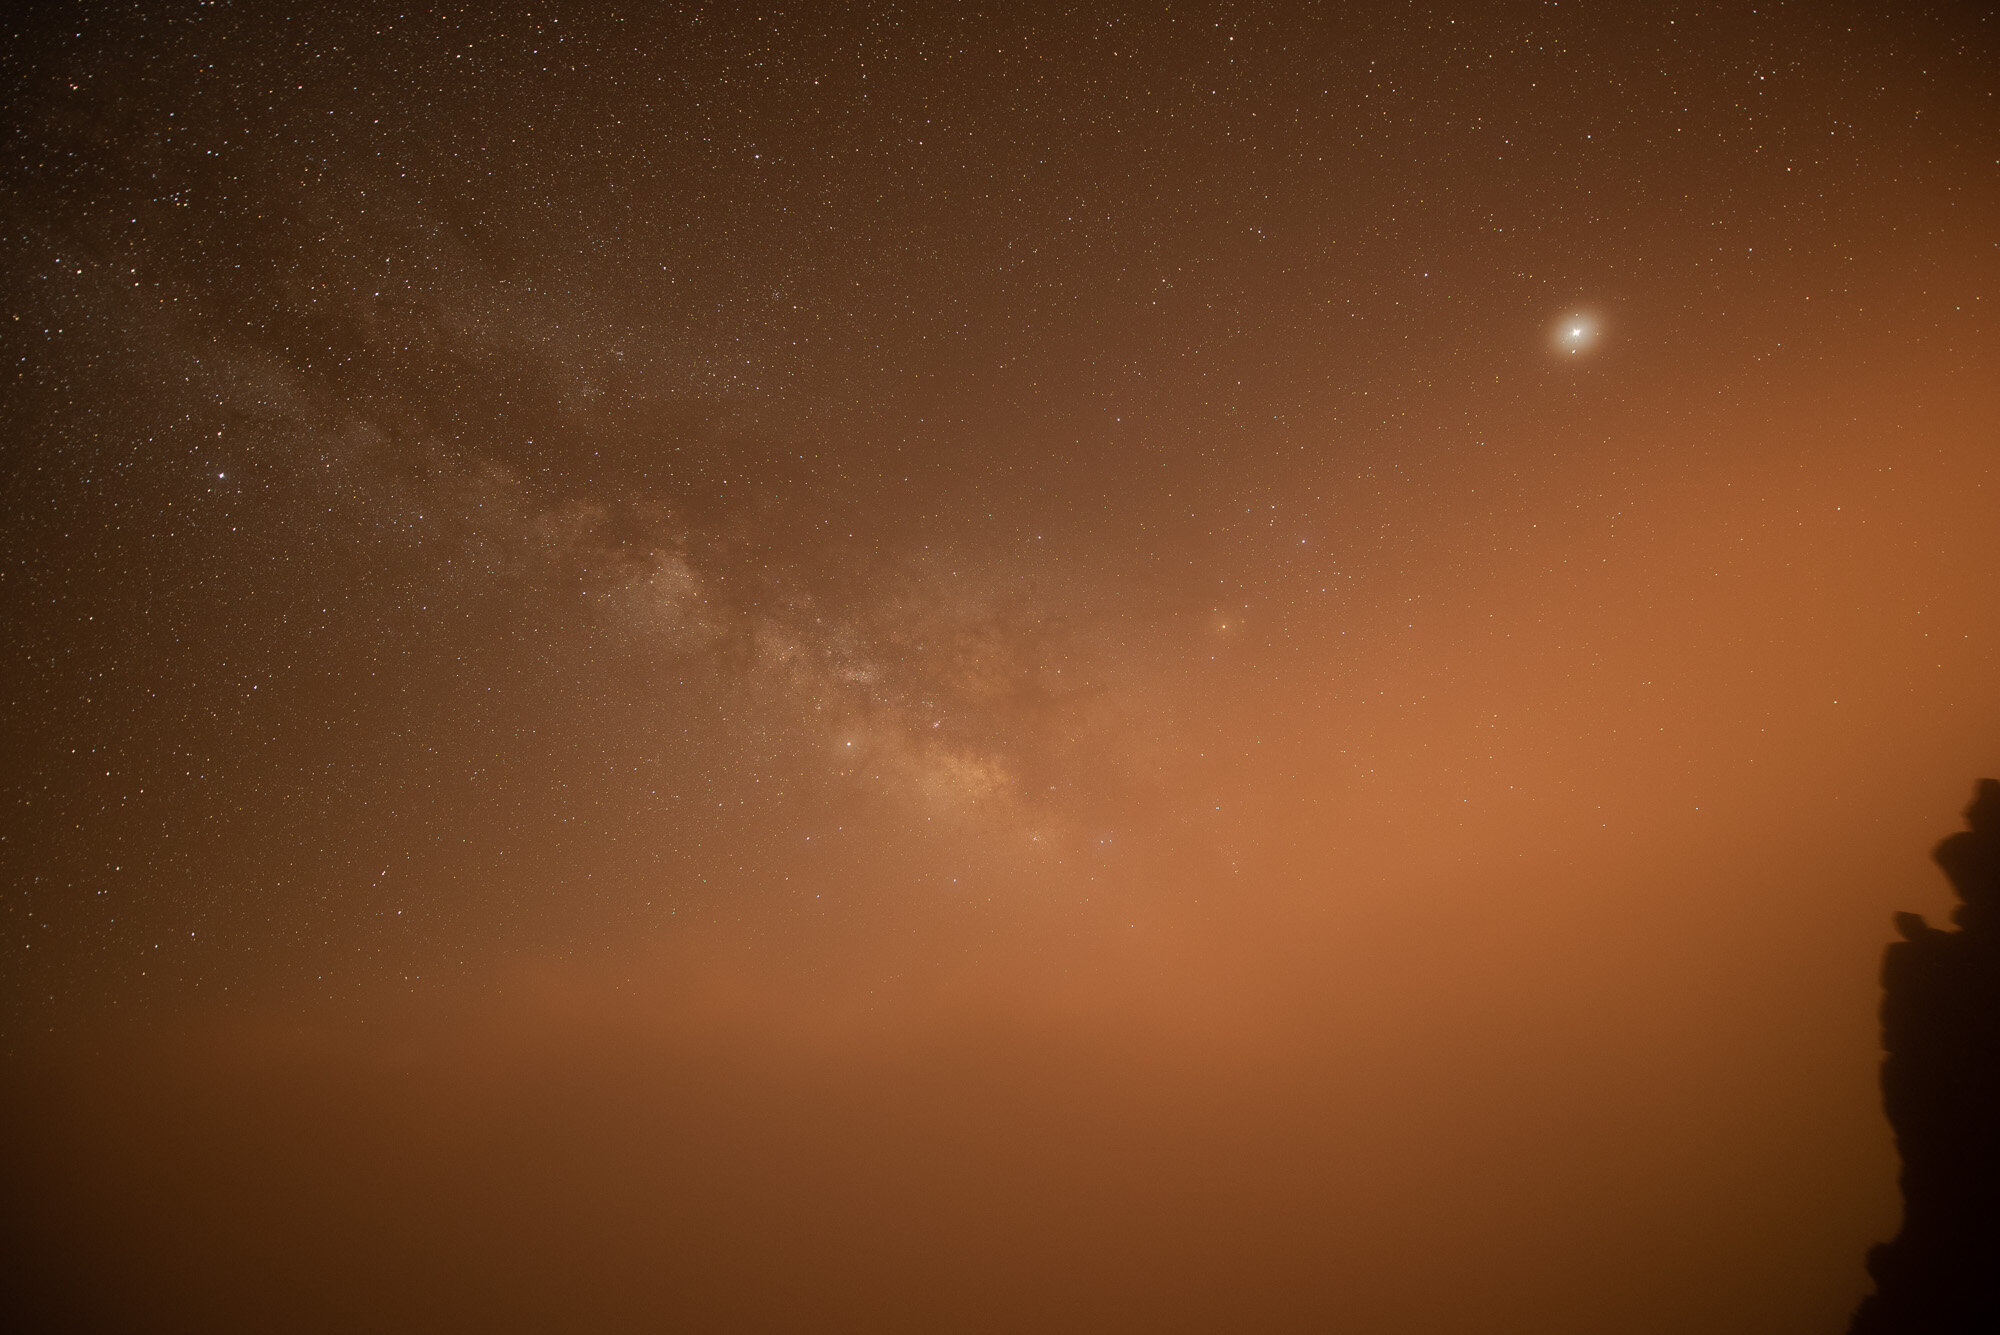
We will cover a lot of specific post-processing techniques for this type of scene in Nightscapes, including enlarging and blooming individual stars, enhancing the Milky Way without noise, cleaning hot/stuck/dead pixels, and making a feature out of light pollution.
Please read the descriptions of each video to see what they offer. Or get them both. :)
We call astrophotography landscapes “Nightscapes” for short. In this Photoshop editing tutorial we’ll take your night sky images to the stars. In these two sister tutorials, one for beginners and one for intermediate to experienced users of Photoshop, you will learn how to enhance your Milky Way photos without introducing additional noise.
This is the result of Level 1.
This is the result of one of the images that we edit in this video. It won Silver in the 2023 World’s Top 10 Landscape Photographers contest. You’ll learn stacking, tracking and the whole processing start to finish.
⭐ The most hefty download I offer: over 18 GB of videos, PSD files, raw files and even intermediate TIFF files so you don’t have to stack yourself.
⭐ Includes English audio AND subtitles.
⭐ High quality (4k25) video.
⭐ Easy to follow along a first time, watch a few times to master. High replay value!
⭐ Includes tips & tricks for nightscapes in the field and links to tools and additional software.
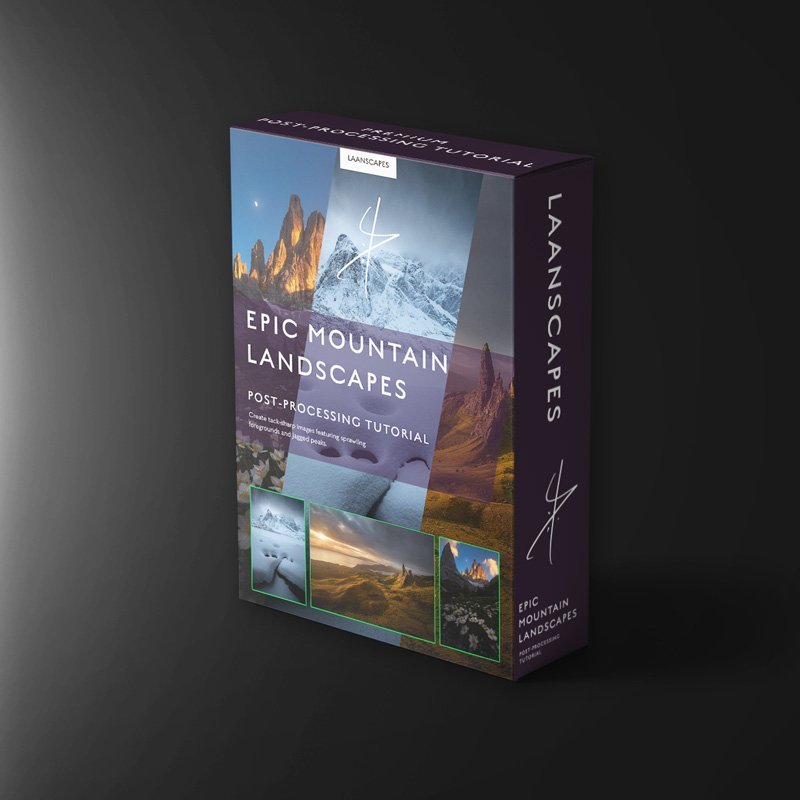
Epic Mountain Landscape Tutorial
Three mountain photos under different but equally challenging conditions.
What’s Included in this Video?
⭐ 3 complete post-processing videos using Lightroom (or Bridge and Camera Raw) and Photoshop.
⭐ PSD-files (resized) of all three workflows with every adjustment still present.
⭐ 3 Photoshop actions (Orton Effect, Output Sharpening and Light Bleed) that save you time at the computer.
⭐ Read-me file linking to additional tools.
Unique things You Learn:
✔️ Handling overexposed skies
✔️ Handling complex blends that include Focus Stacking and Perspective Blending
✔️ Simultaneous Raw pre-processing
✔️ Aligning for Focus Stacking in Photoshop
✔️ Blending a Focus Stack by Hand
✔️ Creative Controlled Warping
✔️ Dodging for detail
✔️ Luminosity Selections (RGB Channels and Tony Kuyper’s luminosity masks)
✔️ Cloning and sensor dust removal
✔️ Post-Processing for a dramatic film-look
✔️ Orton effect creation and control
✔️ Adding Light Bleed and other light effects
✔️ Dark Mood processing
Have you ever had the feeling that the scene just won't fit even your widest lens?
In these 3 video tutorials, you will learn to use the available light to your advantage.
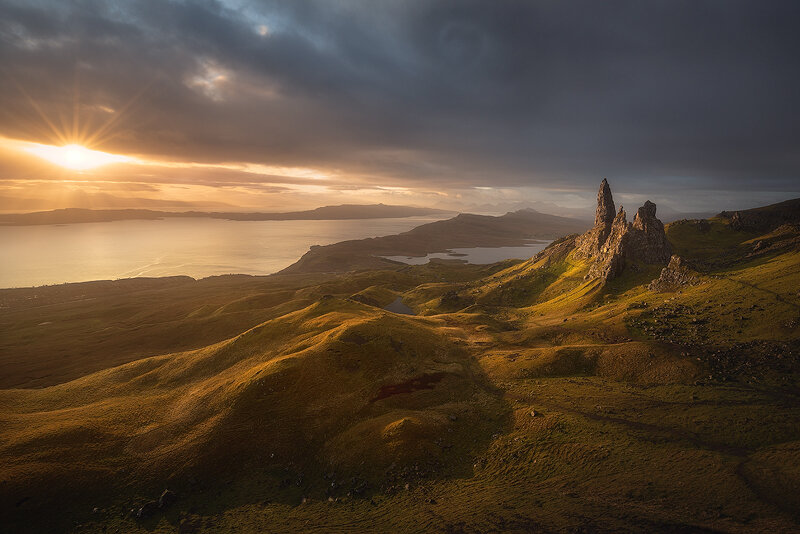
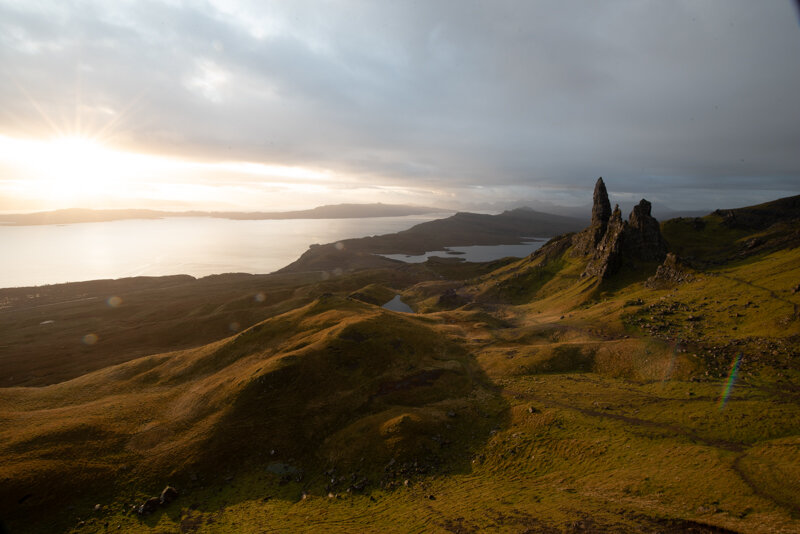
Starting out with the Old Man of Storr, we’ll work on what seems to be a straightforward shot. The overexposed sky is something we need to work on, as is the flare that we got from shooting at an awkward angle against the light.
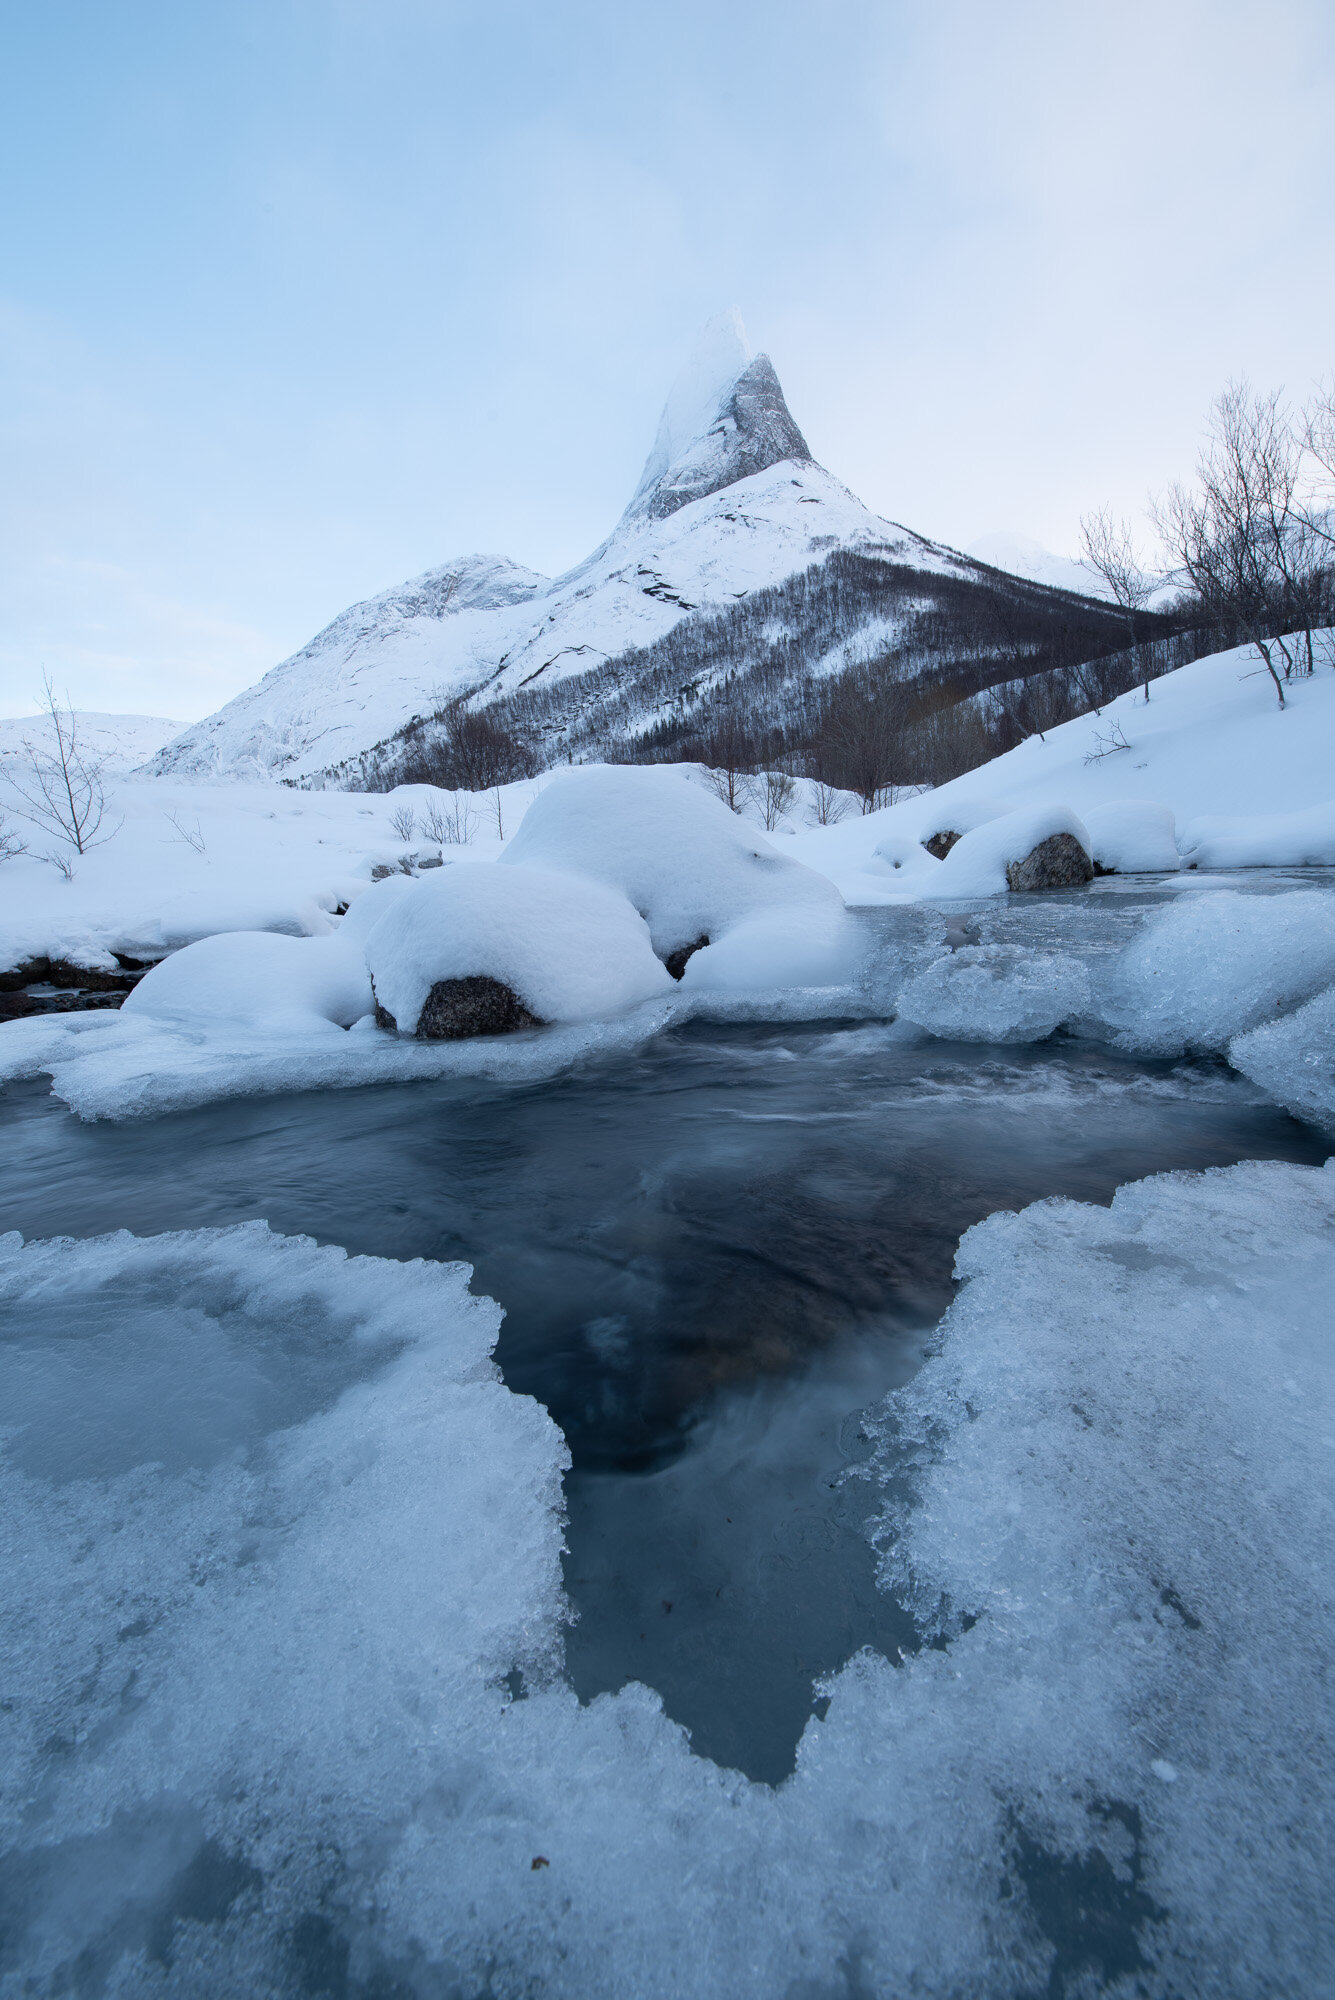
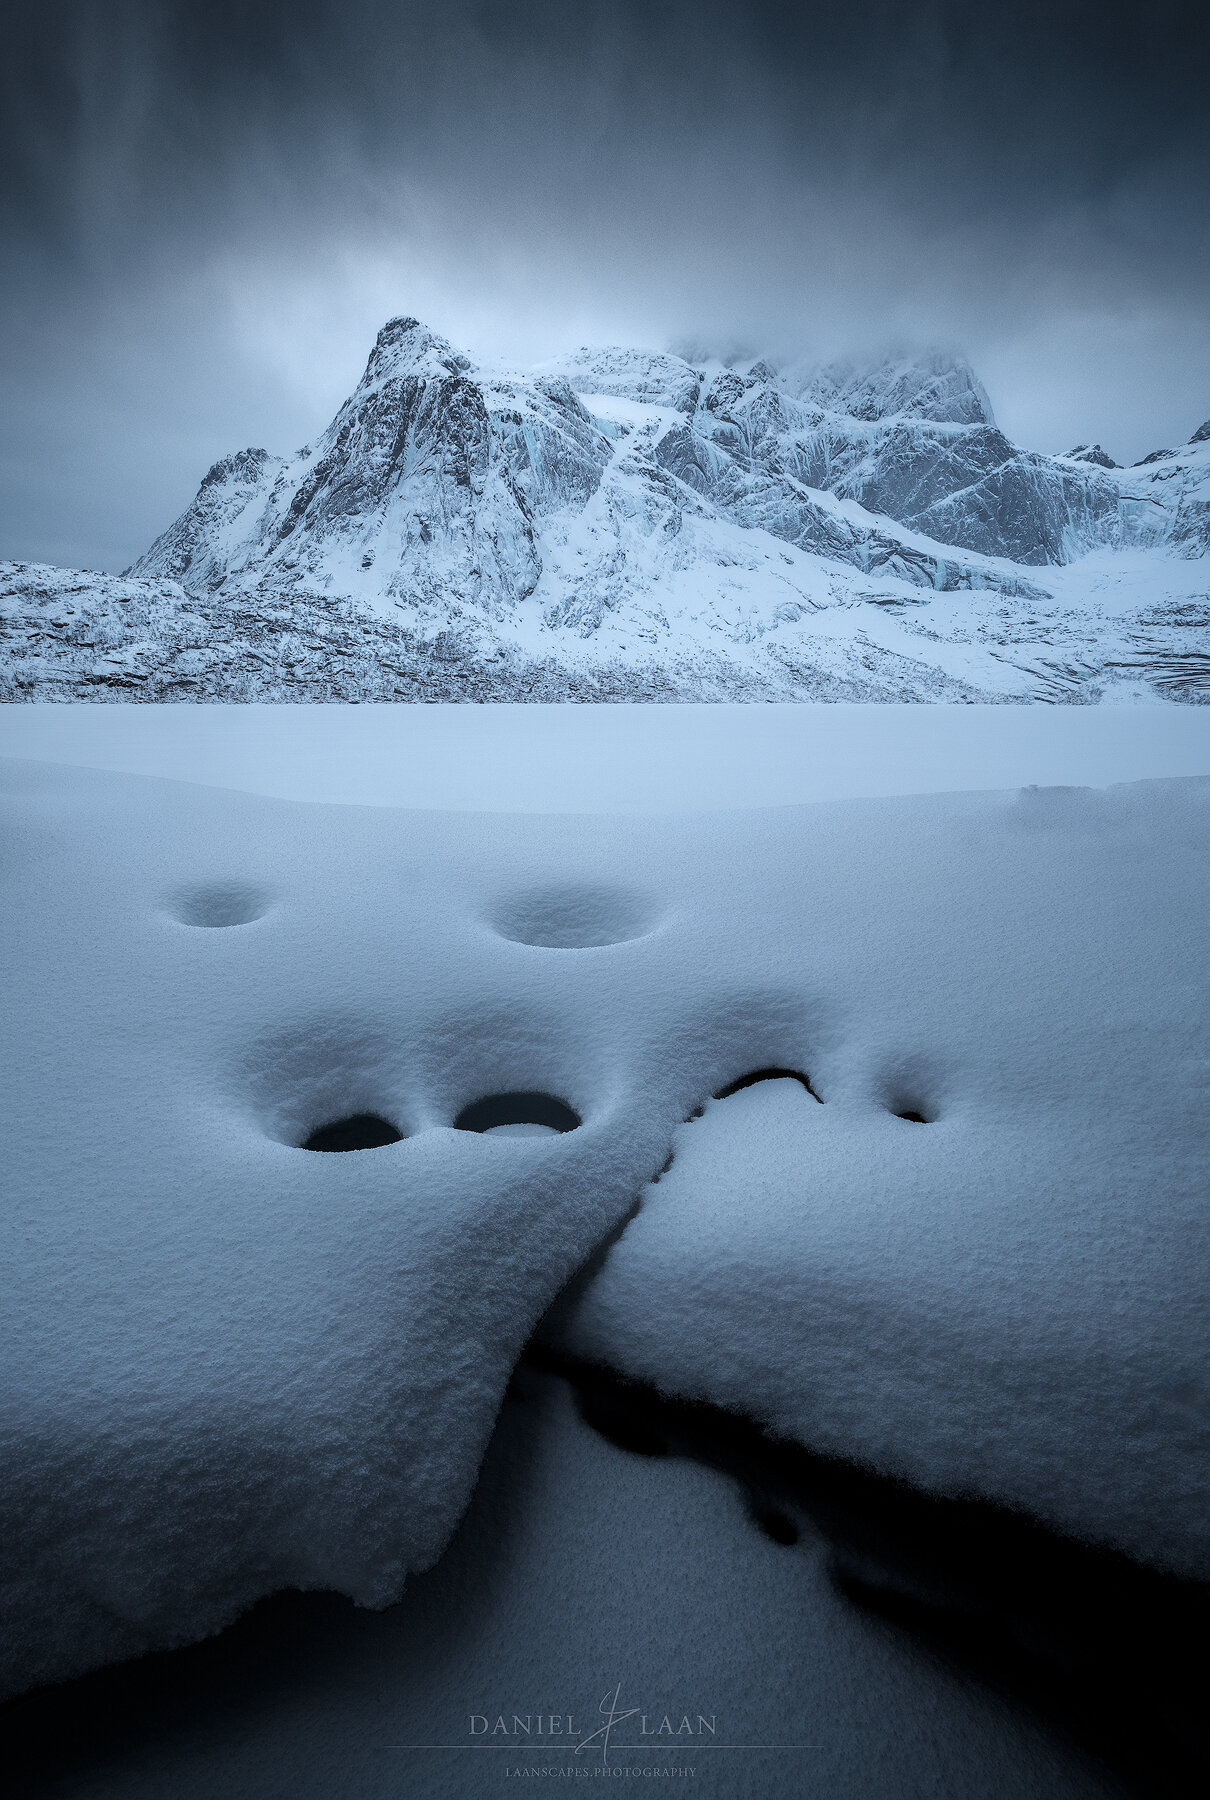
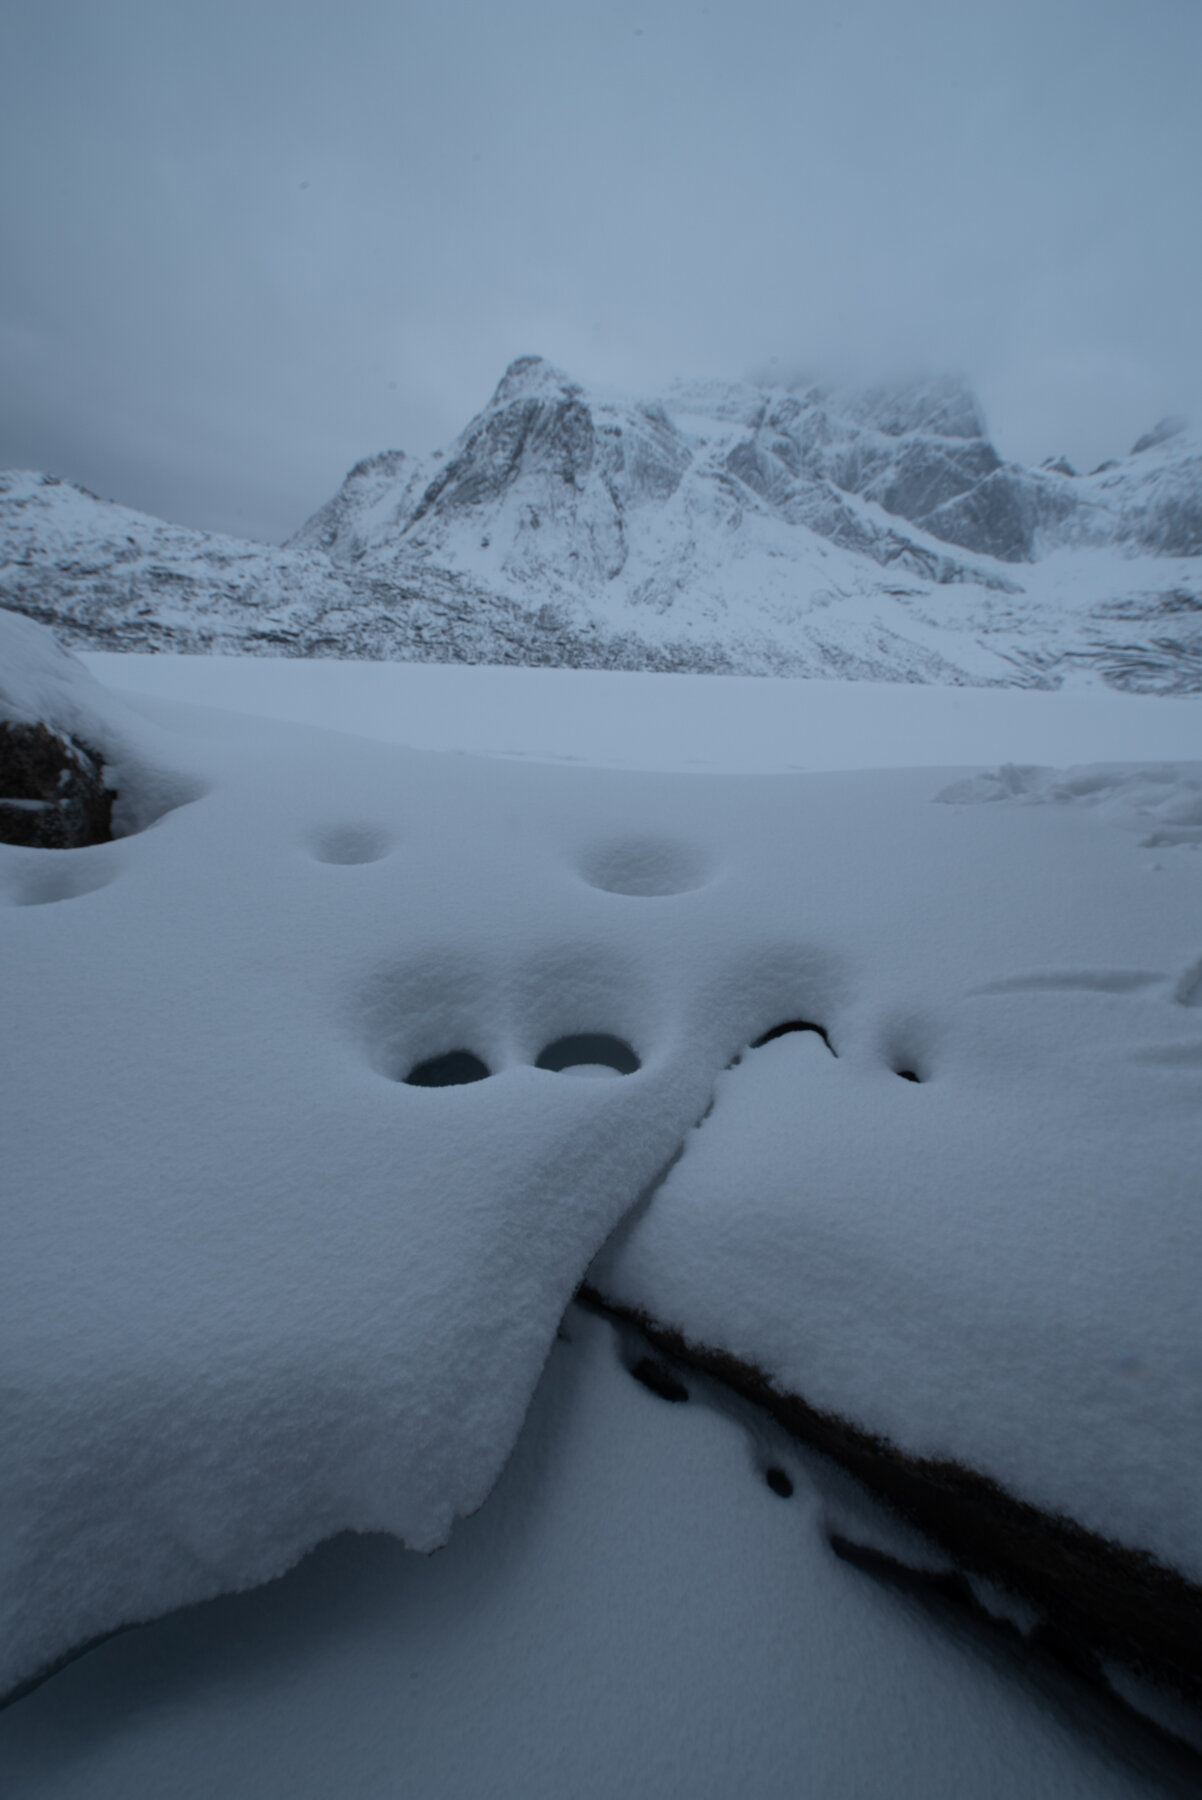
Next, we visit the Lofoten and shoot a calm moody and snowy scene under extremely flat light. You will learn to pull detail from the overcast sky you didn’t even know that was there and create a crazy sharp result through focus stacking.
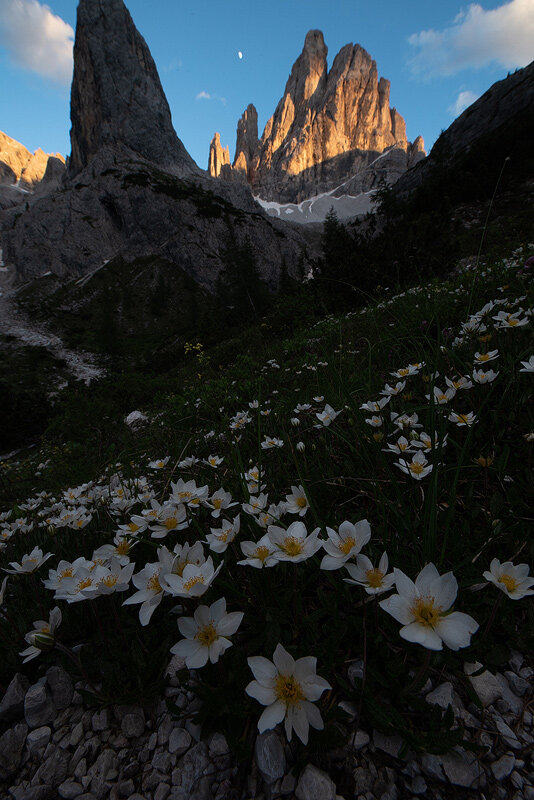
Lastly, we’ll put together a puzzle of multiple shots from within the heart of the Dolomites to recreate my vision in the field. Learn a difficult-to-master combination of focus stacking and perspective blending to make insanely sharp and breathtaking landscape images. All shots from start to finish. Well over four hours worth of quality "showing is knowing" with no filler.
3 PSD files and 3 Photoshop actions (with instructions) are included so you can follow along with the editing process. Also included are annotations to explain what's going on.
Ghostly Mountains Tutorial Video
Ghostly Mountains Video - Learn the Techniques that made the Movies
Unique Things you Learn in this Video
✔️ Aligning layers by hand using the Difference Blending Mode.
✔️ Selecting the best parts of different images shot in rapid succession: birds, changes in light, etc.
✔️ Leading the eye with darkness and light.
✔️ Cloud dodging and reflected light dodging.
✔️ Luminosity Selections (RGB Channels and Tony Kuyper’s luminosity masks).
✔️ Post-Processing for a dramatic film-look, straight from the fantasy films of Peter Jackson set in Middle-Earth.
✔️ Matte Painting - the technique actually used in those films to create backgrounds.
✔️ Alternatively use Skylum Luminar to create those light effects.
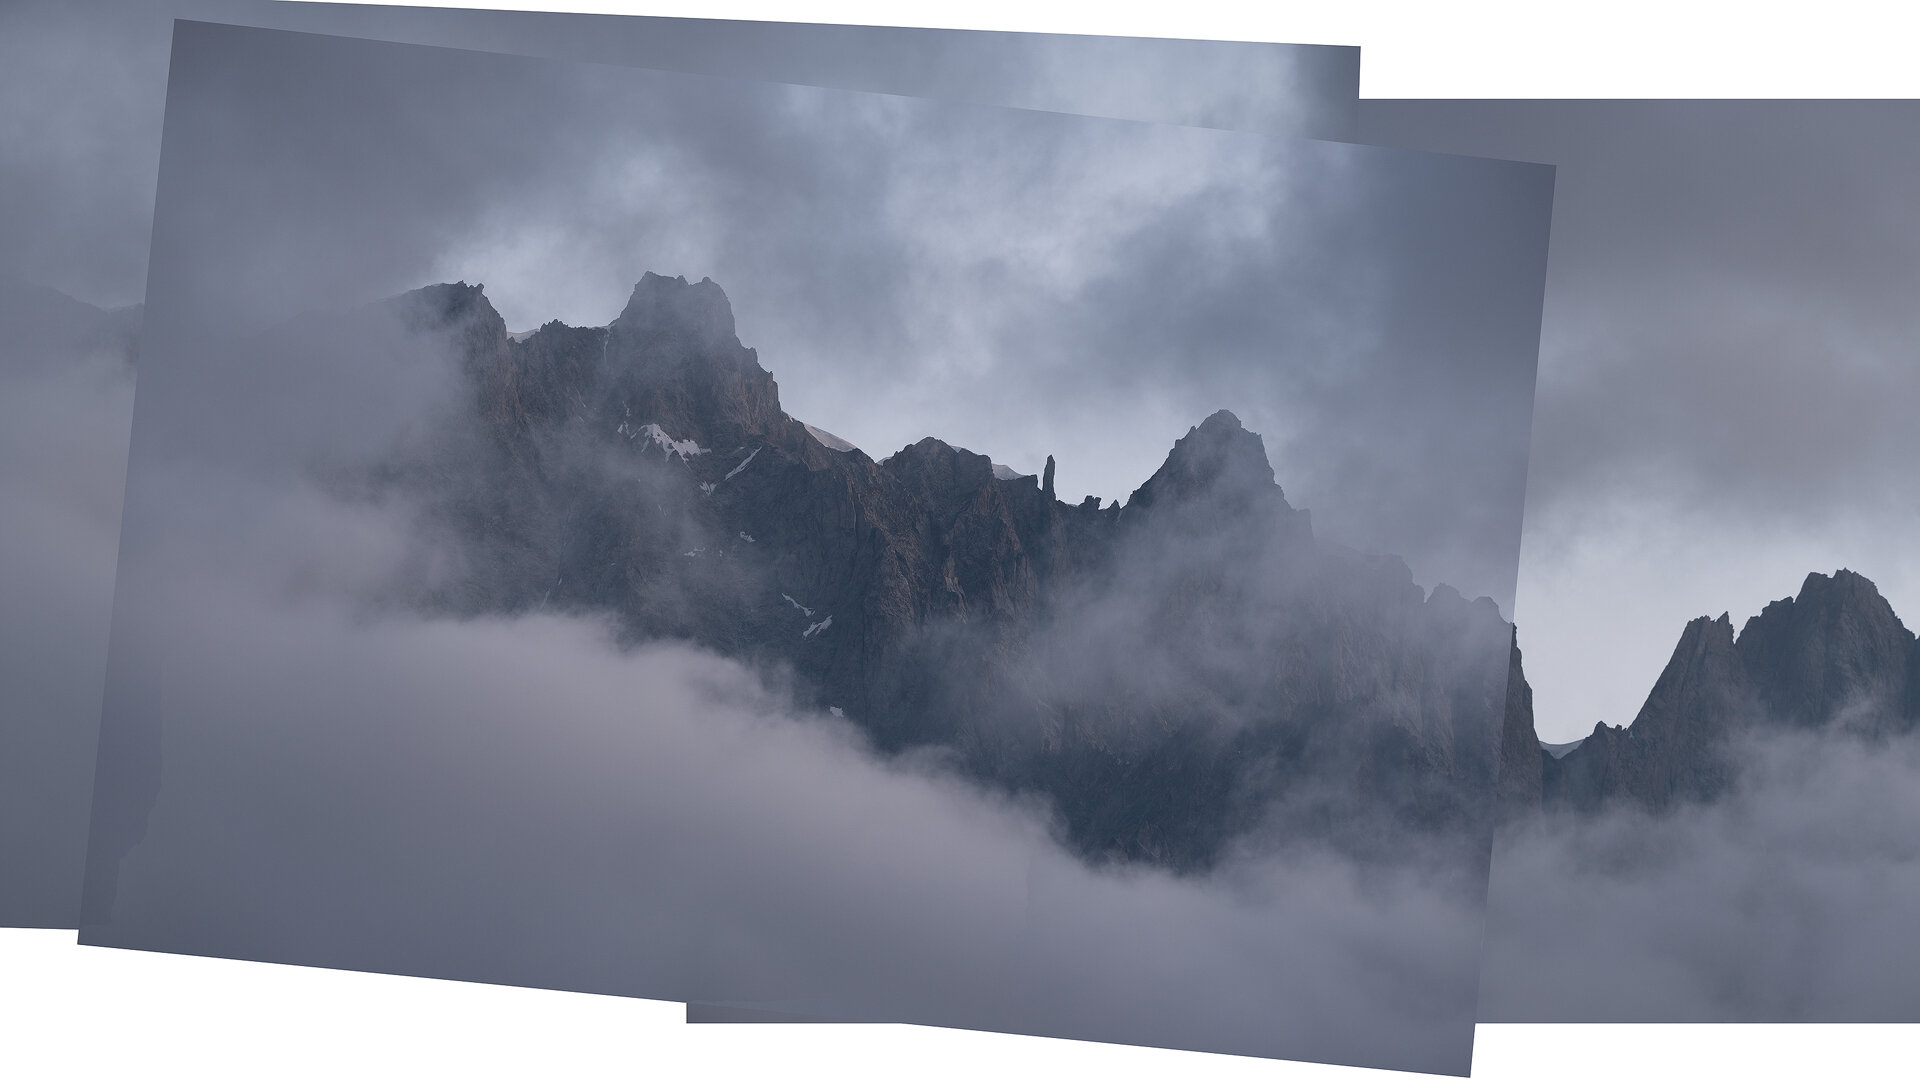
✔️ Panorama Stitching with a back-up plan.
✔️ Repairing slightly out-of-focus mountains.
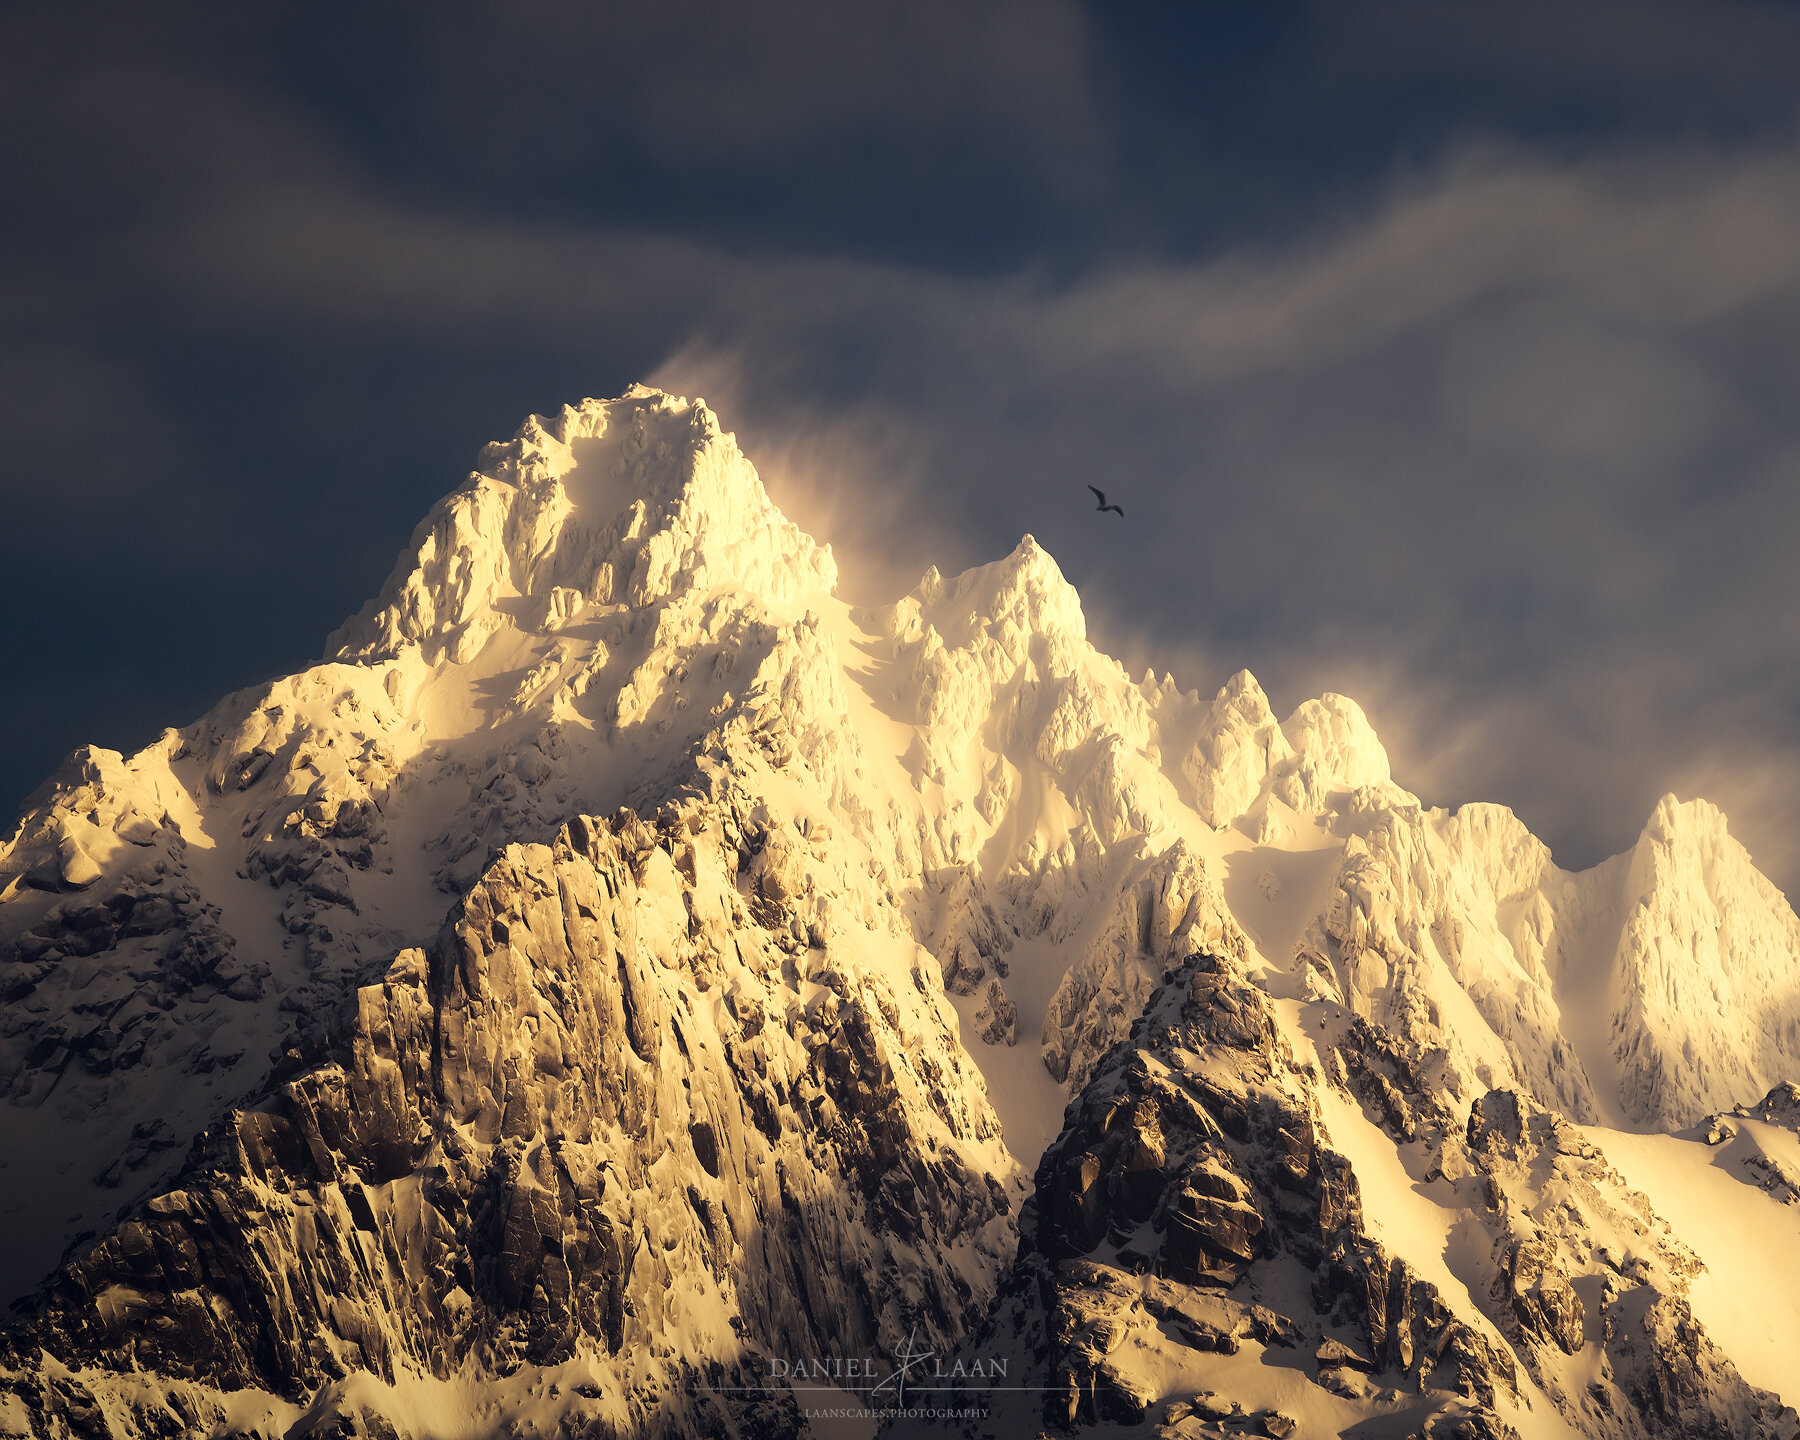
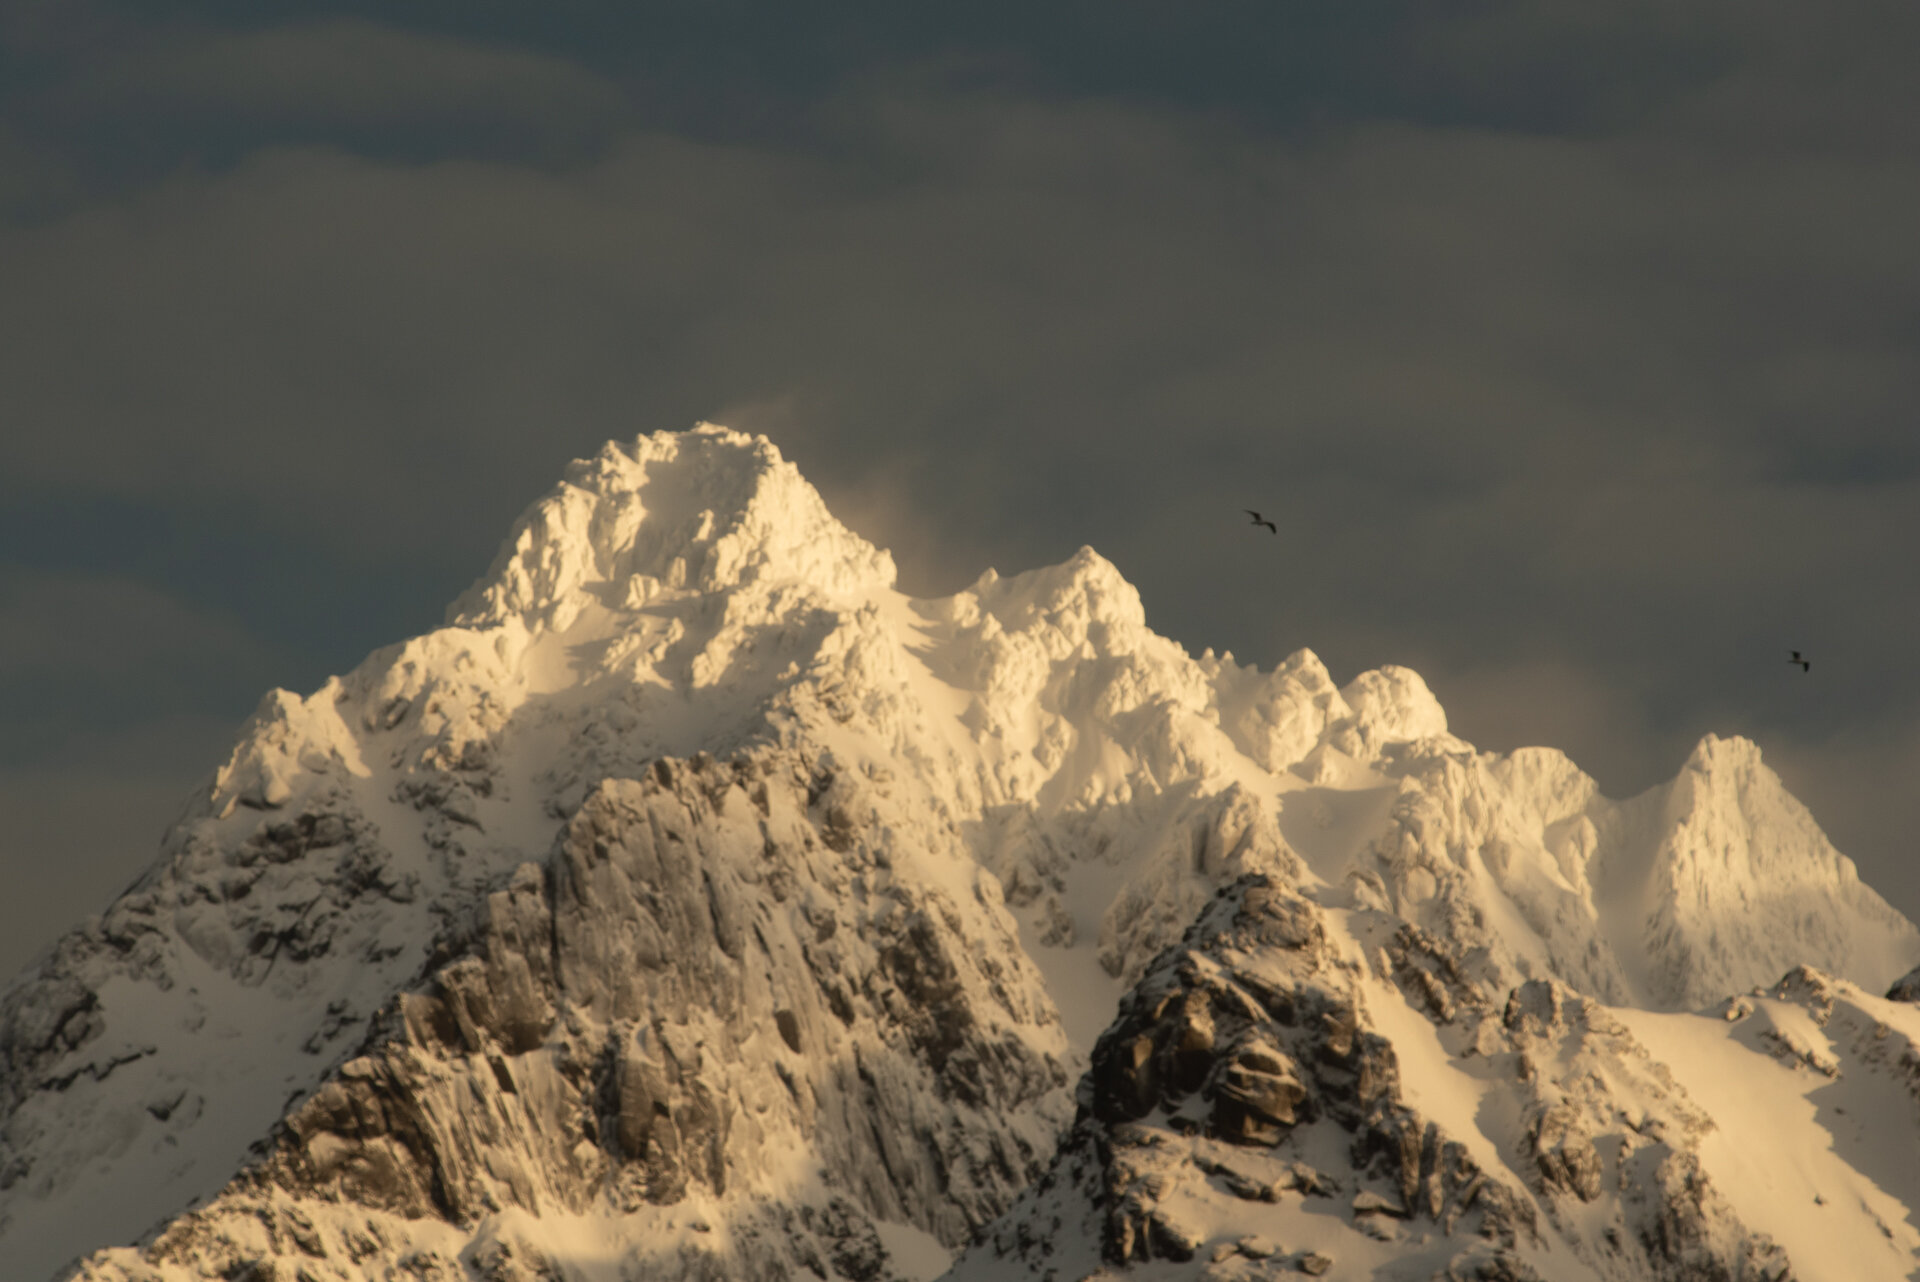
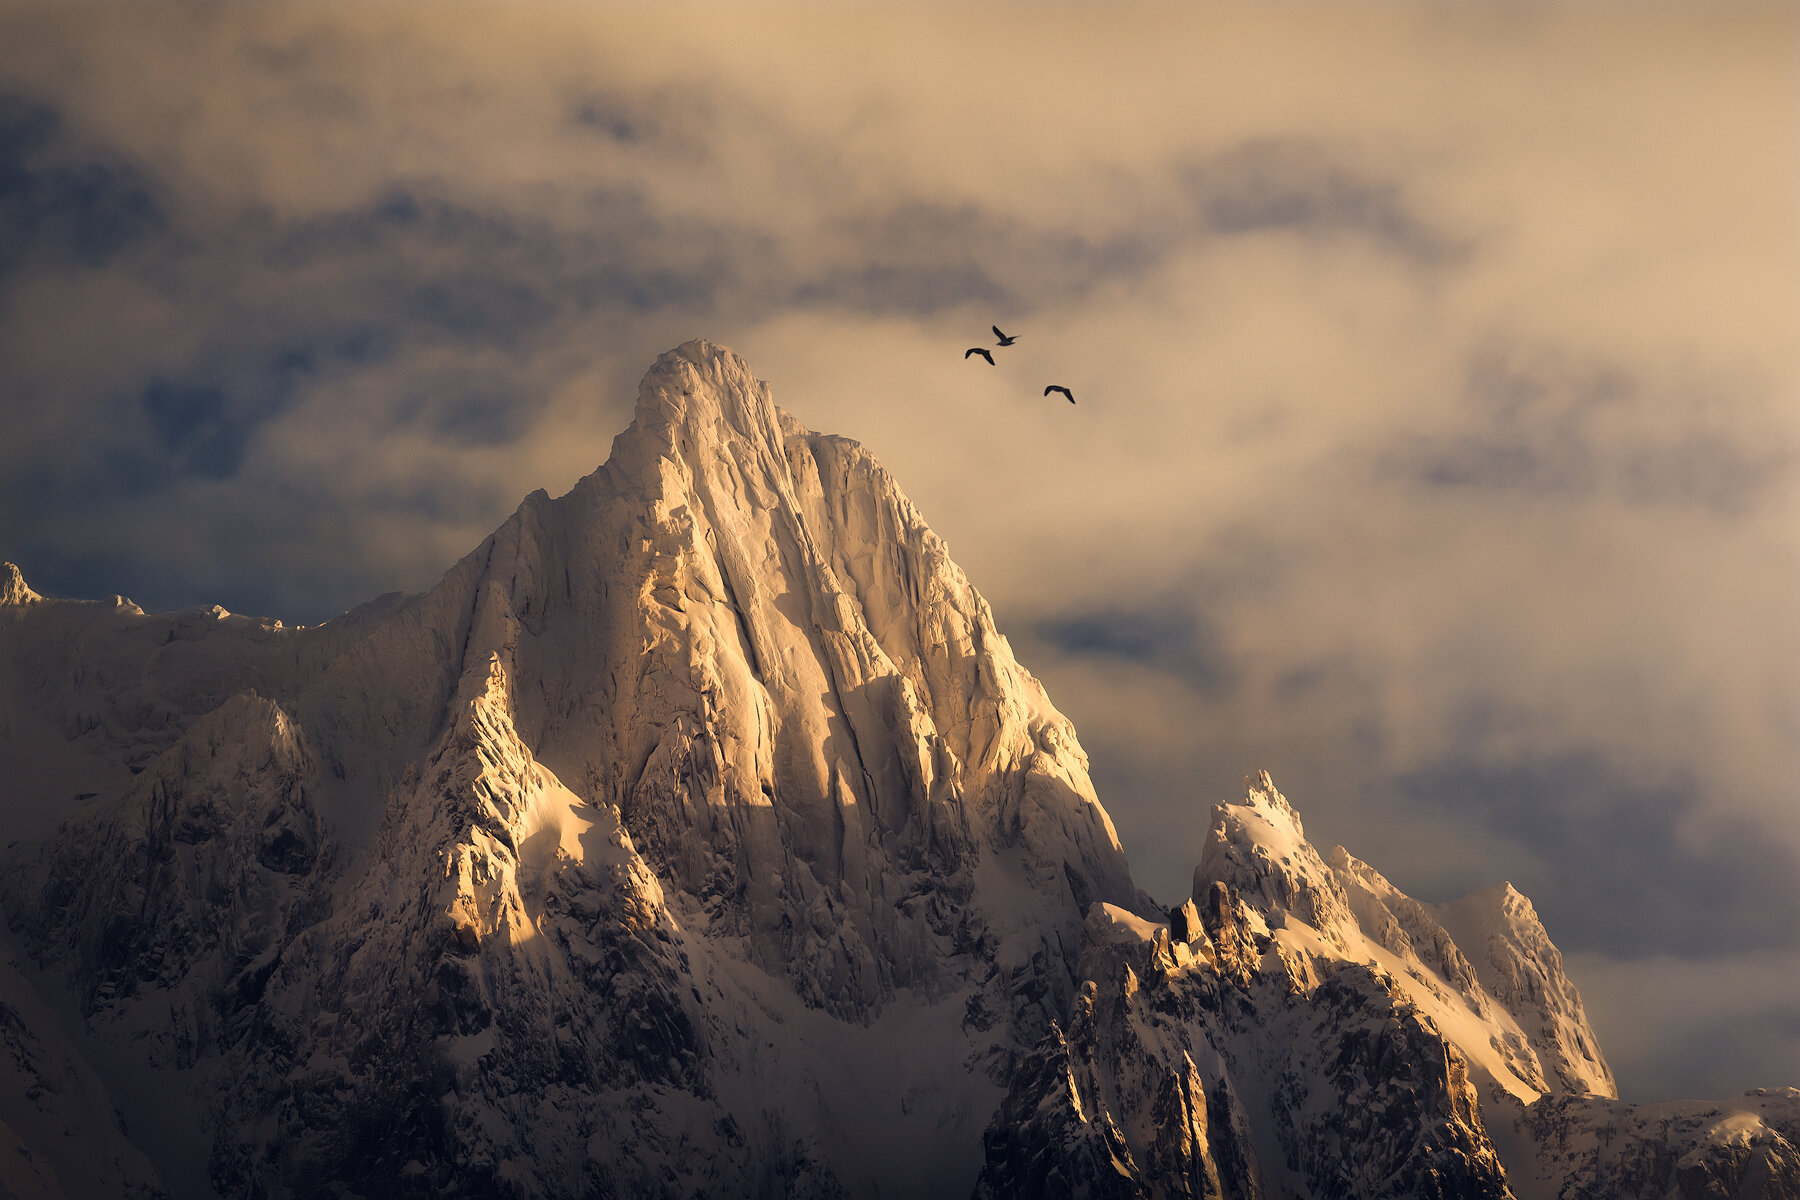
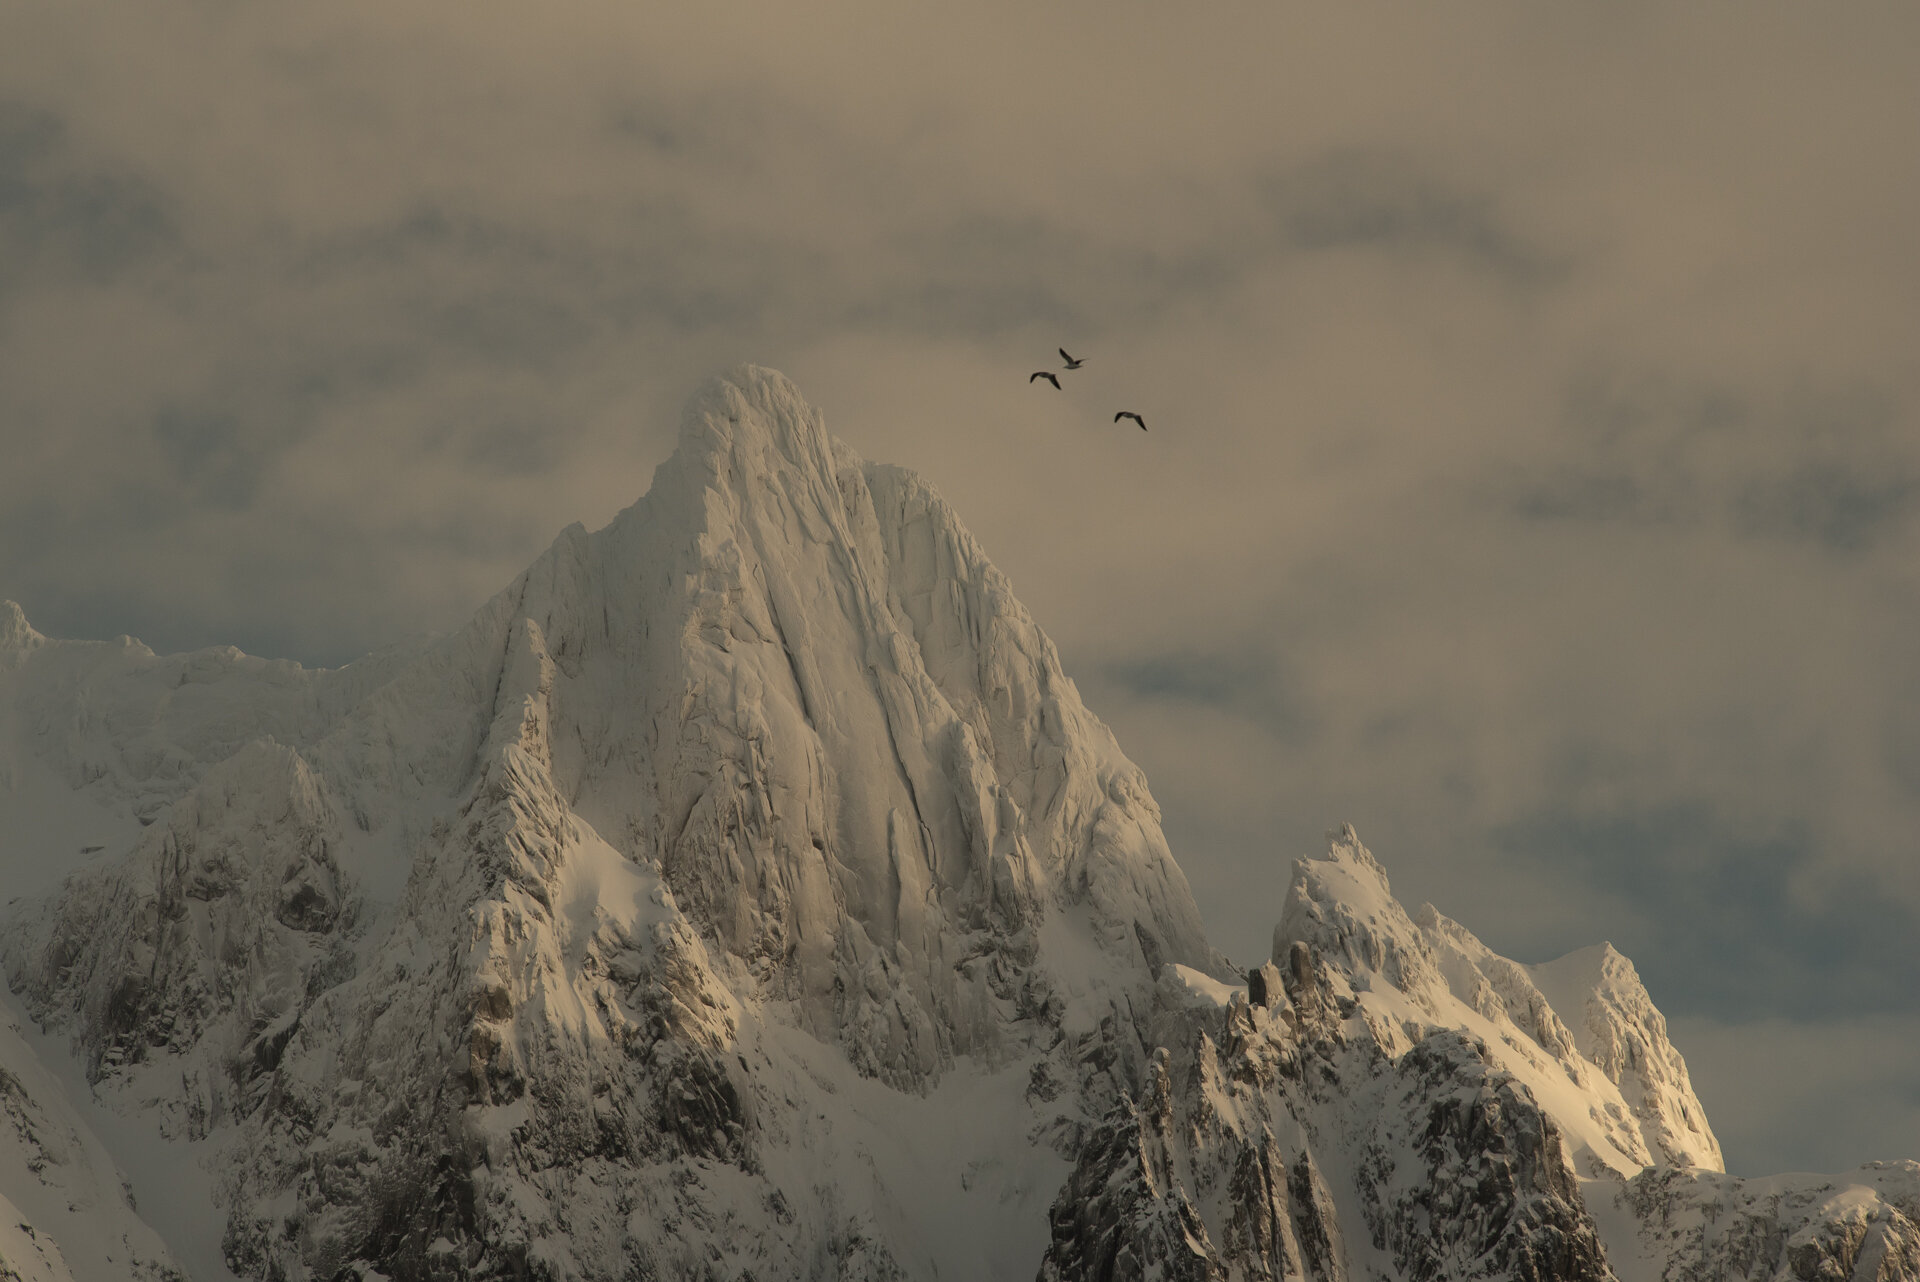
If you’ve ever used a telephoto lens, you’ll know that the images from afar look washed out, without dramatic contrast. That’s all post-processing. But you will also notice things that you can barely make out with the naked eye. Birds flying past, snow drifts blowing over the peaks and light hitting each individual rock a little differently, causing the snow-capped mountains to shine like diamonds. That’s all there, you just have to learn how to bring that out.
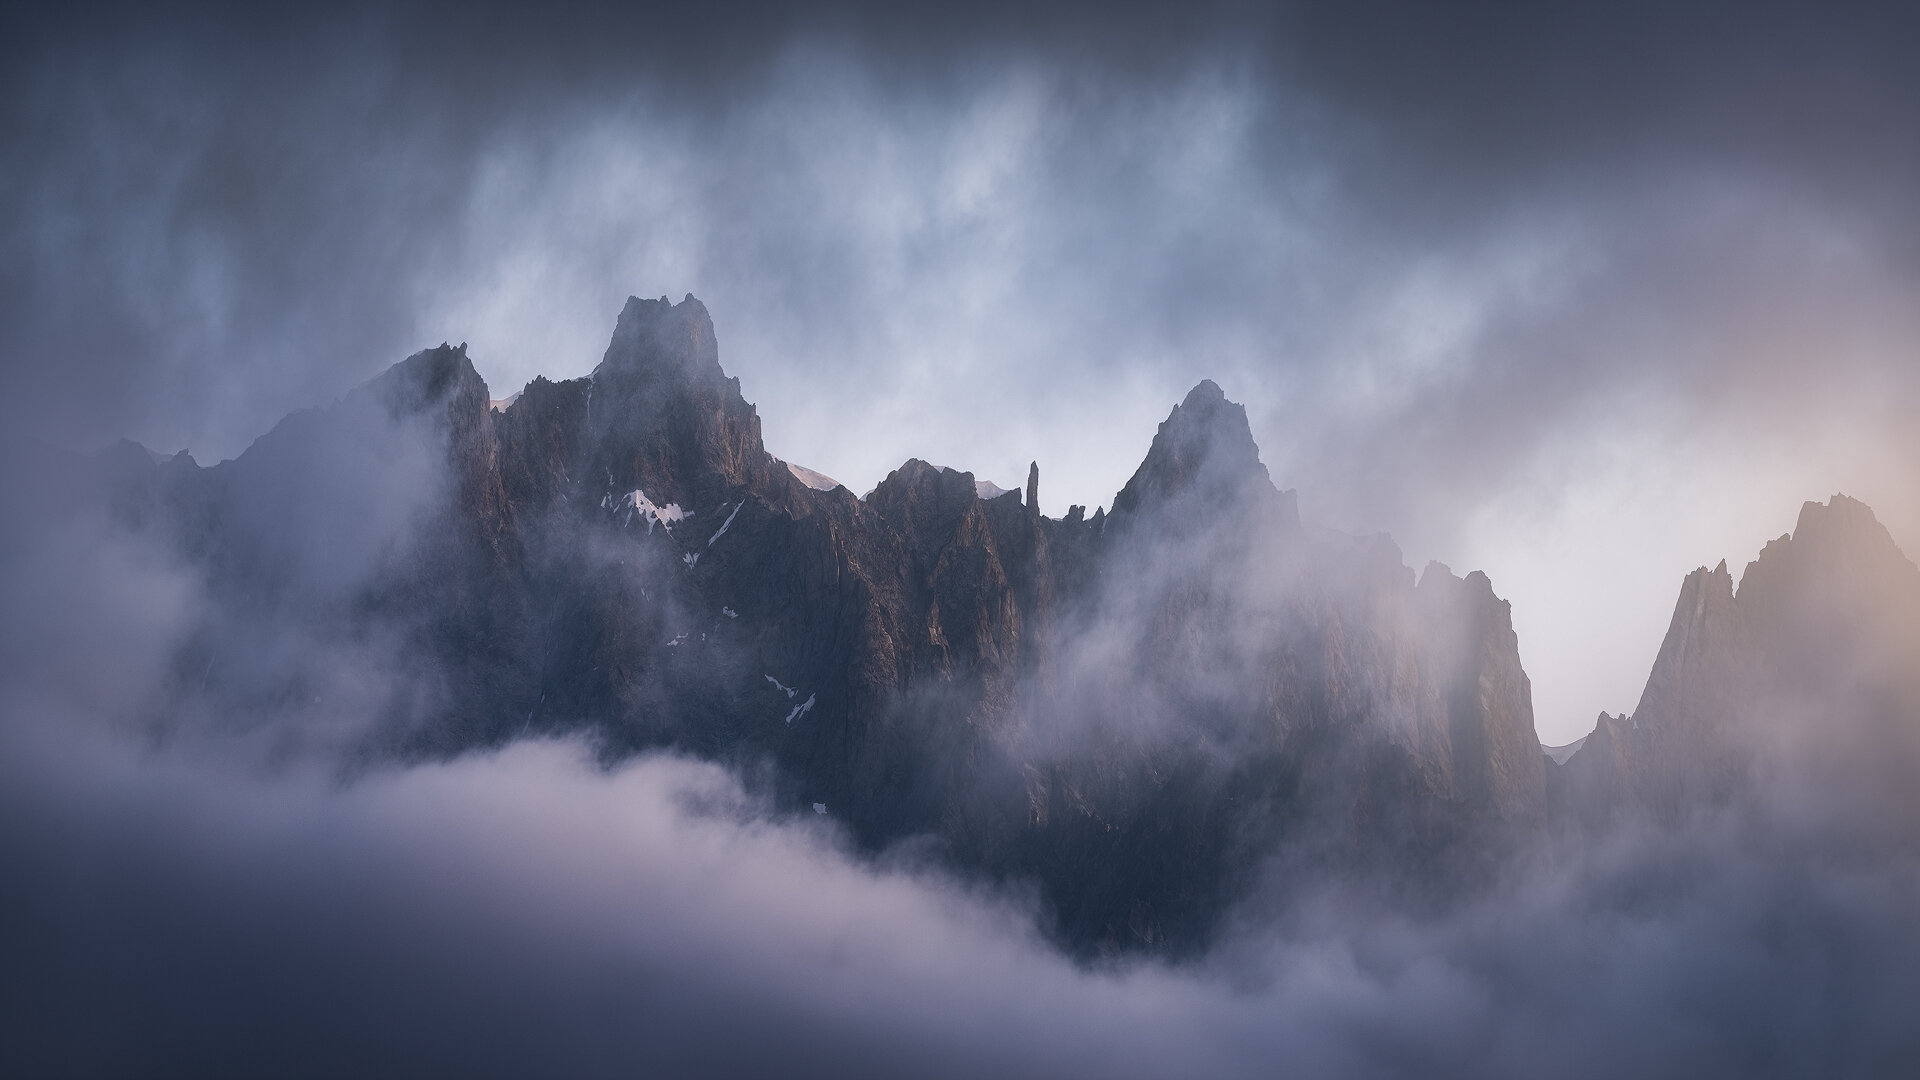
This comprehensive video tutorial aims to teach you both the drama and the detail when we zoom in on those mountains caught in swirling clouds.
Watch me edit “Freedom Spires”, "Still for a Moment" and the panorama "Gleam of Dawn" - start to finish. That’s right. Three full-length processing videos! During this 3,5+ hour long silent editing video, you will learn new techniques such as Matte Painting, Color Grading and Creating a Film Look, that you can use in any of your photos to make it look like a screenshot from your favorite movie. Additionally, you will see how you can repair a panorama gone wrong if one image is not quite sharp, and all the special effects like Soft Glow, Orton and Diffuse Light created in both Photoshop AND Skylum Luminar. If you’re an intermediate or seasoned digital photographer, then there are Channel Selection techniques and Luminosity Masking tips in here as well. Lastly, you will learn how to make your images look fantastic for the web.
What’s Included in this Video?
⭐ These three videos contain more than 3,5 hours’ worth of processing together, one of my biggest Photoshop tutorial ever recorded!
⭐ Three PSD-files (resized) of “Freedom Spires”, “Still for a Moment” and “Gleam of Dawn” with every adjustment still present.
⭐ Read-me file with photography tips and links to additional tools such as TK Actions and the last sharpening tool you will ever need.
Perfect your Workflow
Even with basic knowledge of Photoshop, you will easily pick up on what I do in these easy to follow editing tutorials. In each one, I show you my entire workflow.
Discounts!
Be sure to add LAAN15 over at goodlight.us for a 15% discount on everything off the panels and videos page.
How do I Watch each Video?
After you pay, you will download a document containing links to download the video and files needed to follow along.
Watch it on the road, at home…. anywhere. It’s best to download VLC player for an optimal video quality.
Note that this is a Digital Download product. No physical DVD or USB thumb drive is included. As such, I do not offer refunds.






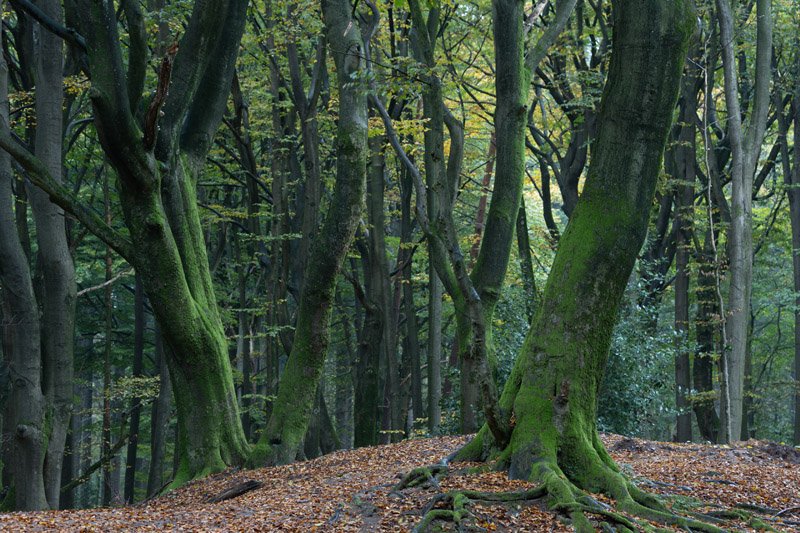
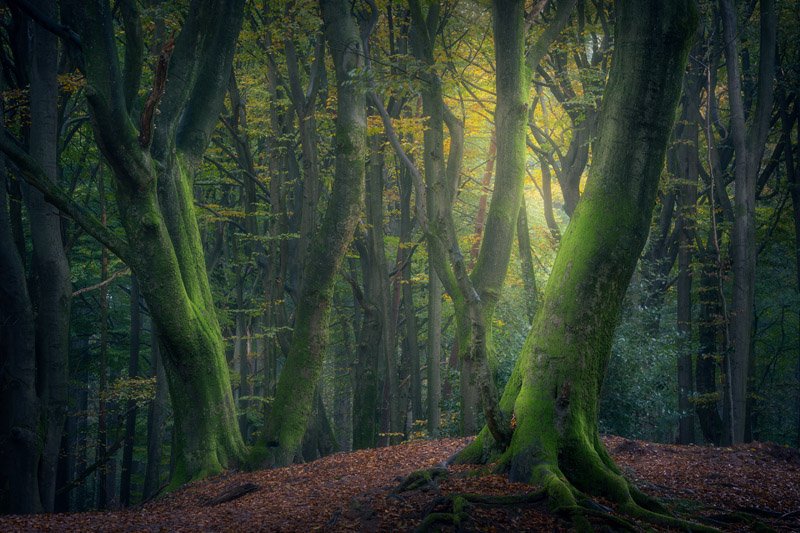
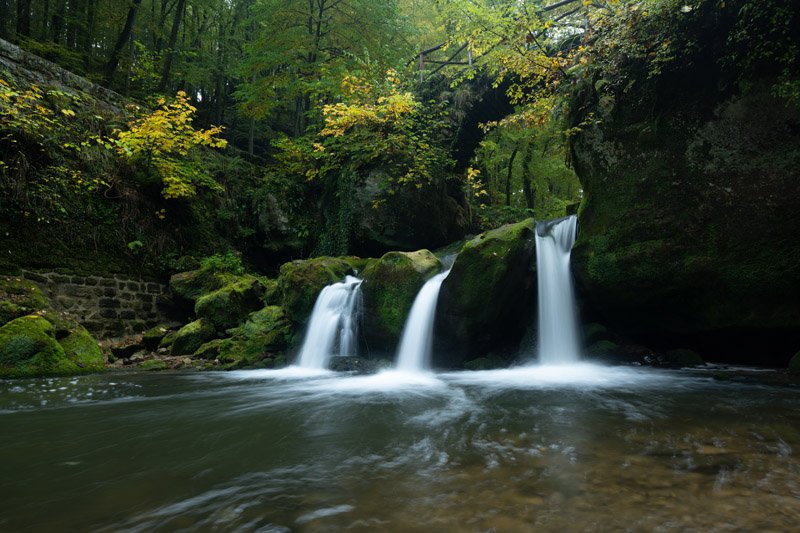

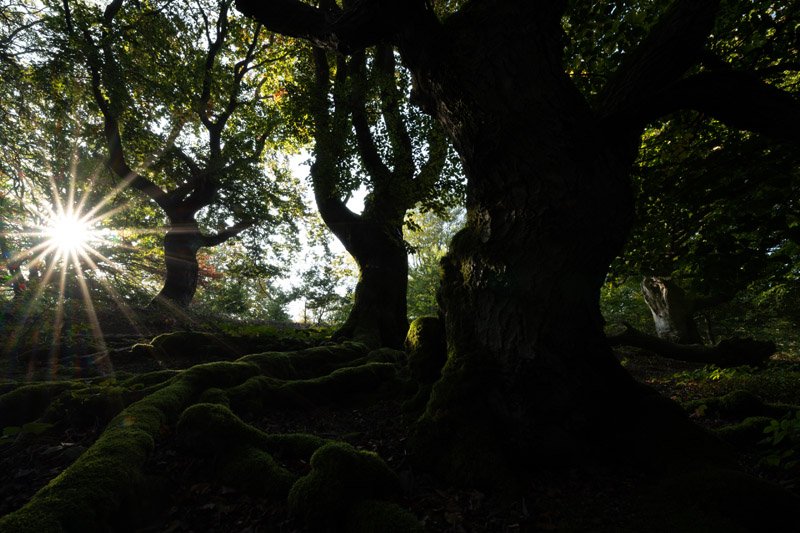
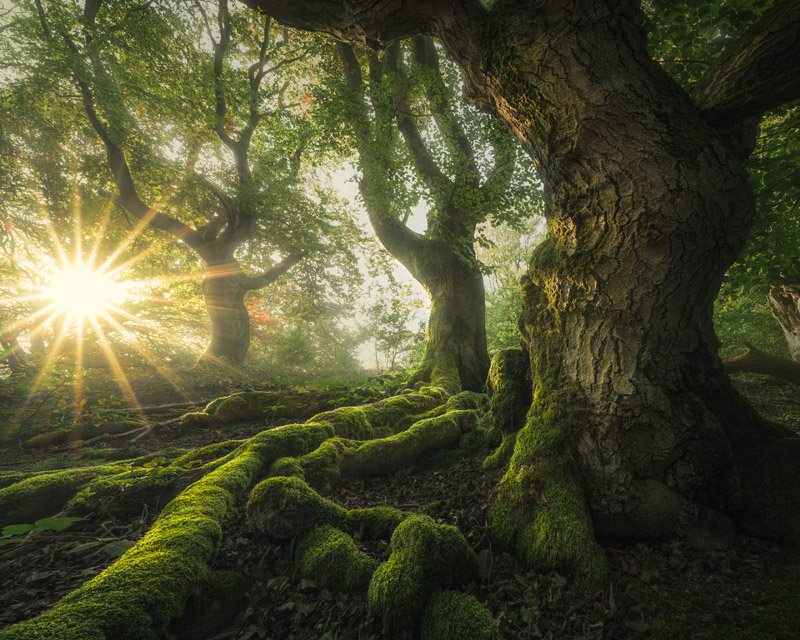
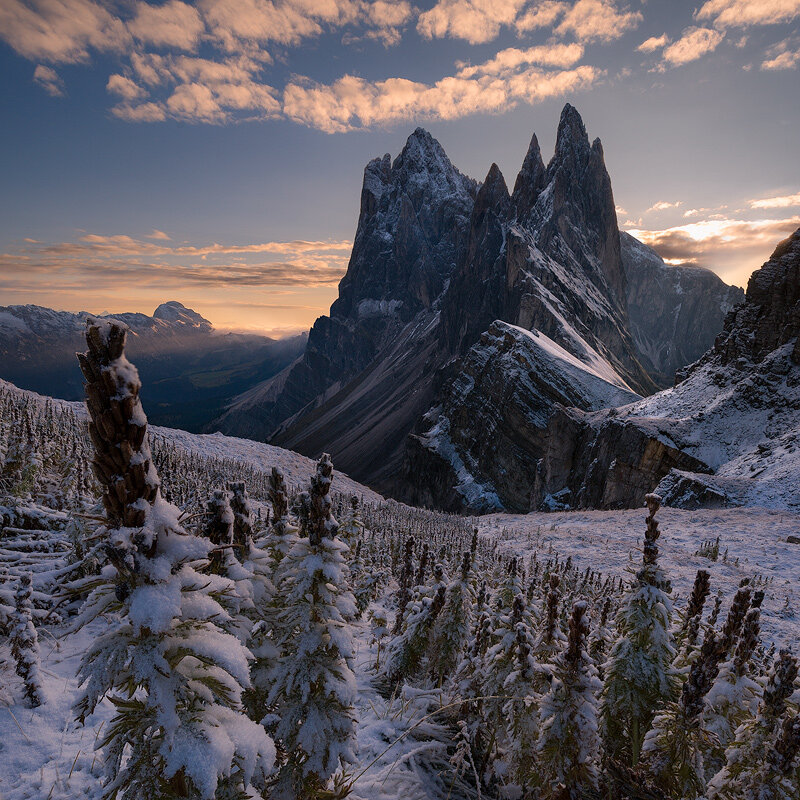
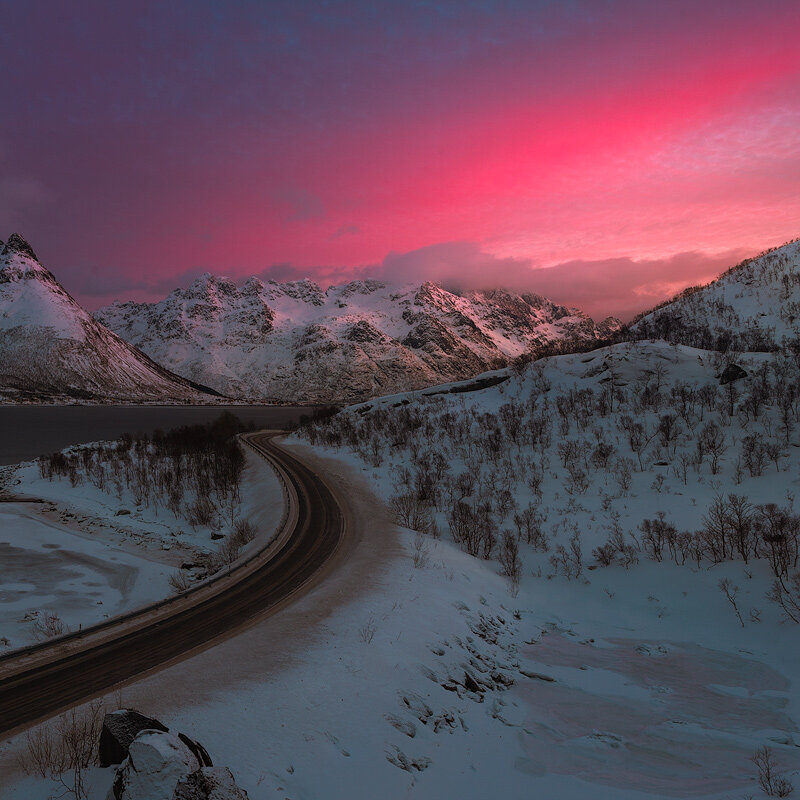
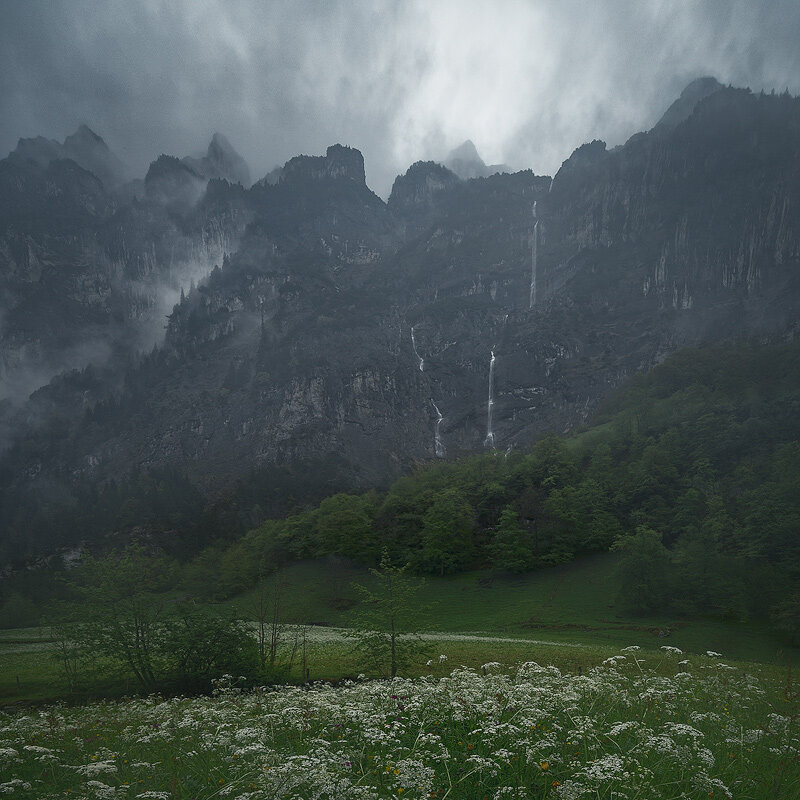
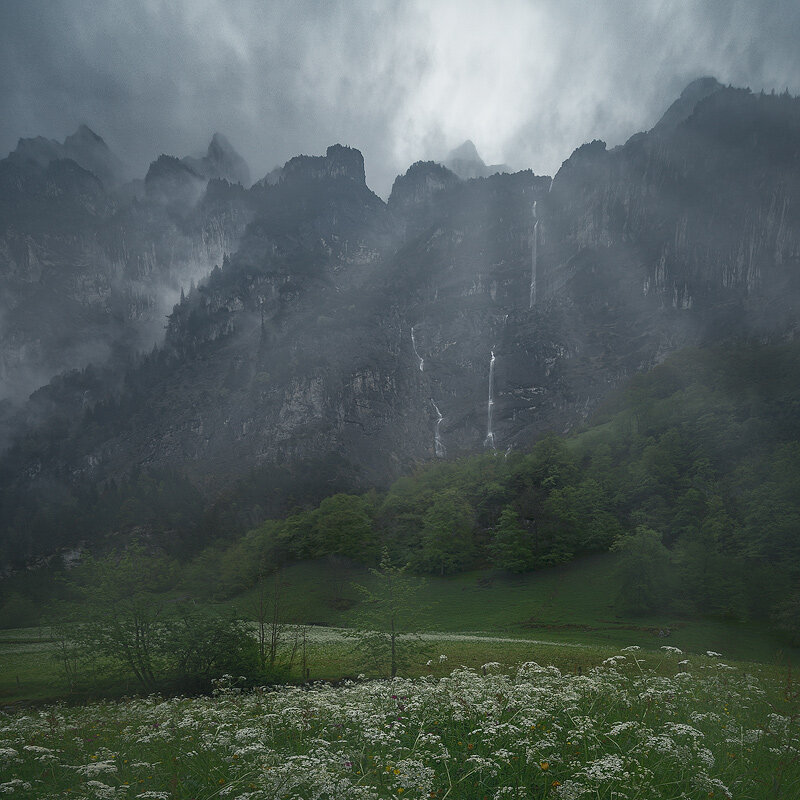
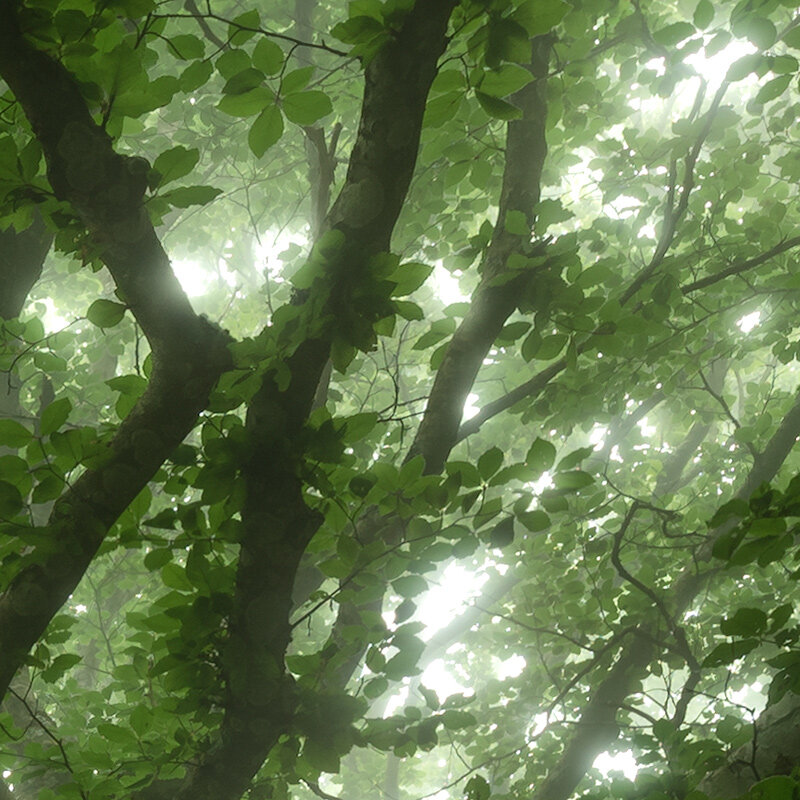
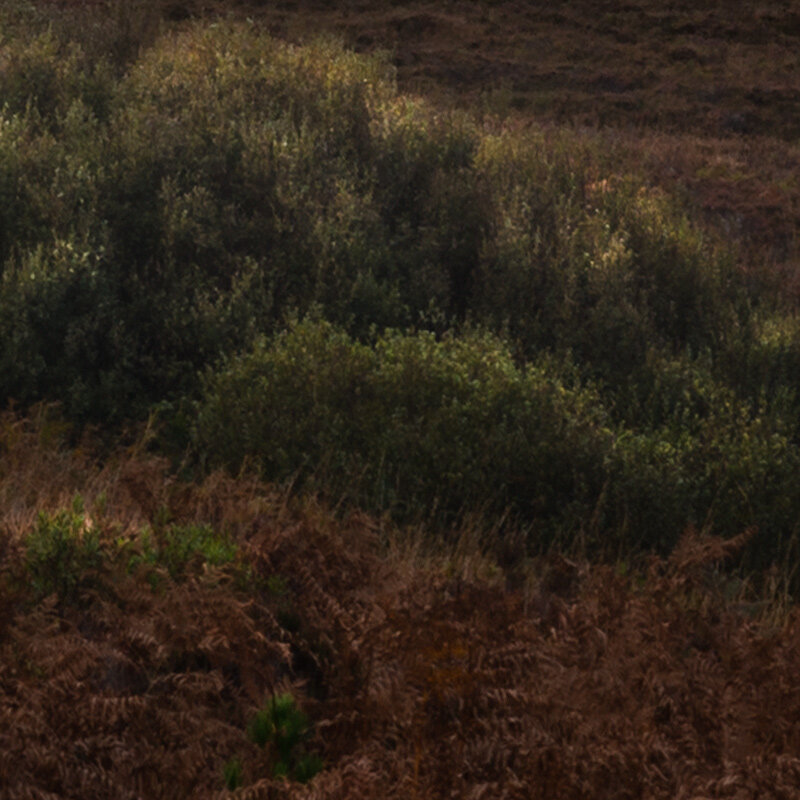
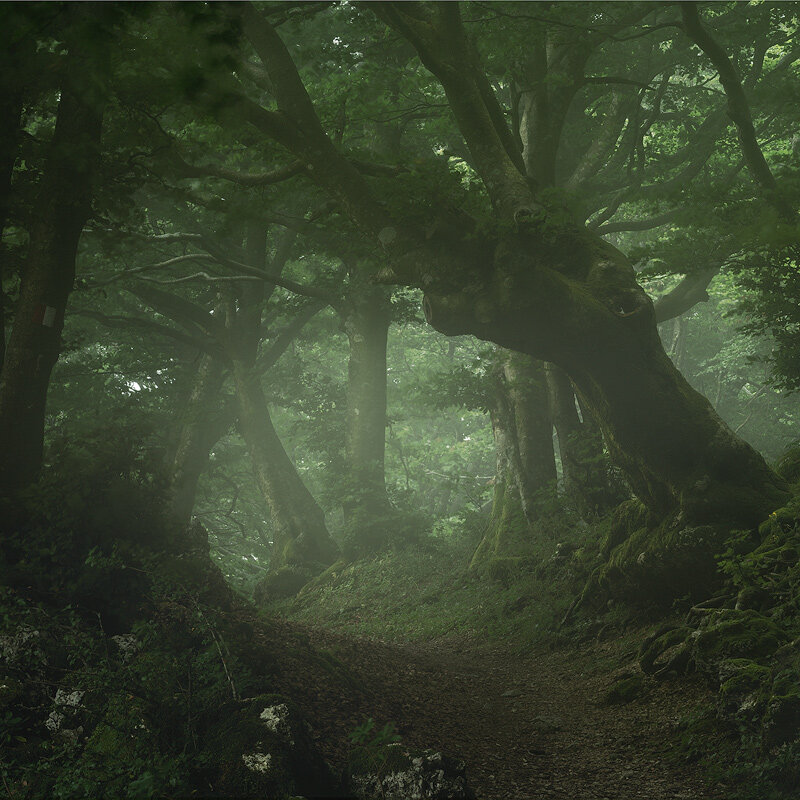
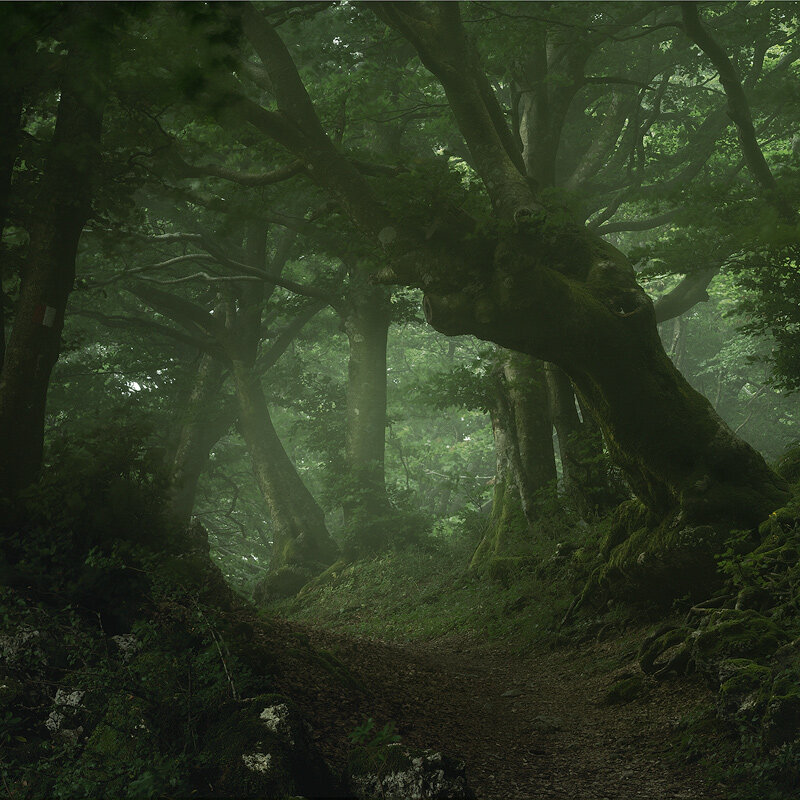

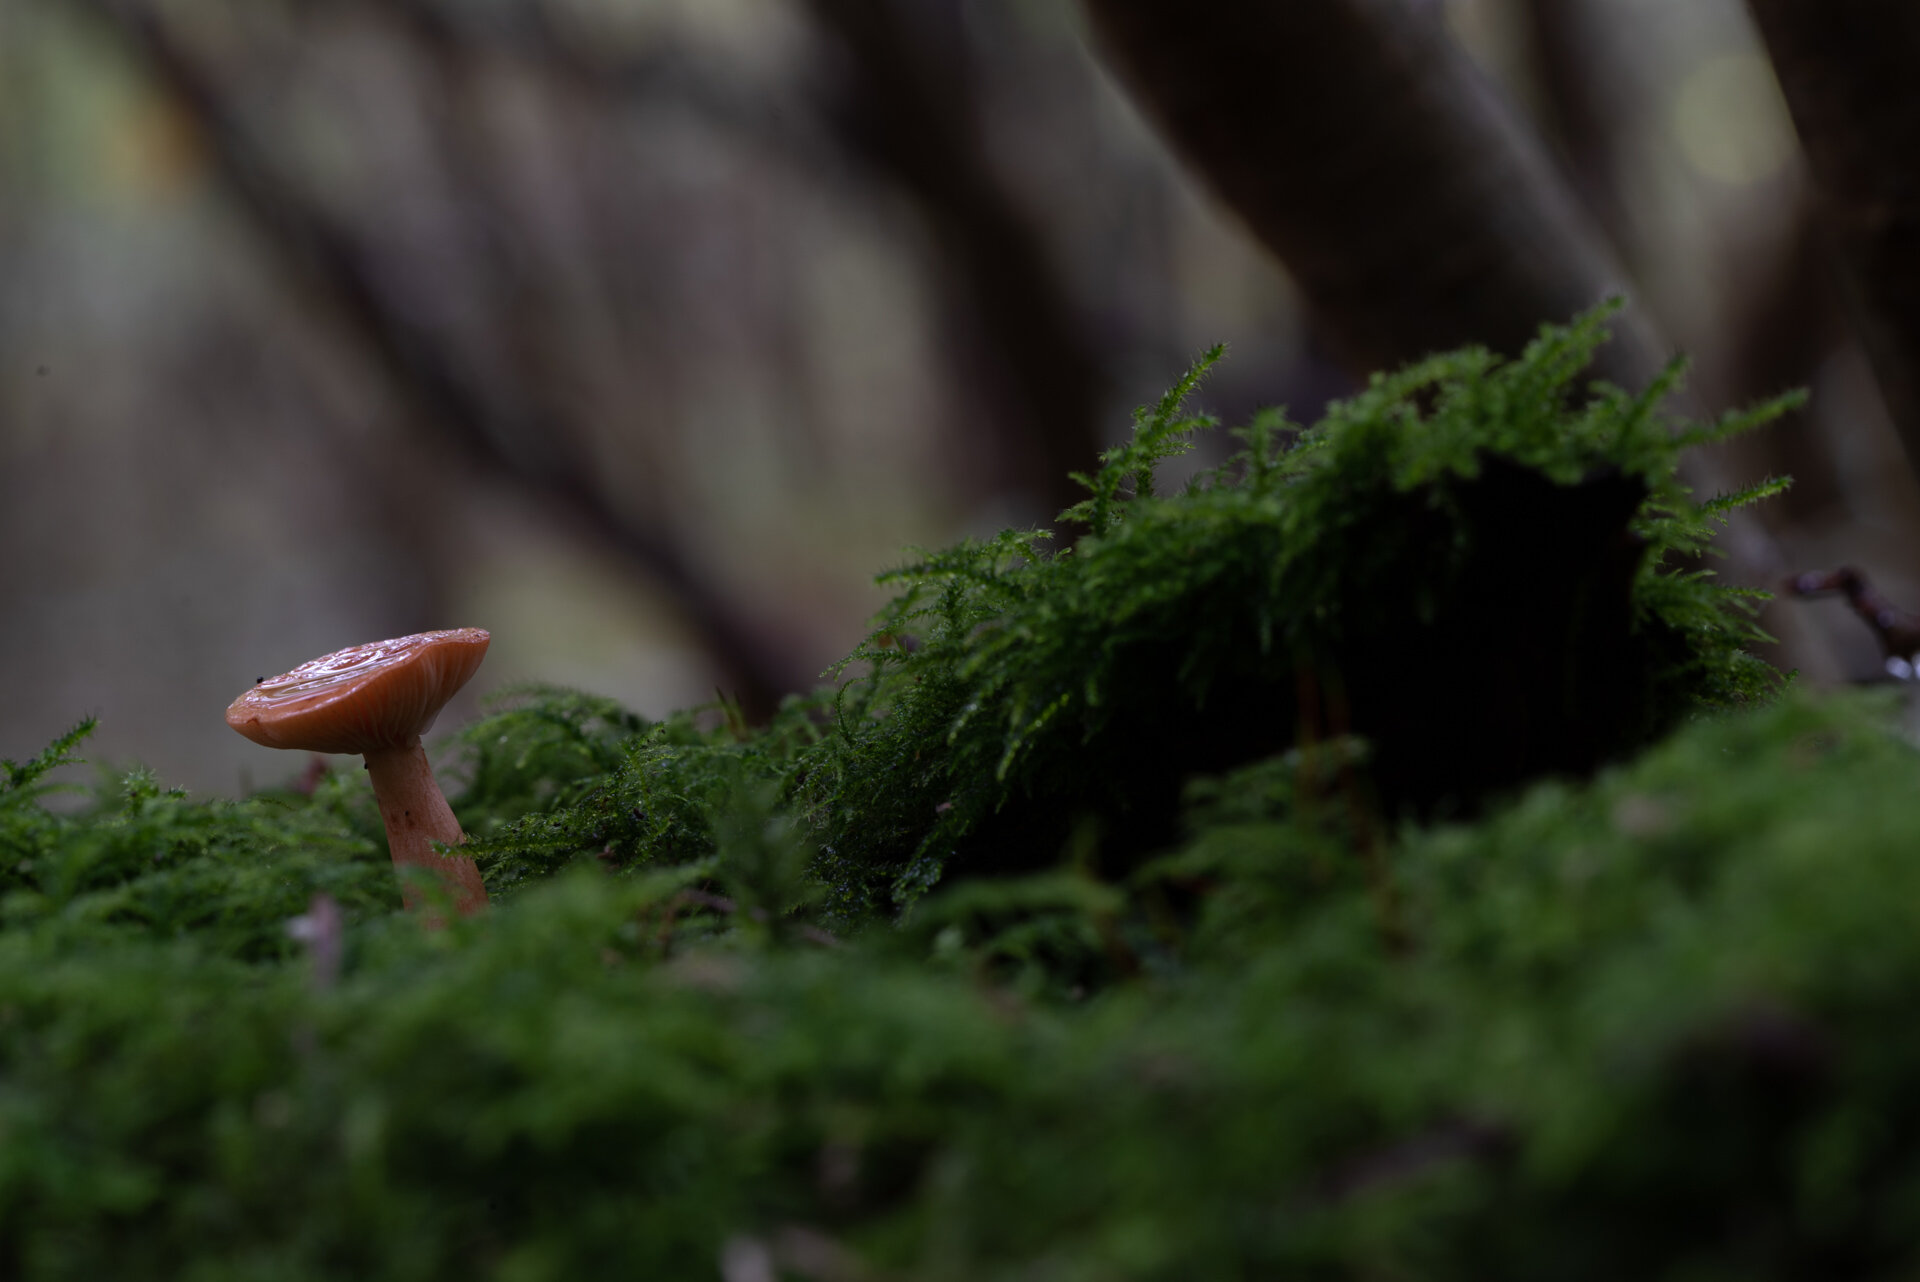


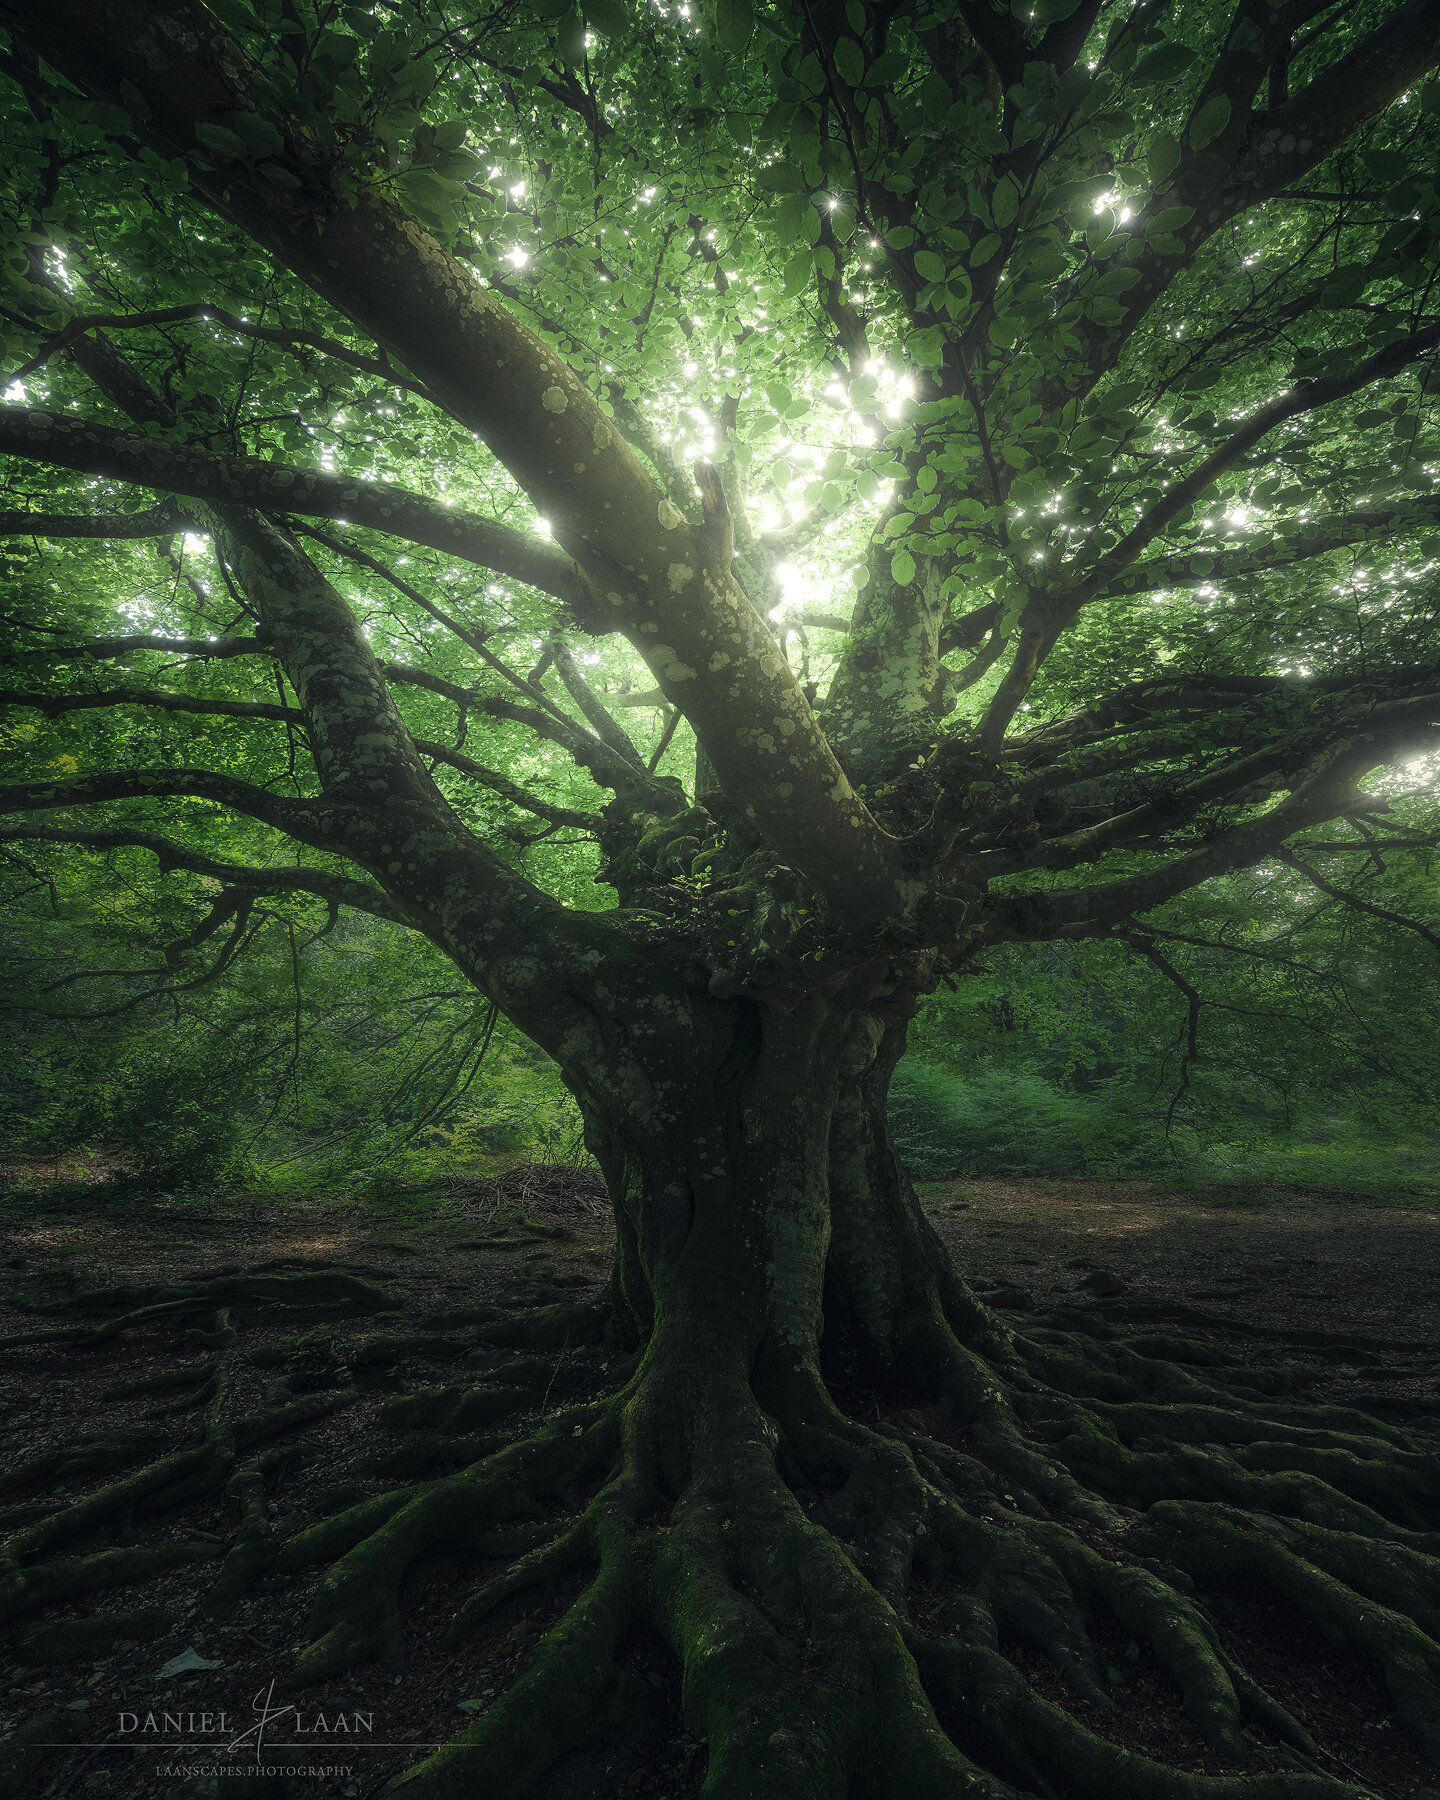
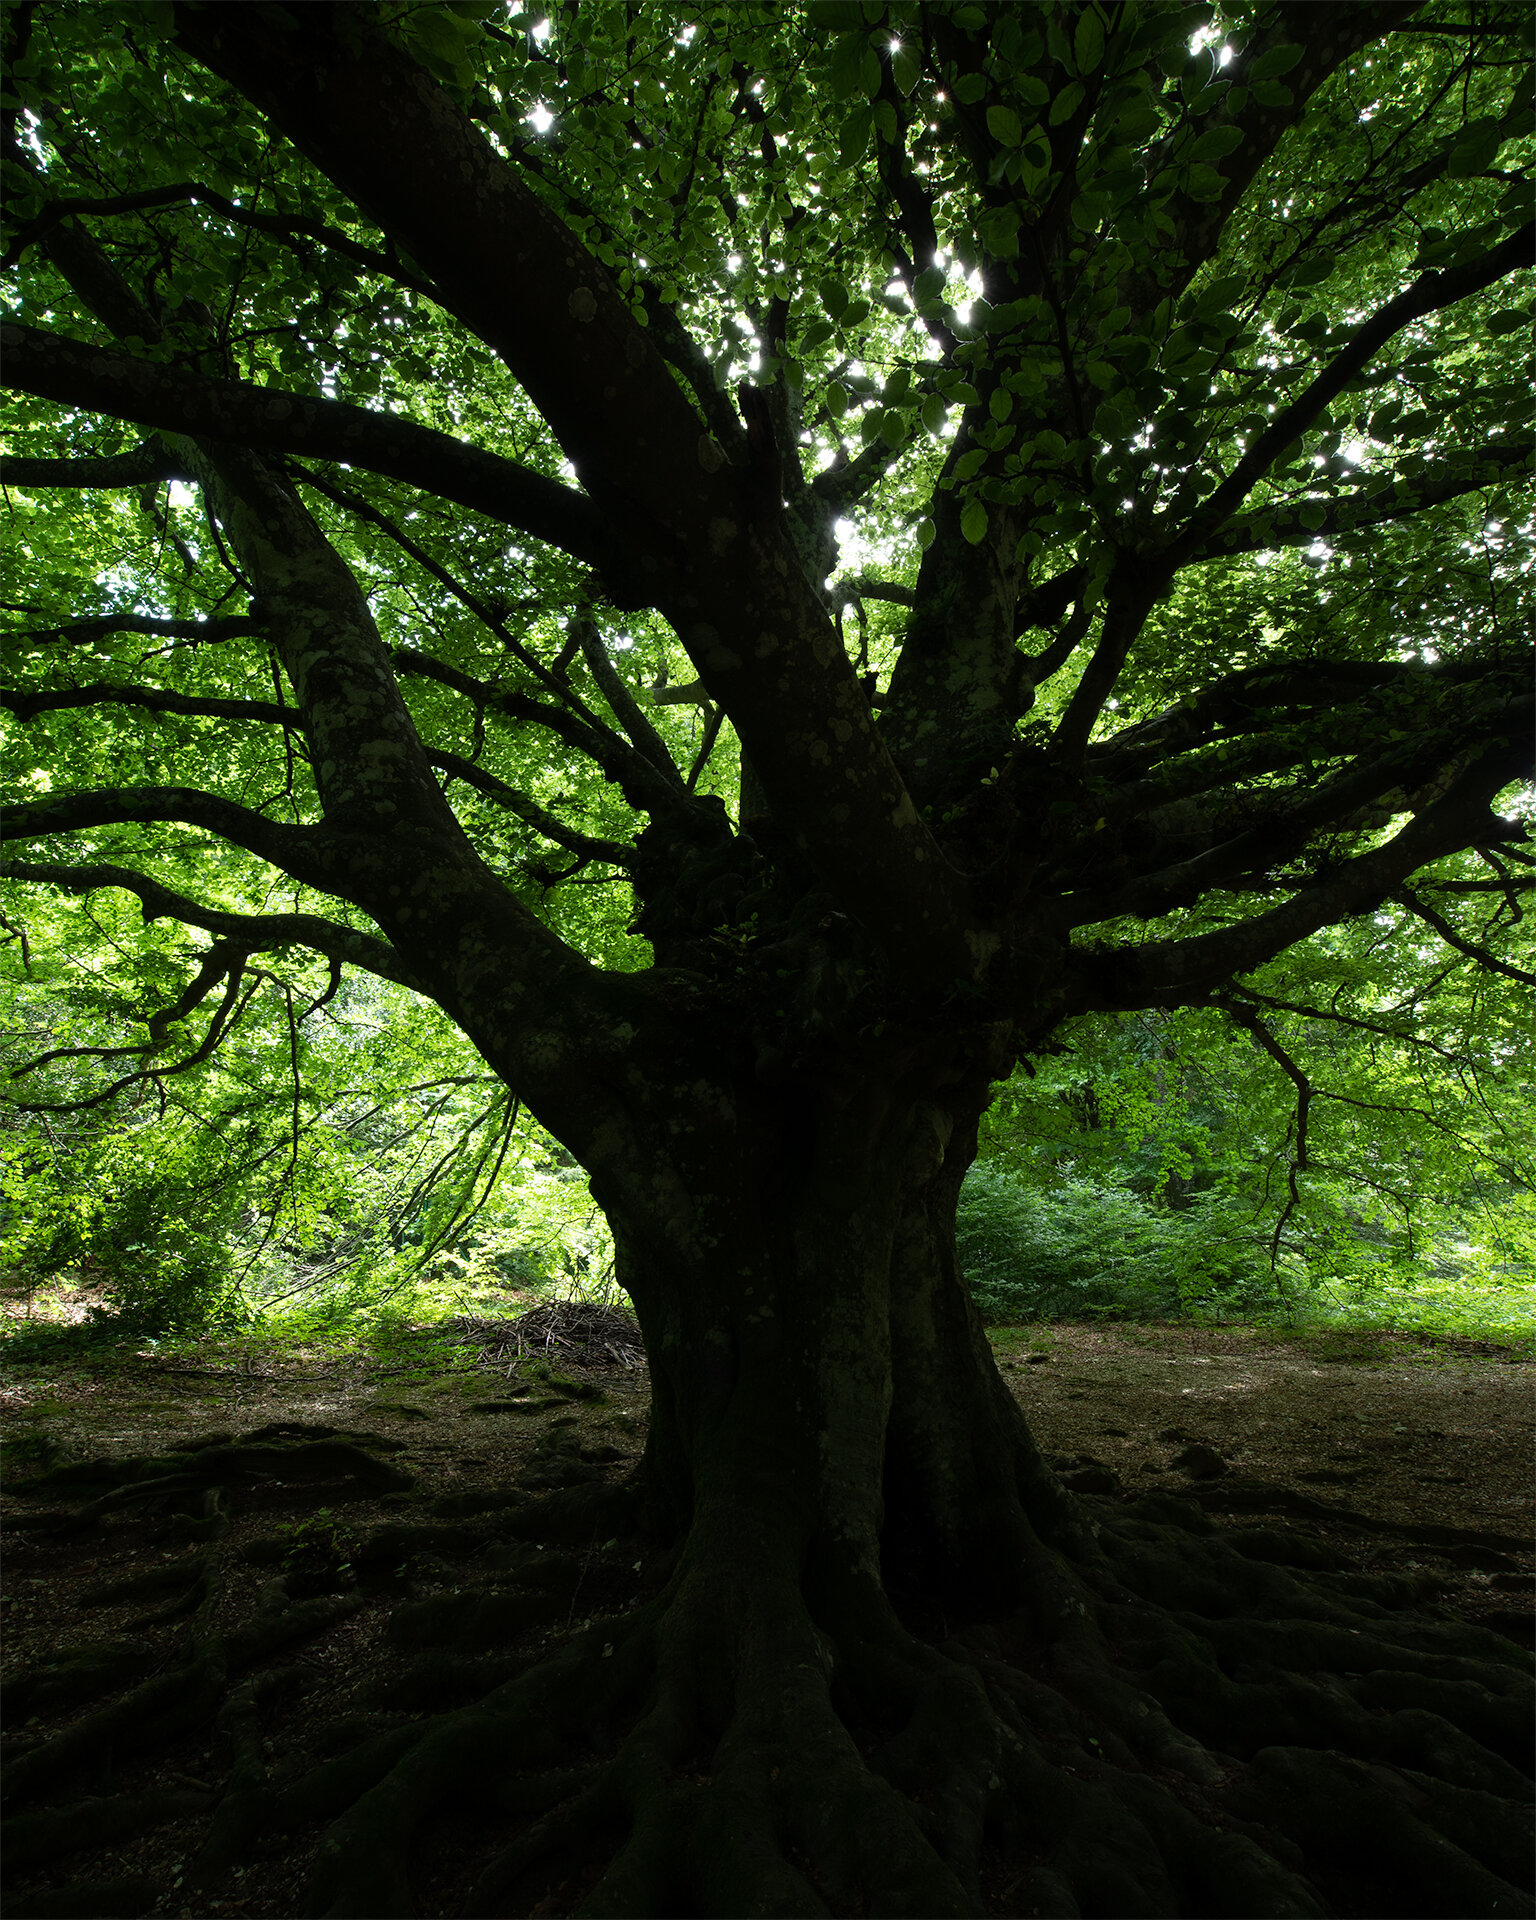


No matter the weather, the light or the season, forest photography is quite possibly the most accessible genre of landscape photography. At the same time, it's the toughest to master. This video tutorial prepares you for everything the forest throws at you.