Moody Fine Art Landscape Photo Editing Tutorials
Moody Fine Art Landscape Photo Editing Tutorials by Laanscapes Photography are built for photographers who want to master advanced Photoshop post-processing and create dramatic, cinematic imagery. These premium photo editing tutorials combine artistic vision with practical skill-building so you can edit landscape photography like a pro. Whether you are a hobbyist familiar with Lightroom but new to Photoshop or an intermediate photographer ready to deepen your craft, these tutorials are designed to take you step by step through advanced landscape photo editing workflows that produce fine art results.
Frequently Asked Questions
-
You will need Adobe Photoshop for the editing lessons. Lightroom is used only for initial RAW processing. Tutorials assume basic Lightroom familiarity while building Photoshop competence.
-
I got you covered. Most of my clients have never touched Photoshop because it’s either overwhelming or they haven’t found the time to learn it.
If this sounds like you then here’s a bonus. Every tutorial includes a 75 minute video course on the basics of Photoshop. No extraneous fluff, but the bare basics that are the foundation of every tutorial: Layers, masks, tools, the workspace, adjustment layers, selections and camera raw filter.
-
Yes, each tutorial includes foundational explanations and progressively covers more advanced techniques so beginners can grow toward intermediate and higher levels.
-
Each tutorial is available as a single downloadable package with videos, RAW files, and layered PSD files. That you can download with the link that’s provided automatically after payment is made.
-
These tutorials are structured to clarify Photoshop’s many features, reduce option paralysis, and help you develop your own editing style without fear of “too much processing.”
-
There’s plenty for you here. First, I explain my vision, sources of inspiration, the way I make a coherent portfolio and what tools and tricks I use to get me there. All throughout each video. And each video contains a different thought process that will make sense as I take your vision and personal style to the next level.
If you’re hungry for techniques and buzzwords: I explain the difference between perspective blending and focal length blending, stacking and focus stacking, masks and luminosity masks, Orton effect and soft focus and much more here: https://www.laanscapes.com/blog/glossary-of-modern-landscape-photography-post-processing-terms
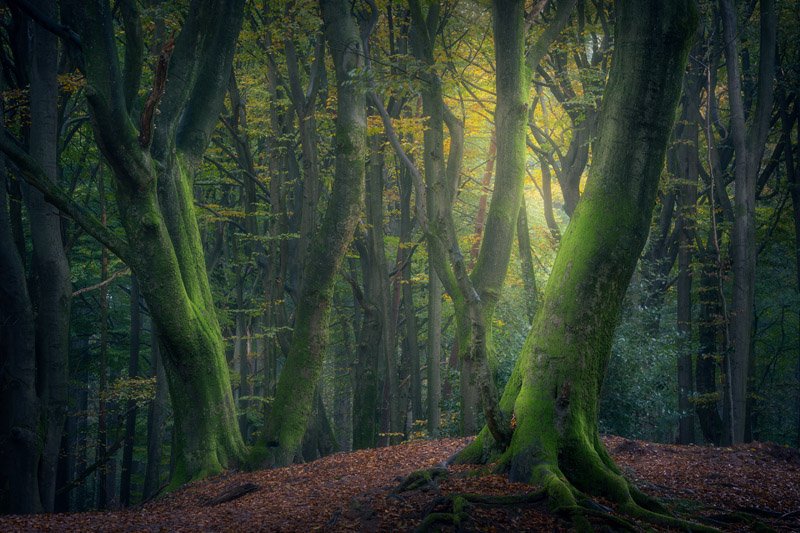
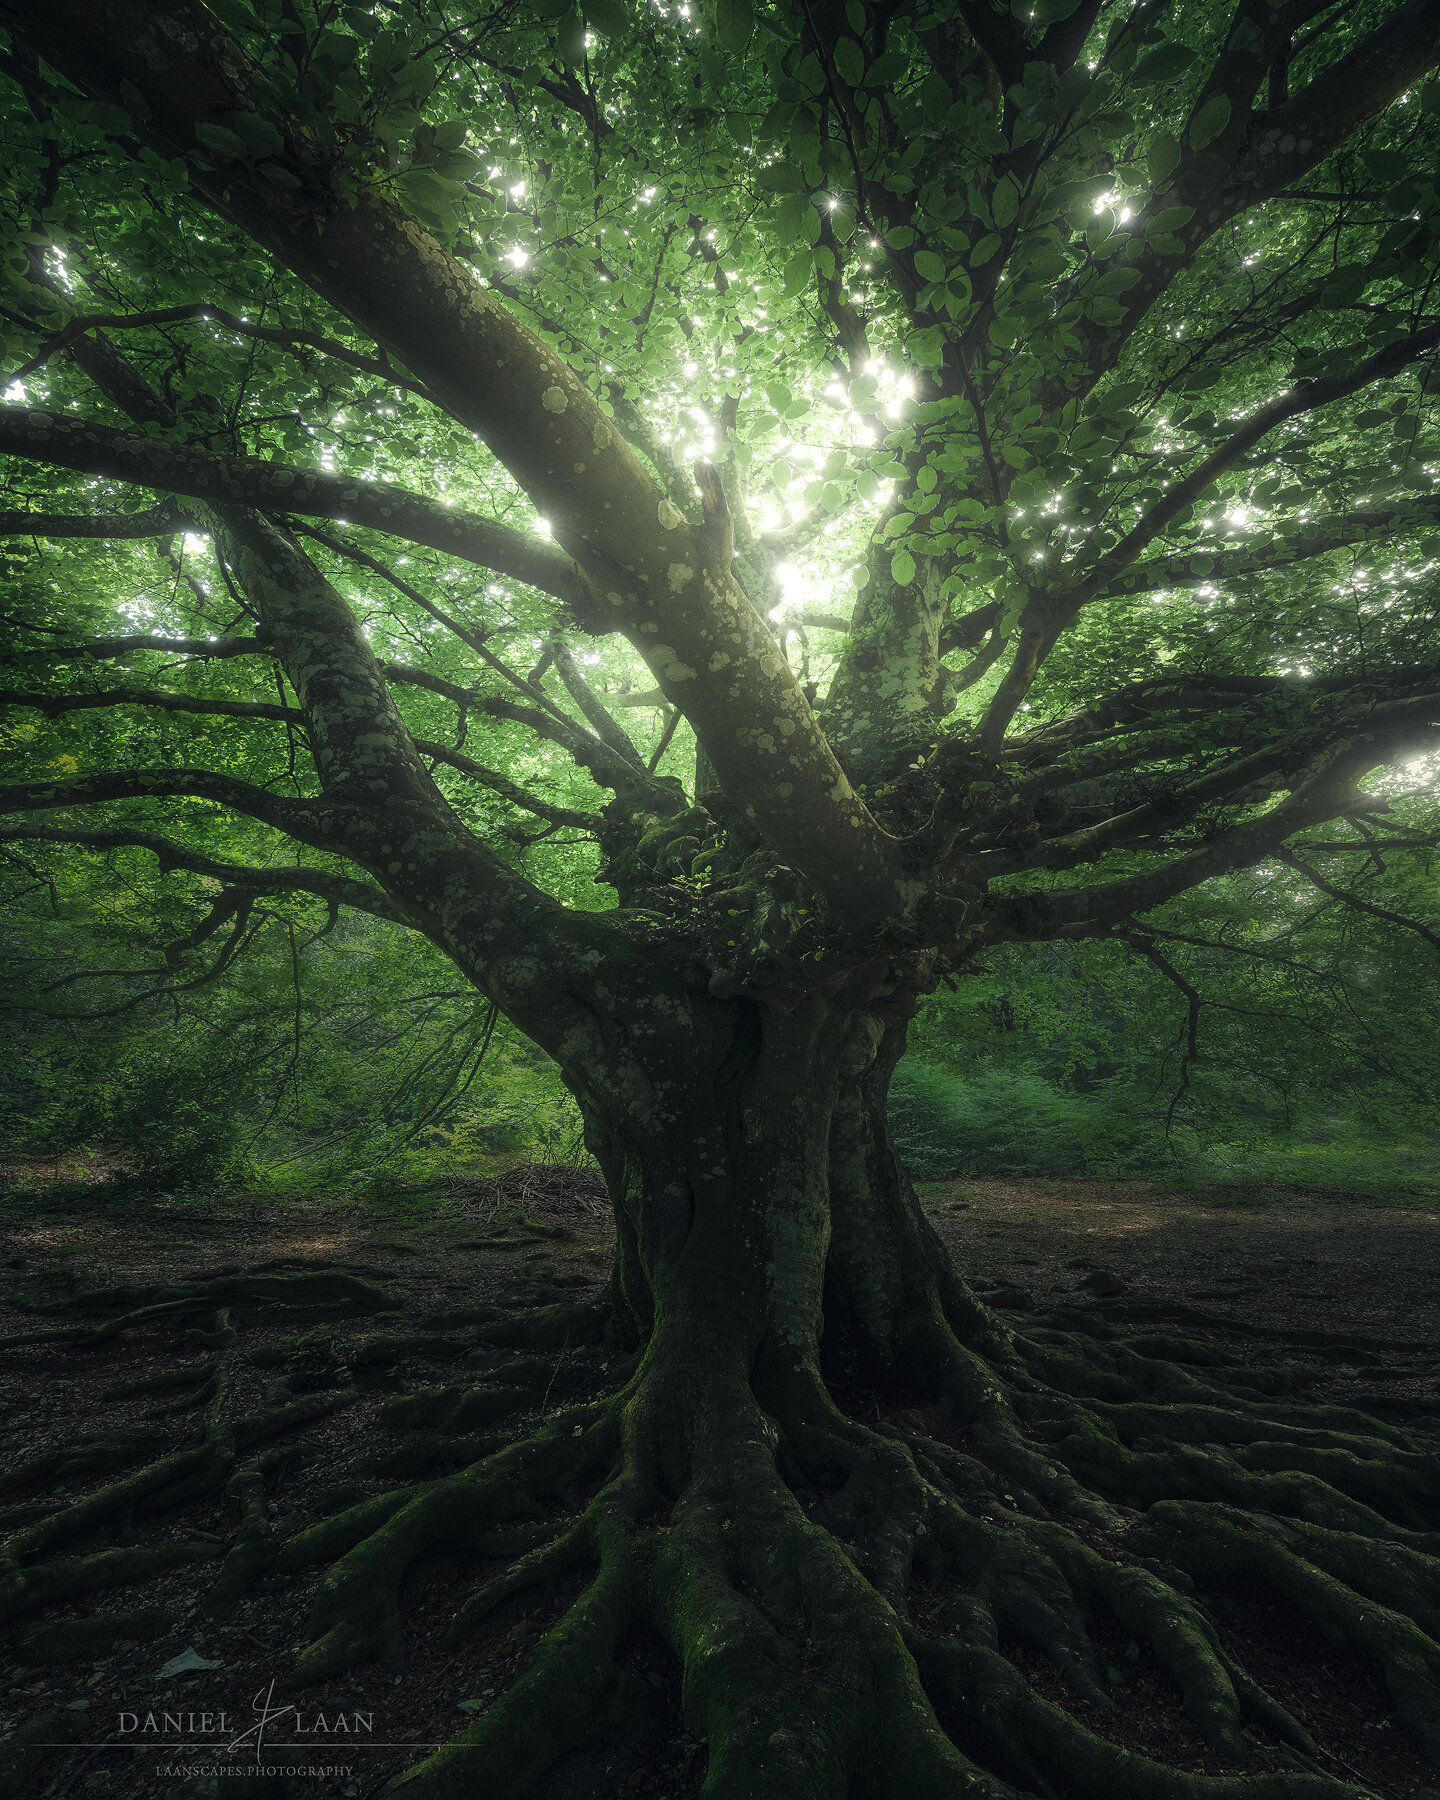
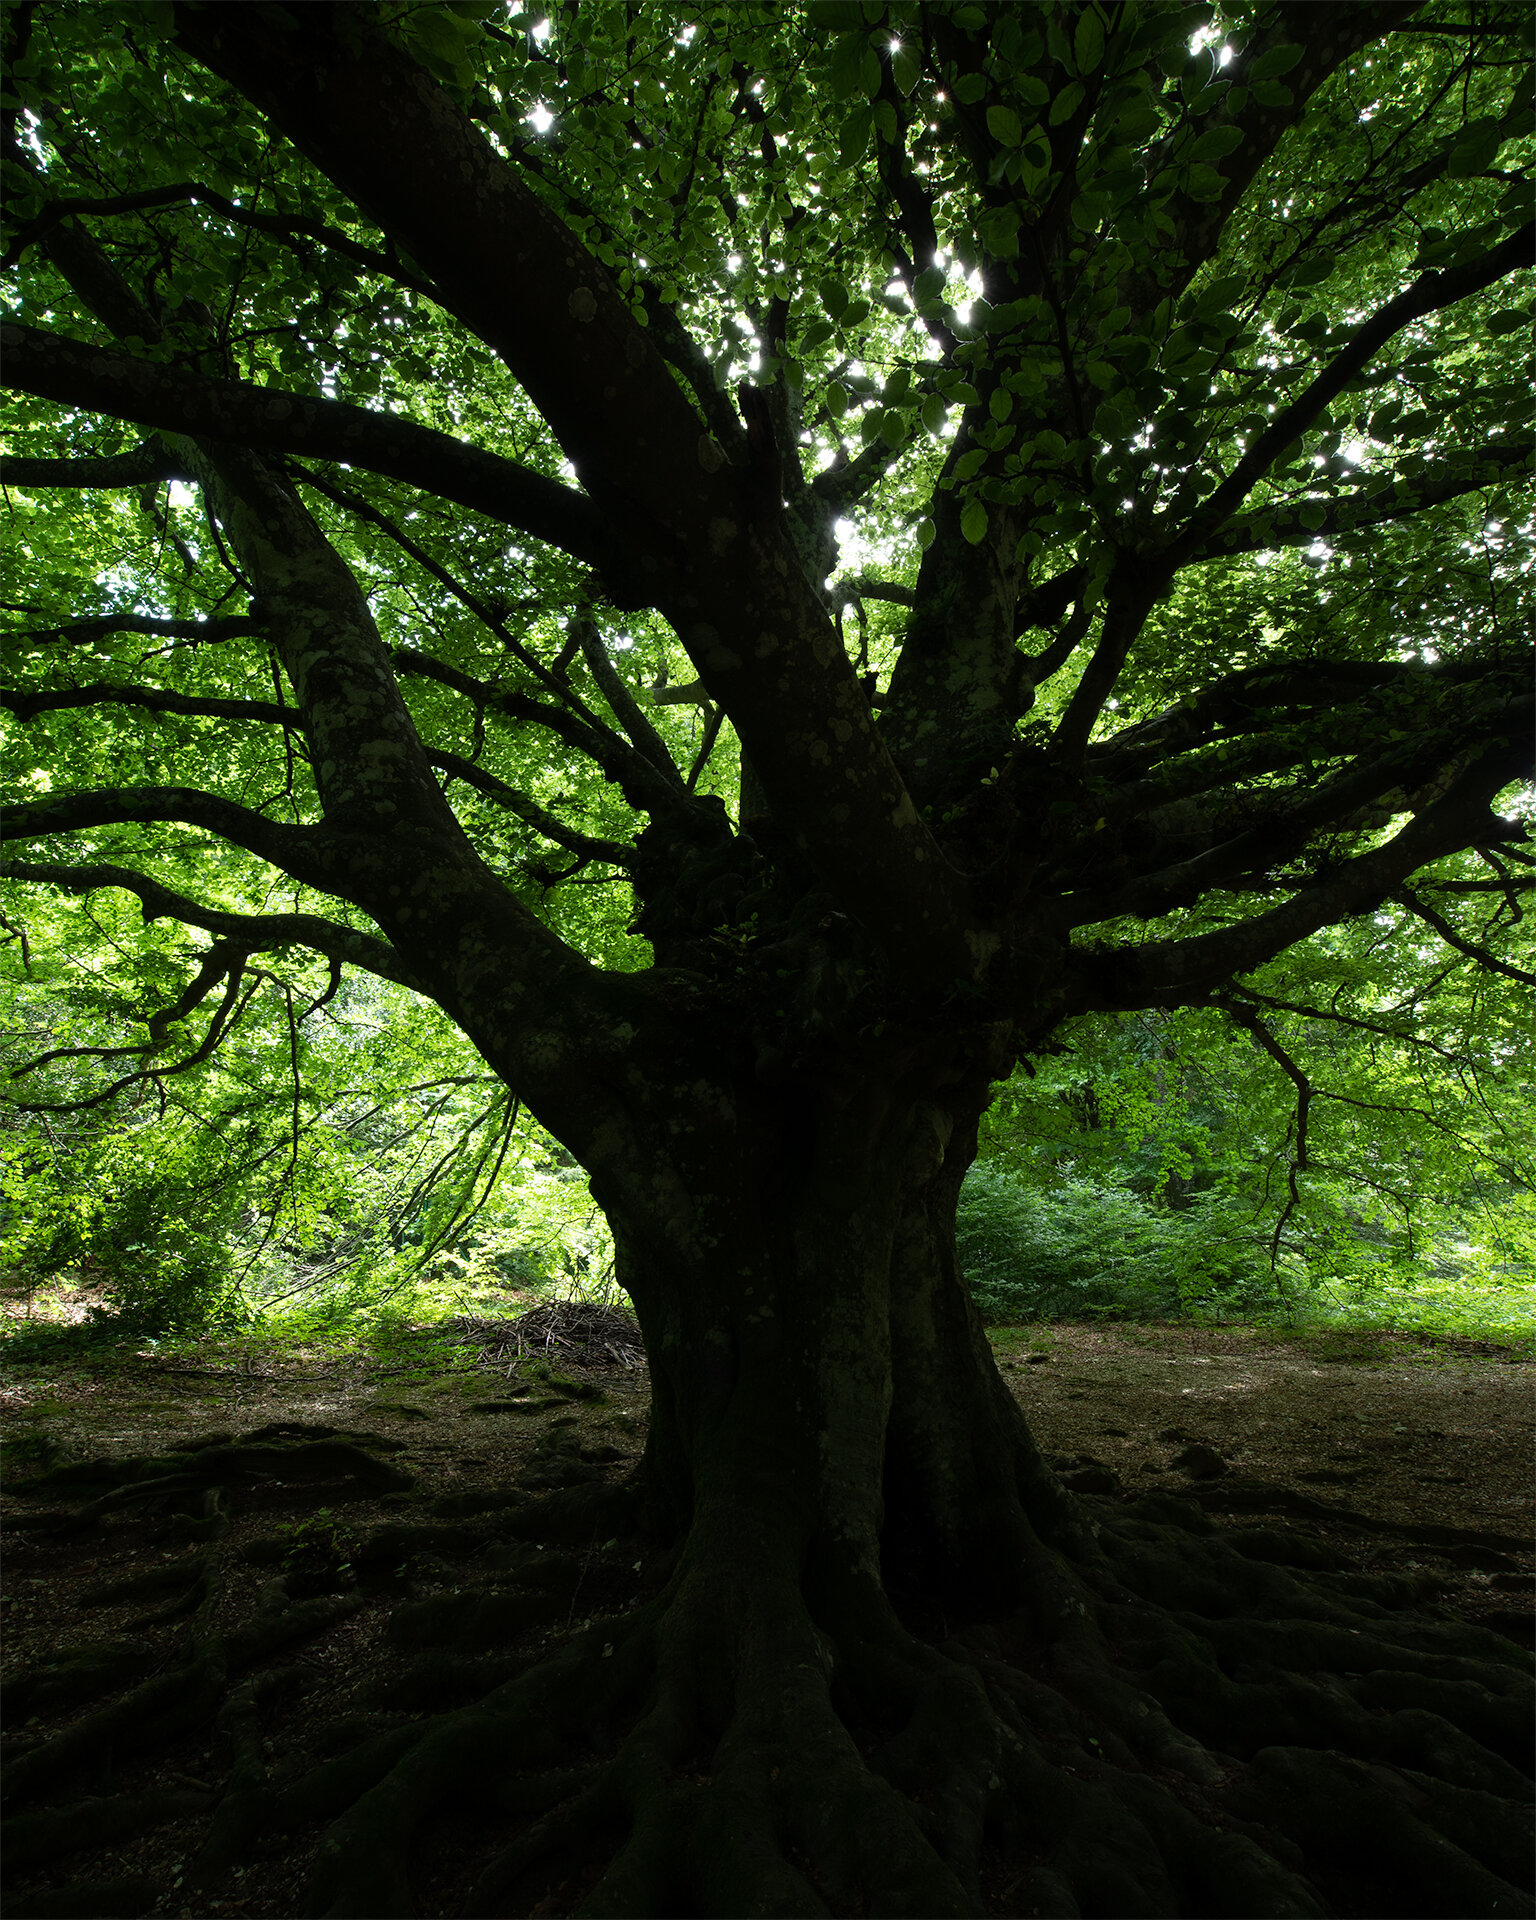
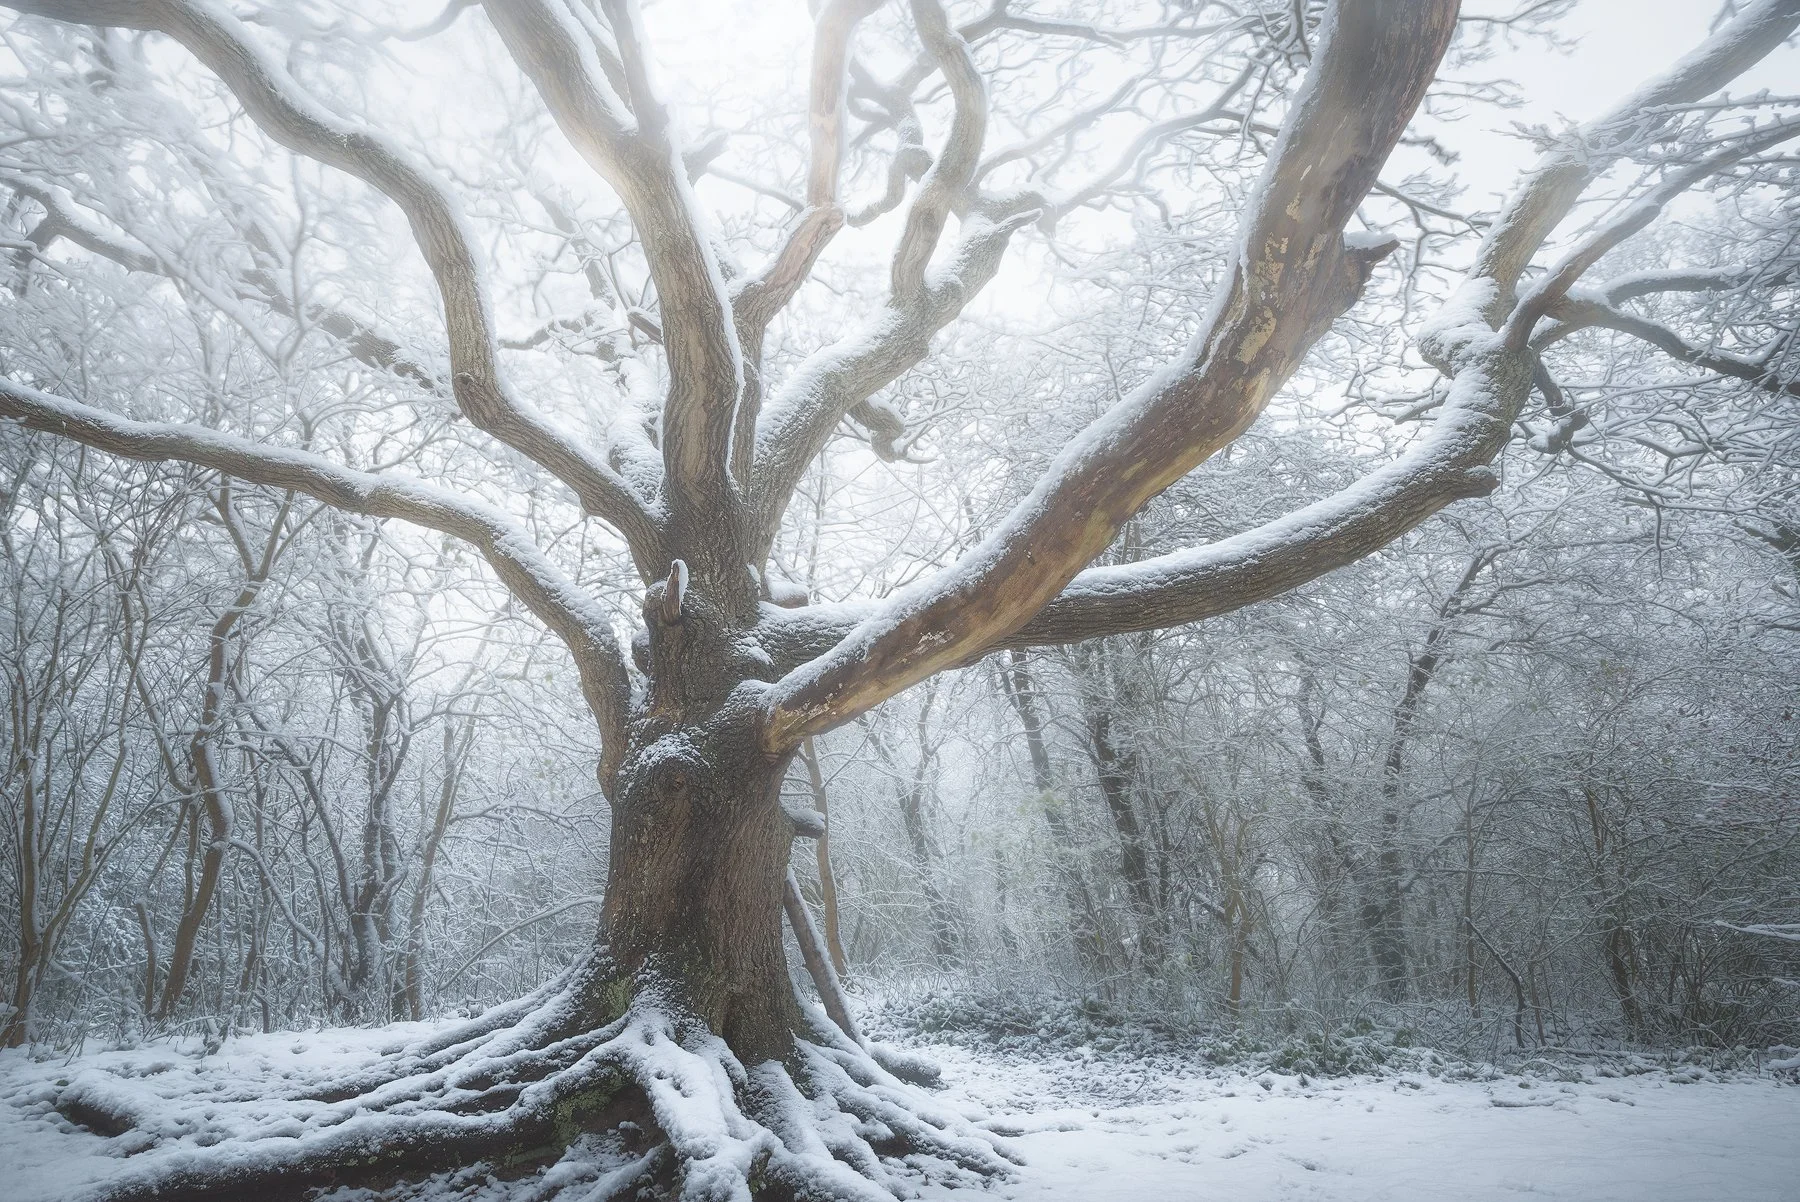
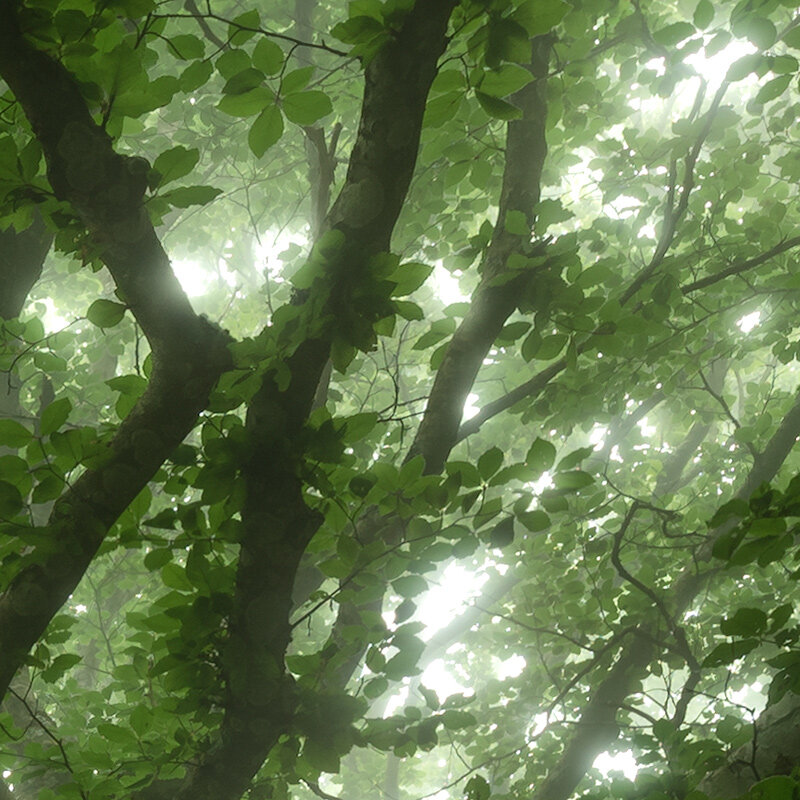
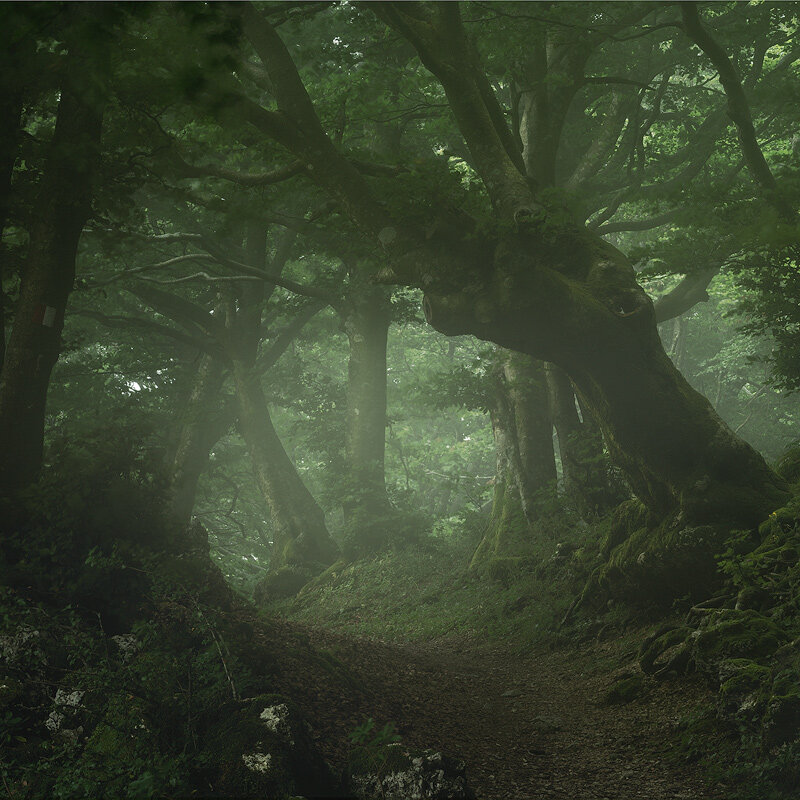
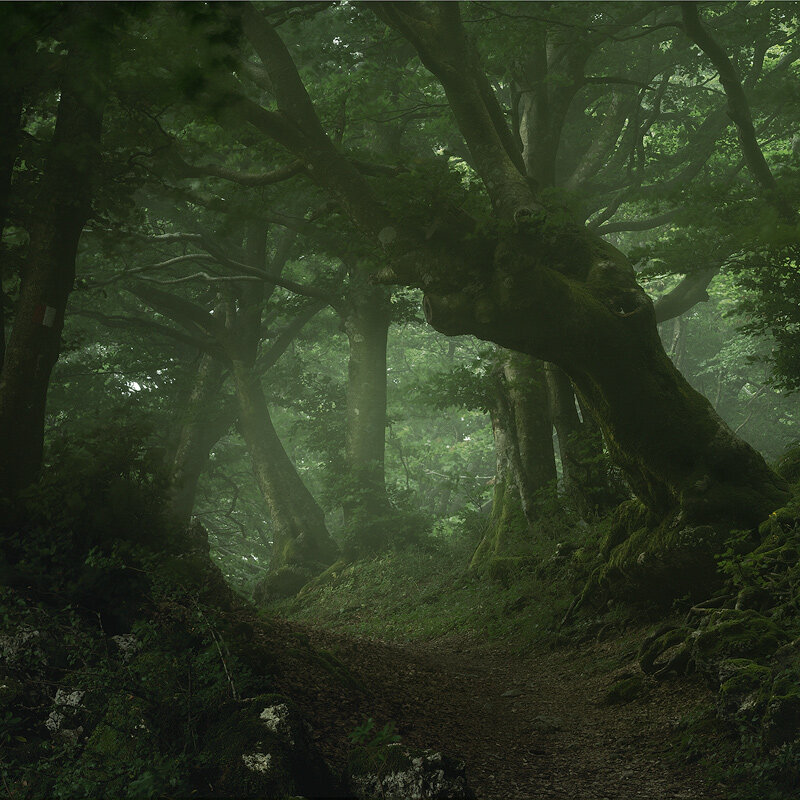
Return to the Dark Forest Processing Tutorial
Enter the Dark Forest and learn its secrets

What Will You Learn?
✔️ Directing attention to the parts that matter (and redirecting the eye away from the edges).
✔️ Range Masking: Controlling light in Camera Raw and Lightroom.
✔️ Creative Controlled Warping & The Transform Tool.
✔️ Highlight Color Dodging.
✔️ Specular Highlighting – a trick that I invented.
✔️ Separating autumn colors.
✔️ Changing the Hue without Artifacts.
✔️ Applying negative Clarity and Dehaze to make a dreamy effect.
✔️ Blending sun stars.
✔️Getting great results in both overcast conditions and shooting high dynamic range images against the light.
✔️ Applying negative Clarity and Dehaze to make a dreamy effect.
✔️Handling HDR, direct sunlight and over-exposed skies and blending exposures in the forest (and their necessity).
✔️Focus stacking.
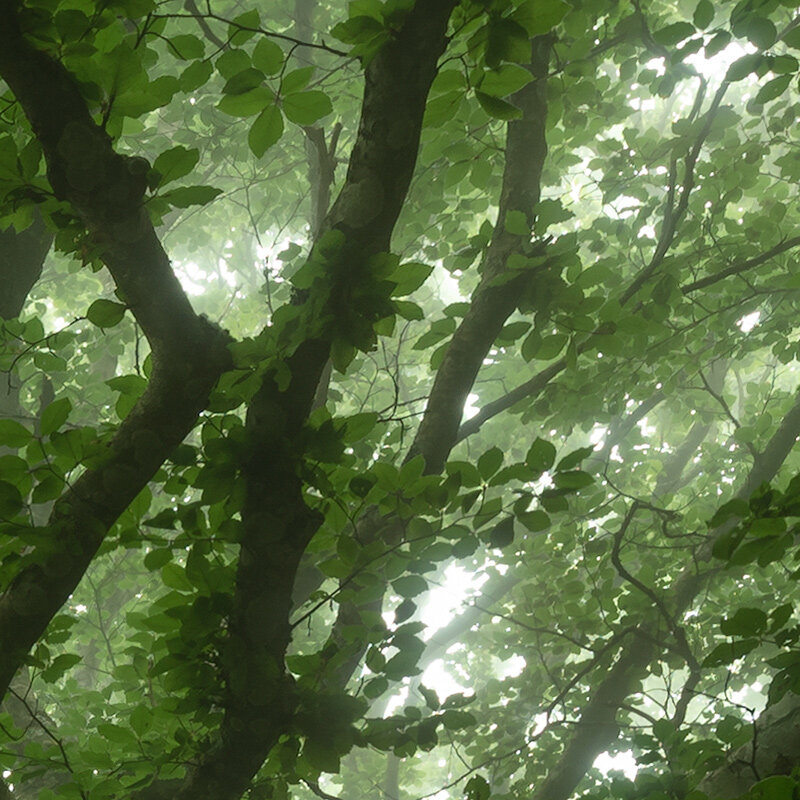
It’s tough to get the chaos of the forest under your spell. Isolating subjects that speak to you among stuff that all looks alike is challenging. First tip: Go the forest on overcast, rainy days or very early in the morning for a chance of mist. But what do you after capturing? How do you release the magic of the Dark Forest? That’s where this new tutorial comes in.
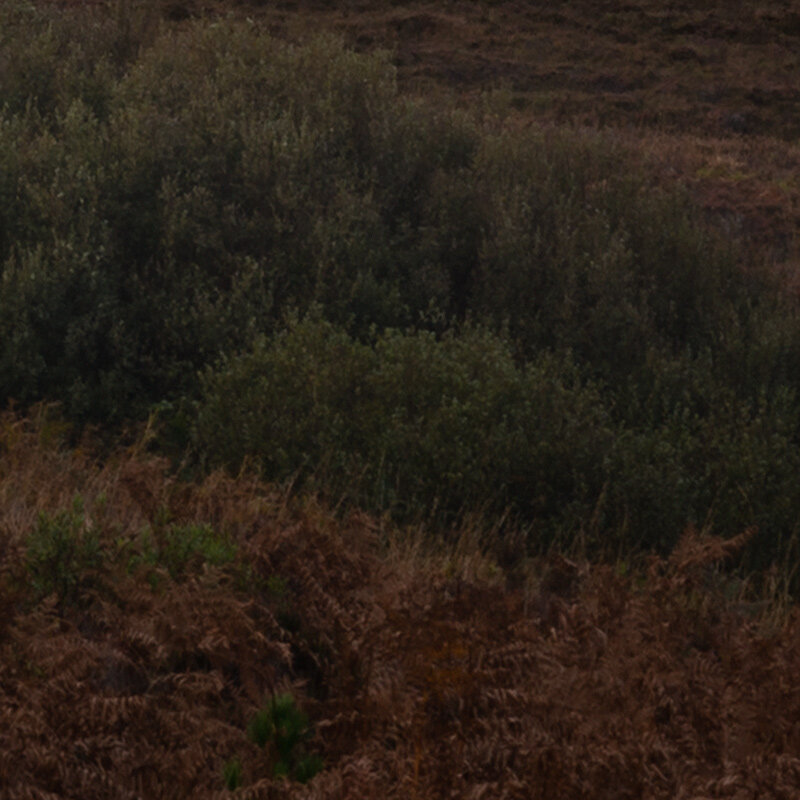
Absence of Light
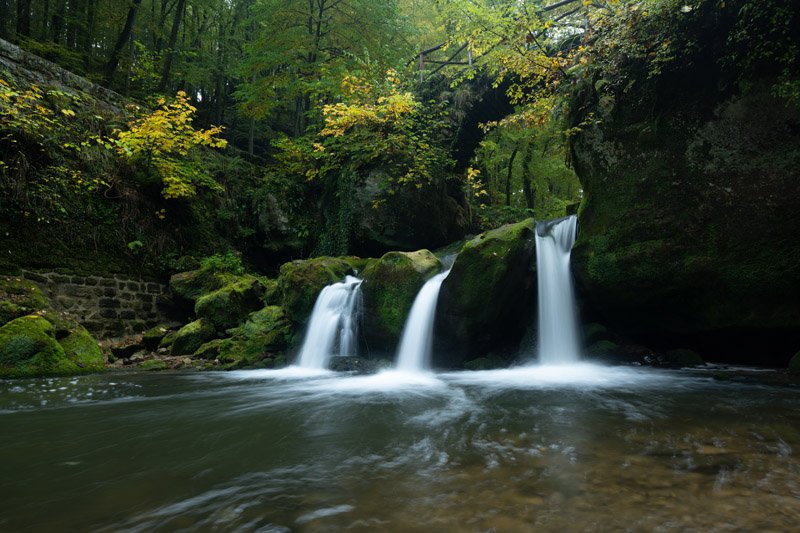
Color Separation

Overabundance of Light
In this complete 4-part video tutorial, you will learn how to handle difficult lighting situations. We’ll start out with part one, in which I explain a thing or two about composition. Next, we’re going to my go-to Dutch forest, Speulderbos and work with flat, overcast light. After that we’ll move on to Kellerwald in Germany with a wildly different kind of image featuring insane amounts of dynamic range. I bet anyone would be tempted to use HDR techniques to get it under control. In the last part, I’ll take you to Luxembourg in peak autumn, where’s it’s all about separating and controlling color. And all of those images are from start to finish!
You will learn to get detail out of shadows and highlights without using HDR. Additionally, you will learn lighting techniques such as Color Dodging, Diffuse Light and my very own Specular Highlighting light effects to make your images appear to have come straight from a fantasy world.
We will make good use of Luminosity Masking in the included videos. Follow along and you will get the results you’re looking for! There are free tools out there and you will find links to them within the document you’ll download first. That PDF also contains the download links to all video and follow along materials.
Resized PSDs and DNG raw-files are included for all images and all videos are fully narrated and annotated (subtitled) to explain what’s going on.
What’s Included?
⭐ These four videos contains more than 3,5 hours’ worth of processing together.
⭐ Three PSD-files (resized) of “Trifecta”, “Feet of Fangorn” and “Communal Hill” with every adjustment still present.
⭐ All resized raw files (DNG) with every adjustment still present. Plus pre-processed focus stacks in case you want to skip a step.
⭐ Read-me file linking to additional tools such as TK Actions and the last sharpening tool you will ever need.
Each tutorial focuses on in-depth landscape post-processing techniques, video lessons, RAW files, and complete PSD layers so you can follow along at your own pace and start learning Photoshop landscape editing with confidence. If you can’t choose, consider one of the following bundles for a discount.
Bundles & Discounts

Includes 12 videos

Includes 2 forest videos and the “Woodland” e-book.
Found your own combination of videos below? Get the fourth video for free when you get three!
Example:


4FOR3
Apply this code at checkout.
These are all the available single tutorials on offer at a glance.


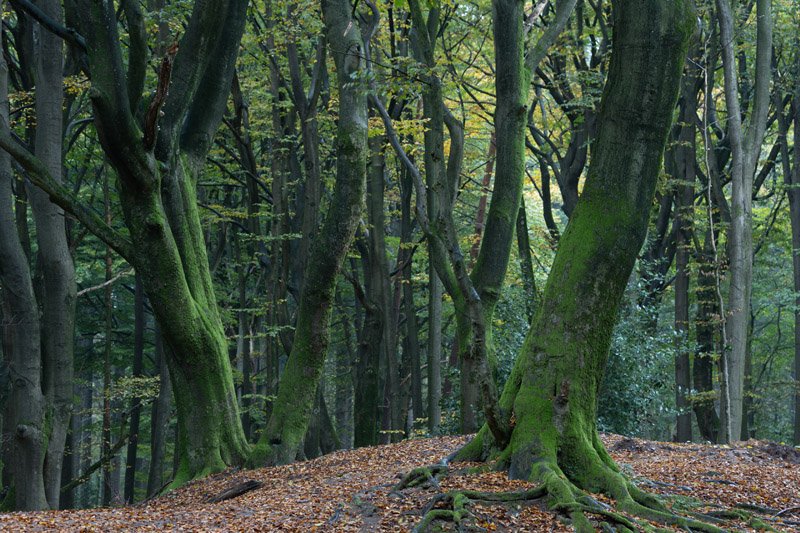
Monumental Trees in Photoshop Tutorial Video
Forest Processing Video - Creating Moody Light from Strong Daylight.

Unique Things you Learn in this Video
✔️ Working both a single image & focus stacking multiple frames for epic trees.
✔️ Aligning and blending multiple exposures.
✔️ Highlight recovery.
✔️ Cloning and sensor dust removal.
✔️ Luminosity Processing.
✔️ Fine tuning color adjustments.
✔️ Adding sunlight.
✔️ Orton effect creation and control.
✔️ Color dodging.
✔️ Using Camera Raw Filter to full effect.
✔️ Using Color Efex Pro.
✔️ Using Luminosity Masks (TK Rapid Mask explained as well as not using 3rd party tools at all, but plain Photoshop).
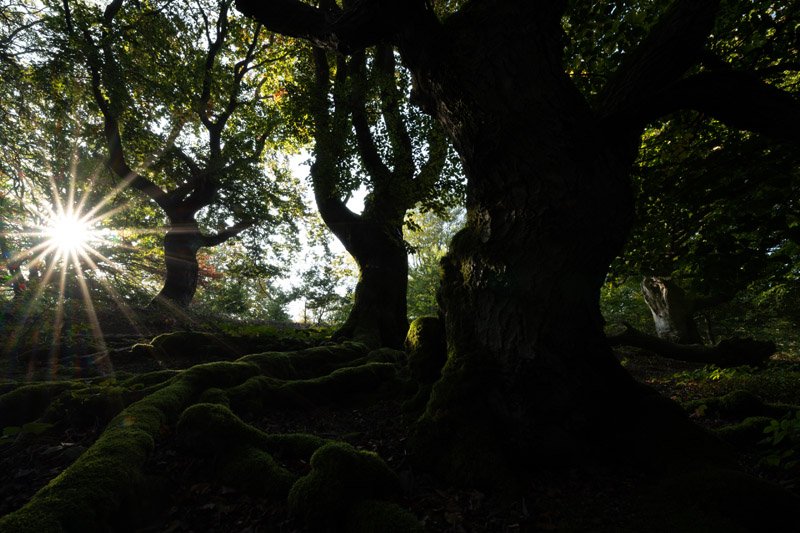
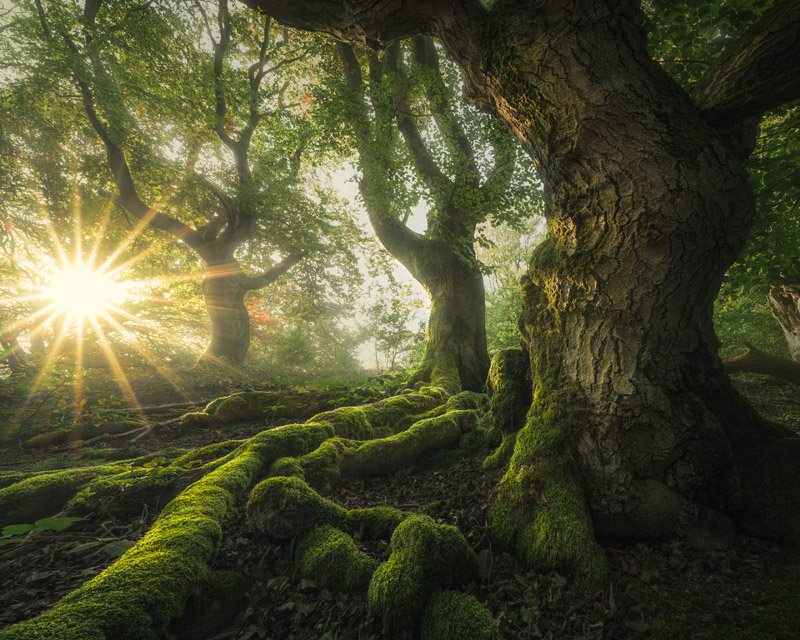
These moody forest shots weren’t that moody to begin with! Learn how to create mystical landscape art in broad daylight with this full-length video tutorial. Two very different approaches are shown in each part of this video. In one, we start in Lightroom and in the other we start in Camera Raw and I show you that they their raw conversion engine is the same! In both cases, we move into Photoshop to see the magic happen.
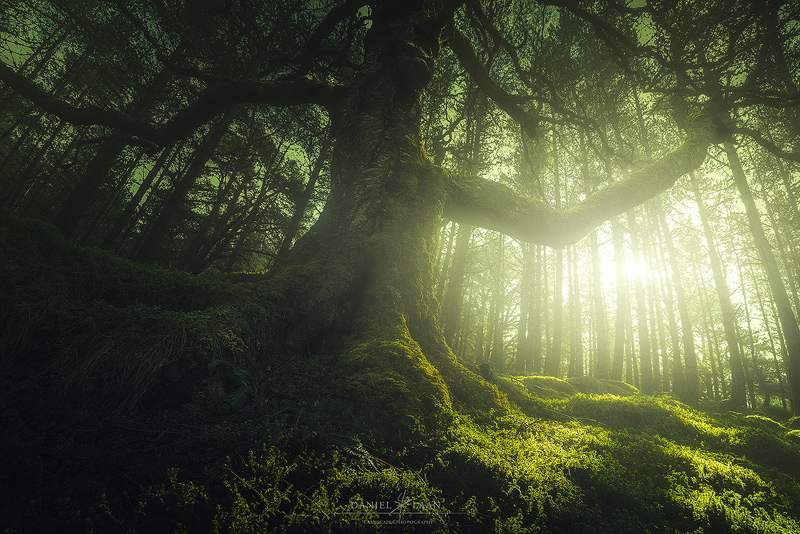
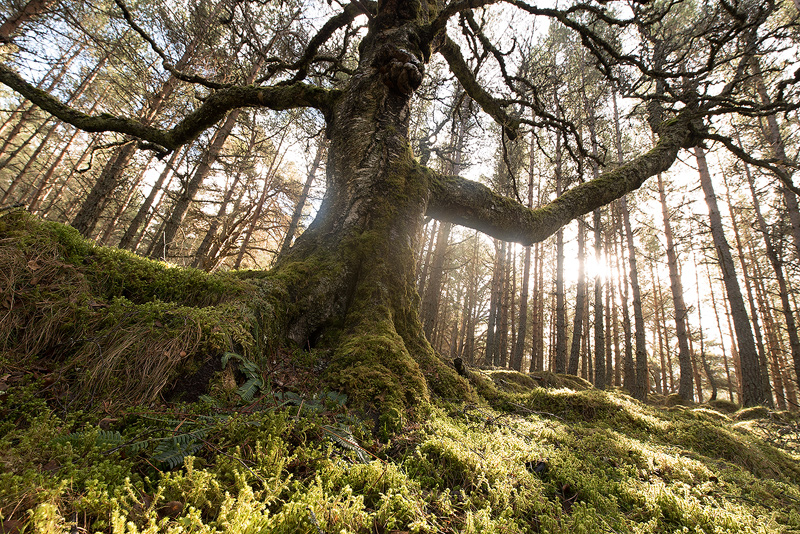
Watch me edit both “The Elder” and "Catch the Spirit" - start to finish. During this 2+ hour long editing video, you will learn various visual effects such as Soft Glow, Orton and Color Grading, aside from a host of stuff like warping, focus stacking by hand and dodging that will make your forest images sing.
What’s Included in this Updated video?
⭐ High quality voice guiding by a professional, native English speaking voice actor!
⭐ Two full start-to-finish editing videos, with very different approaches!
⭐ Two PSD-files (resized) of both images with every adjustment still present.
⭐ An enormous amount of subtitles, detailing every thought and theory behind the adjustments shown on screen.
⭐ Read-me file linking to additional tools.
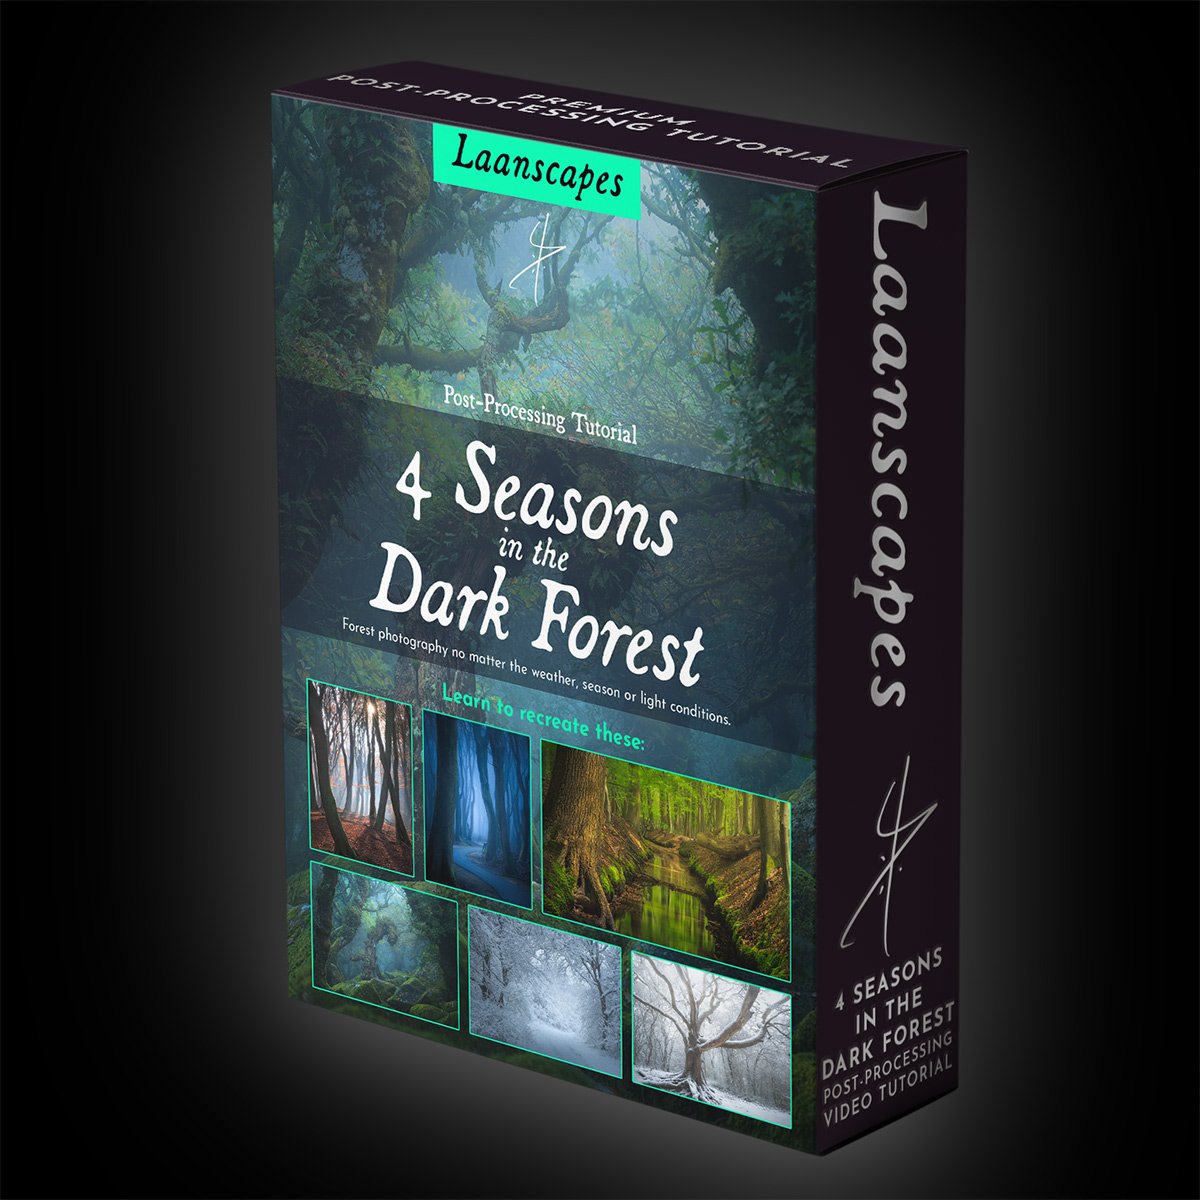
4 Seasons in the Dark Forest Tutorial Video
Come rain or shine, the forest becons.

Unique Things you Learn in this Video
✔️ Getting great results in any season.
✔️ Separating autumn colors.
✔️ Handling snow white balance and exposure.
✔️ Blending sunstars.
✔️ Handling HDR, direct sunlight and over-exposed skies and blending exposures in the forest (and their necessity).
✔️ Focus stacking.
✔️ Dodging & burning in many ways (pick an approach that I show you like!).
✔️ Warping and cropping to manipulate composition.
✔️ Leading the eye by darkening and brightening selectively.
✔️ Sharpening (input, mid-stage and output sharpening for the web).
✔️ Leveraging moody light effects such as Orton Effect, Light Bleed and Diffuse Light without sacrificing depth or sharpness.
✔️ Applying negative Clarity and Dehaze to make a dreamy effect.
✔️ Setting a dark mood, reminiscent of movies like the Lord of the Rings.
I’ve been coming back to the Dark Forest theme for years now. I love it in here, no matter which season. If you think autumn is the only season worth visiting the forest in with your camera, you’re missing out. This is the third and largest tutorial in a series about woodland photography, where we specifically tackle different locations, seasons and lighting conditions.


In this complete 6-part video tutorial, you will learn how to edit forest photos from all seasons. We’ll cover summer, spring and several stages of autumn and winter photography so you can go to any forest confidently.
What’s Included in this Video?
⭐ These six videos contain more than 3,5 hours’ worth of processing together.
⭐ 6 PSD-files (resized) with every adjustment still present.
⭐ All raw files that go into each of the final results, with every adjustment still present.
⭐ Bonus: An ever expanding set of utility videos that dive deeper into certain complex subjects (not induced in the aforementioned running time).
⭐ Read-me file linking to additional tools such as TK Actions and the last sharpening tool you will ever need.
Fantasy Forest Bundle
This video bundle is for you if you can’t get enough of tree and forest photography, but struggle to get great pictures. Let me help you see the forest for the trees.
Includes:

4 Seasons in the Dark Forest
Return to the Dark Forest
And

Woodland E-Book
What You Will Learn: Photoshop Landscape Editing from Start to Finish
By engaging with our advanced Photoshop landscape editing course online, you will gain both conceptual understanding and hands-on skills that empower you to transform your landscape photographs into mood-rich, expressive fine art images. These training tutorials address core challenges that hold many photographers back: unfamiliarity with Photoshop tools, uncertainty about layers and masks, and the fear of “too much processing.”
The course content includes how to:
Prepare RAW landscape files using Lightroom before moving into Photoshop.
Use Photoshop layers, masks, blending modes, and adjustment layers with confidence.
Apply luminosity masks and targeted dodging and burning for greater depth and mood.
Perform exposure blending and dynamic range control to reveal detail in skies and shadows.
Apply custom color grading for cinematic, dramatic tones unique to your style.
Create mood and atmosphere while avoiding over-processing.
Each Photoshop tutorial goes beyond technical mechanics by explaining why each step matters. Instead of just showing clicks, you will understand the artistic intent that goes behind premium landscape photo editing decisions.
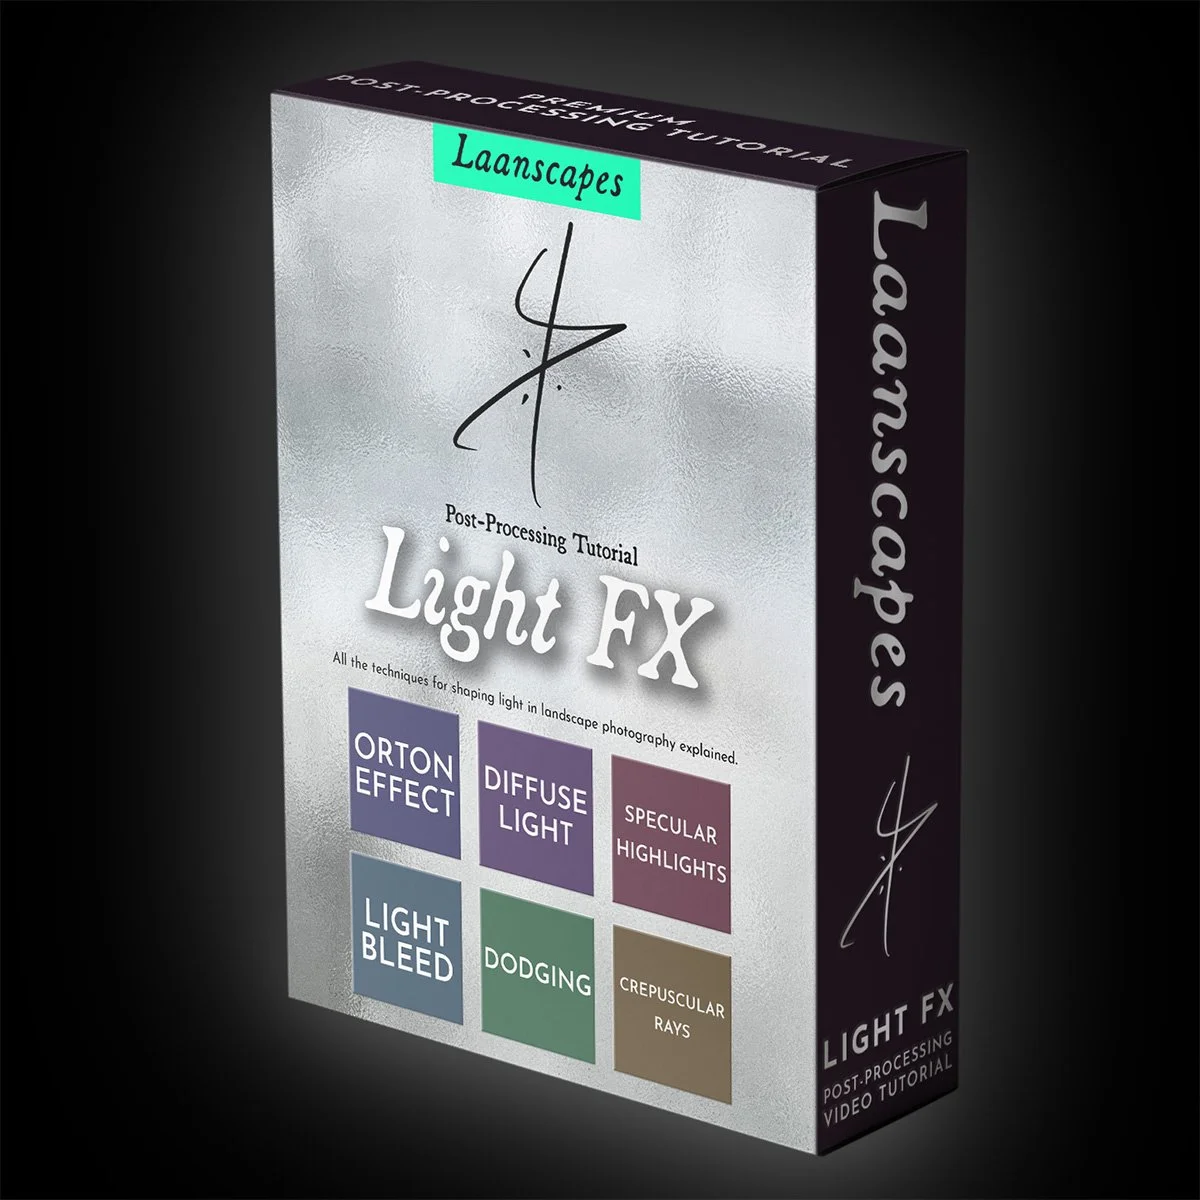
Light FX Tutorial Video
Create stunning effects that transcend your Landscape Photography.
What Will I Learn?
✔️ Orton Effect (popular soft glowing effect).
✔️ Diffuse Light (denser atmospheres, depth and mist).
✔️ Specular Highlighting (making a feature of over-exposed parts in a forest canopy).
✔️ Using the Dodge Tool.
✔️ Light Bleed (adding a dramatic light source that spills into the frame).
✔️ Creating Crepuscular Rays (or God Rays) in Photoshop, without more expensive software.
✔️ + Learn various new approaches to dodging, like star dodging, aurora dodging and cloud dodging.
✔️ + An introduction to Channel Selections - the most powerful tool in Photoshop without any panels, actions or plugins.
A tutorial video dedicated to creating and shaping light. Learn how you can dramatize your own work through using special effects made entirely from scratch in Photoshop!

In this video tutorial, you will learn many different techniques that add magic to your images. You’ll discover how to create effects like the Orton Effect, Diffuse Light and Specular Highlighting and when to use them. You will also learn to summon light from nothing by creating Crepuscular Rays and Light Bleed and we’ll explore various Dodging Techniques.
We use Luminosity Masking as well, so follow along and you will get your photos to the next level!
⭐ High quality voice guiding by a professional, native English speaking voice actor!
⭐ A 50 minute in-depth post-processing video.
⭐ Added annotations that help explain the ideas behind the edits.
⭐ Read-me file linking to additional tools.
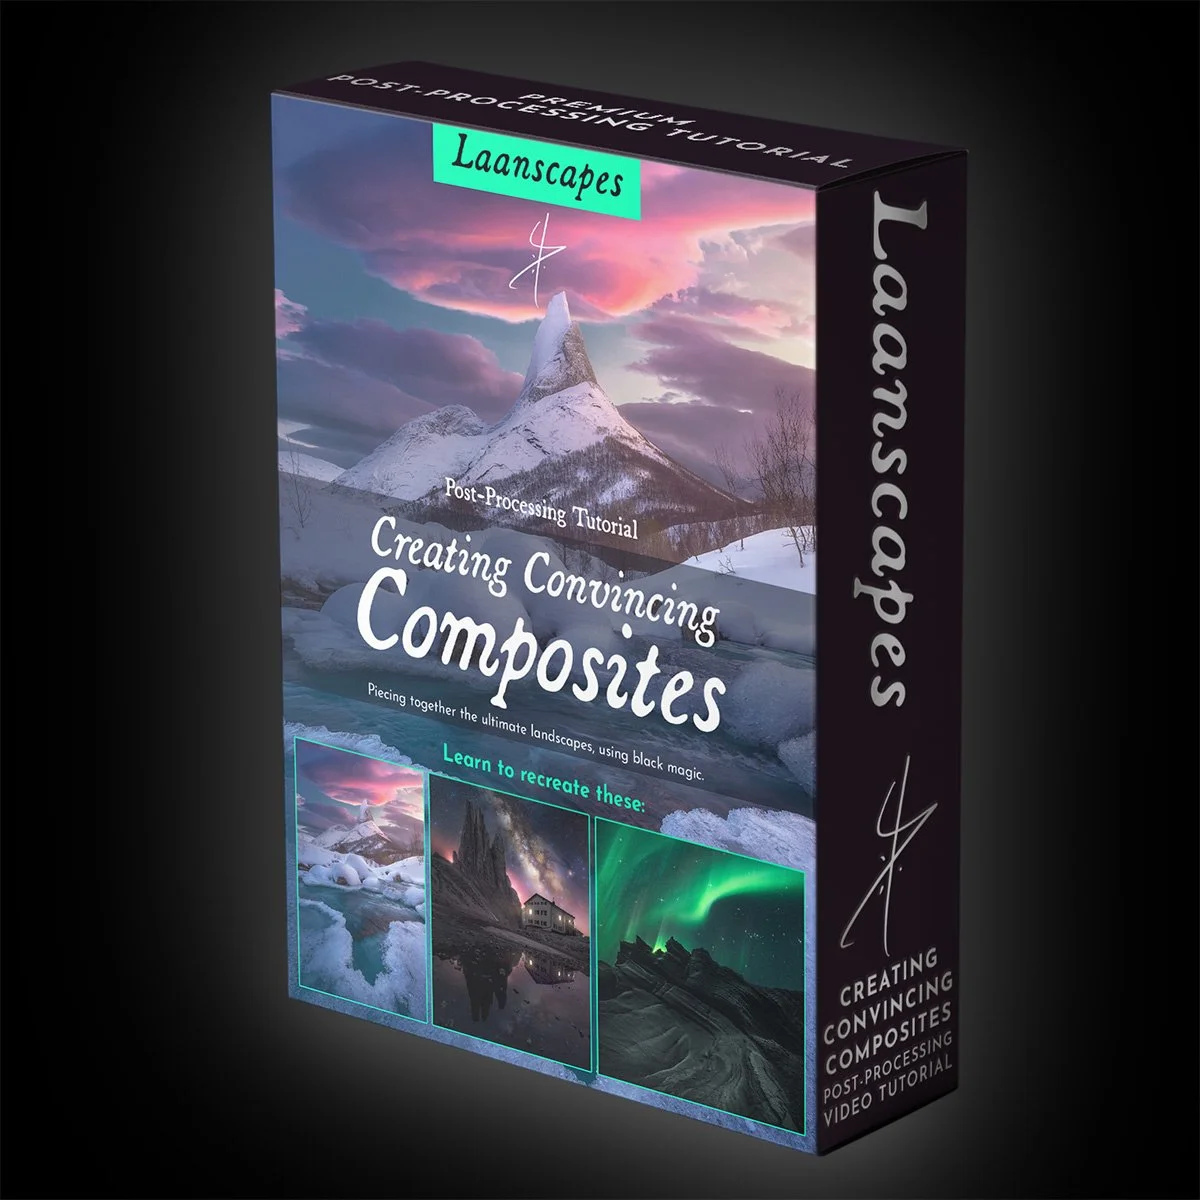
Creating Convincing Composites
Landscape Compositing in Photoshop - Black Magic of Digital Landscape Photography
Unique Things you Learn in this Video
✔️ Raw processing (Lightroom or Adobe Camera Raw) to match other images.
✔️ Putting images from different places together seamlessly.
✔️ Match light, color and contrast for convincing results.
✔️ Focus Stacking.
✔️ All manner of post-processing techniques that give a dreamy look to your images - Orton Effect, Light Bleed, Dodging…
✔️ Milky Way Post-Processing.
✔️ Luminosity Selections (RGB Channels and Tony Kuyper’s luminosity masks).
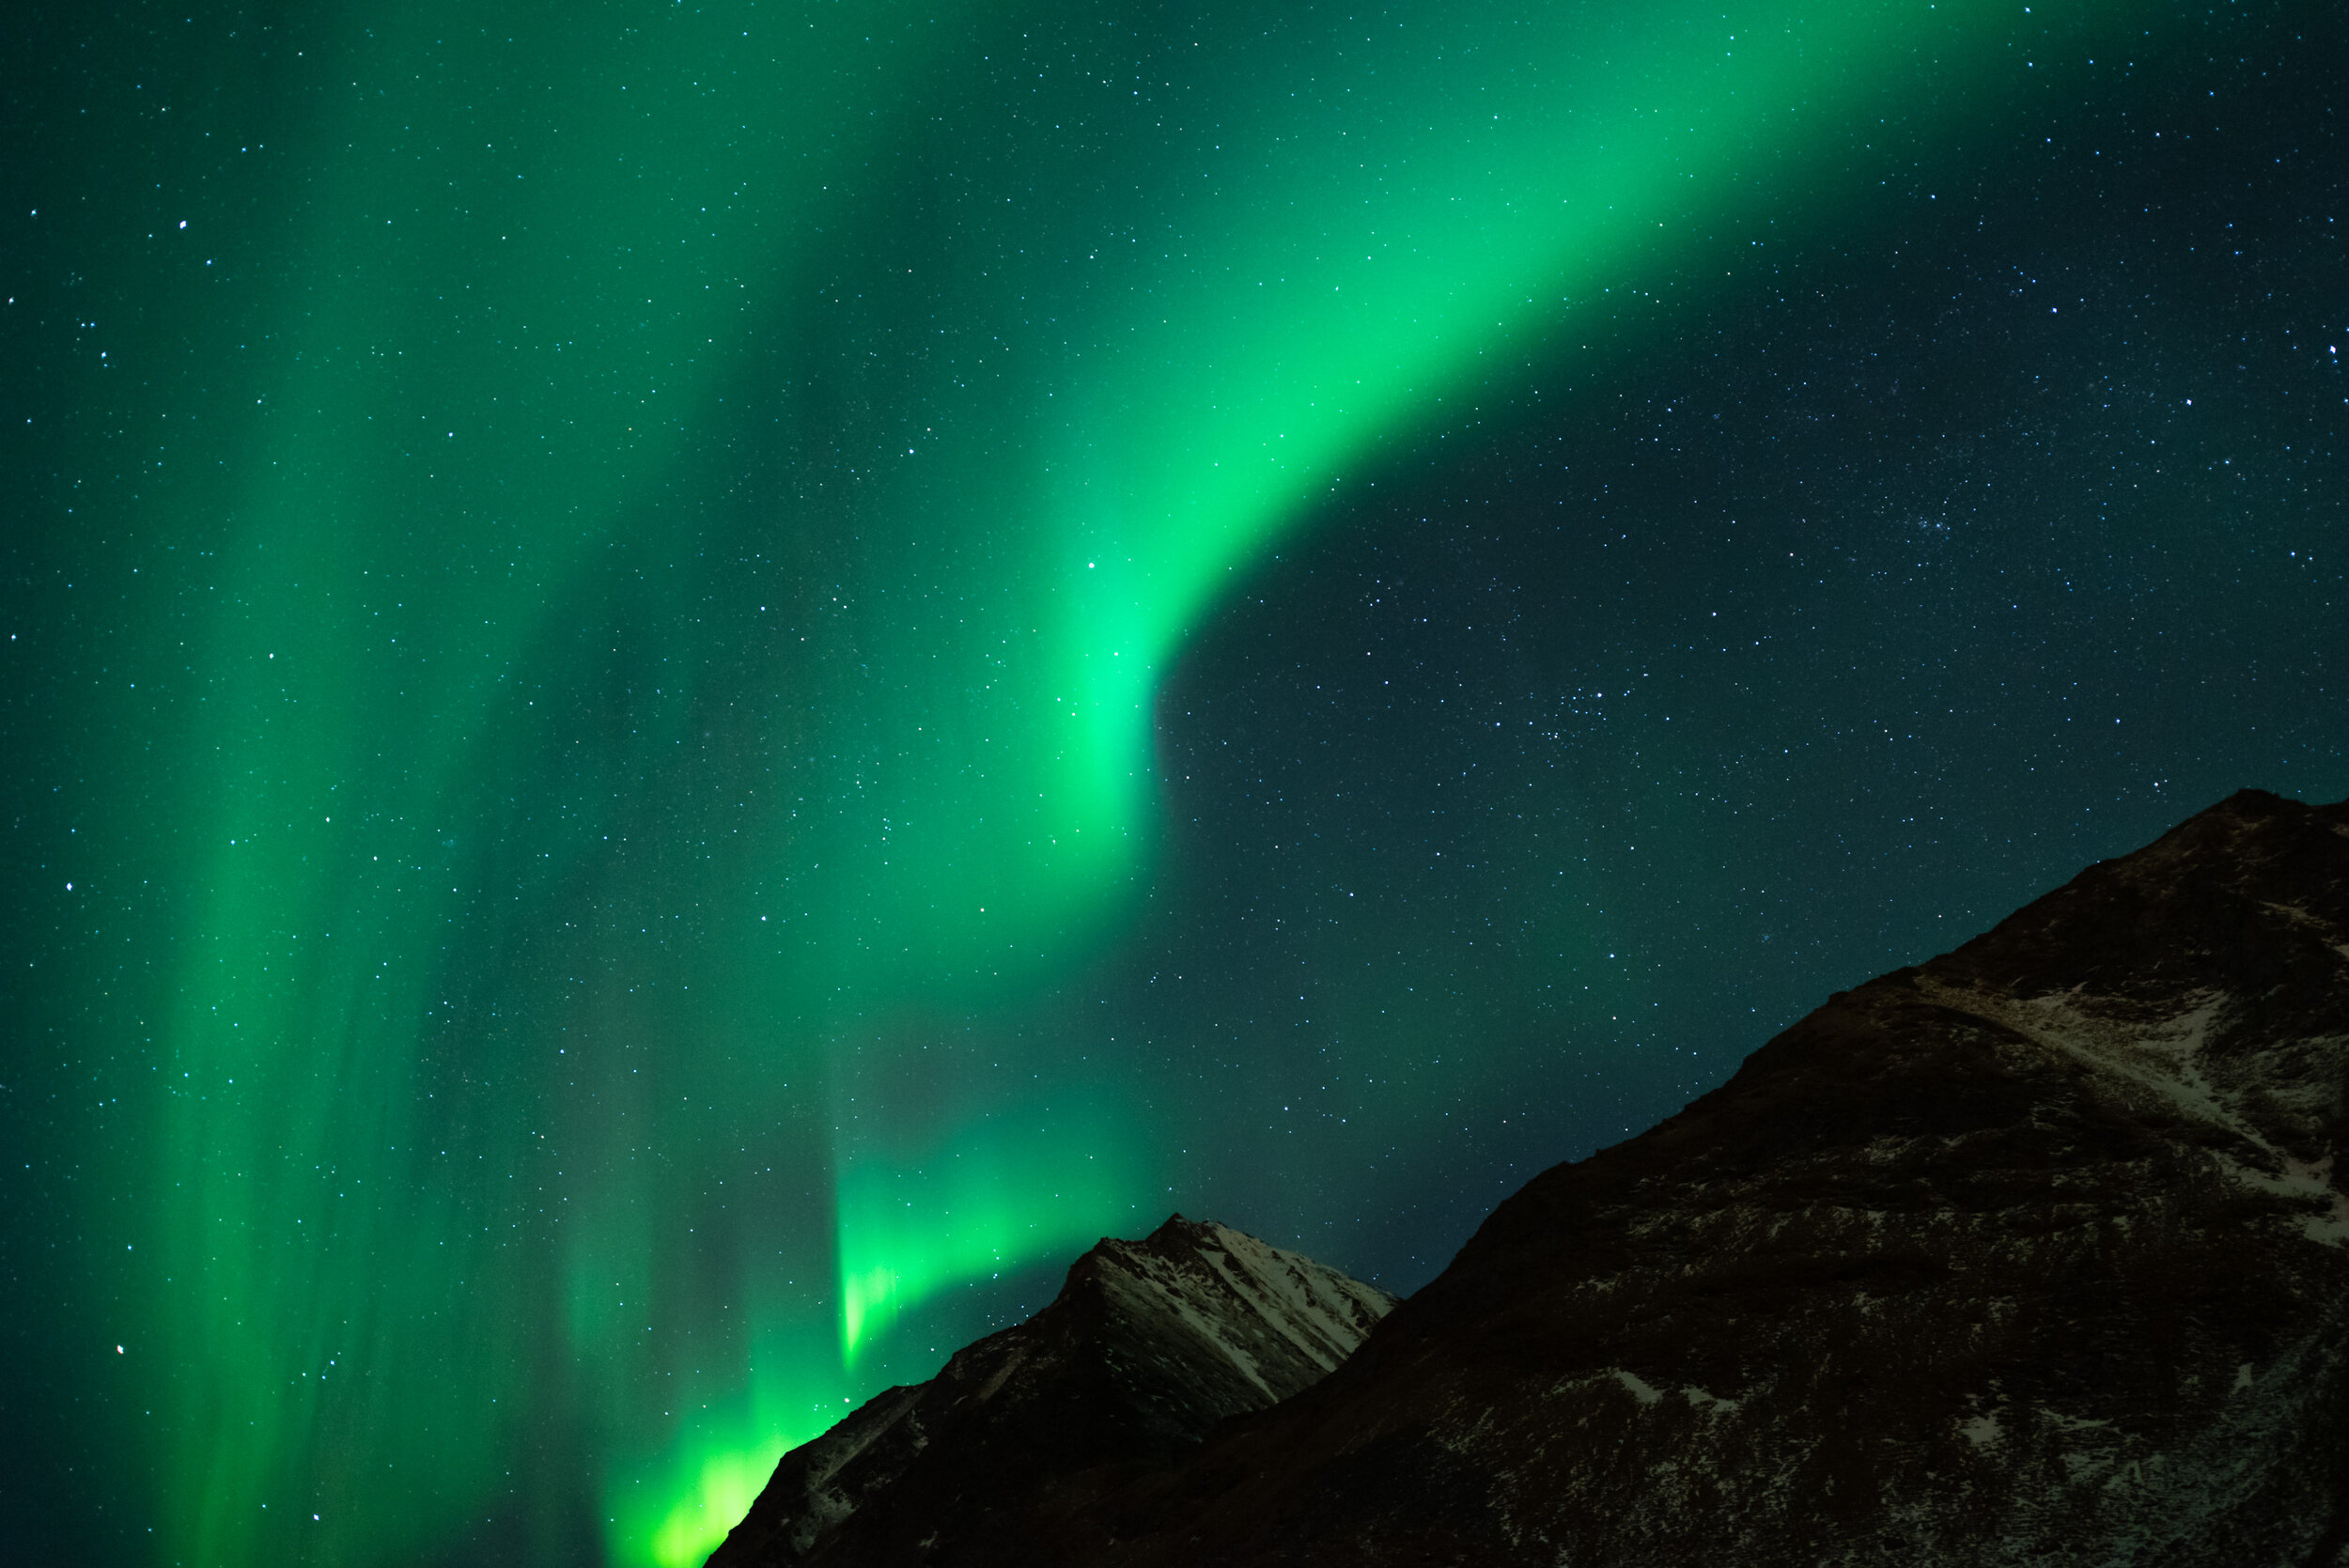
✔️ Northern Lights Post-Processing.
✔️ Color balancing and color harmony.
✔️ Learn to export and save tack-sharp images for social media.
In today’s social media landscape, you’ll have either noticed composite images are on the rise, or you have not. In the latter case, that’s because they are still there, but done right. In order to create convincing composites, you will have to learn how to wow your audience and pay attention to detail like never before. Yes, this is the black magic of Photoshop and I’ll teach you.

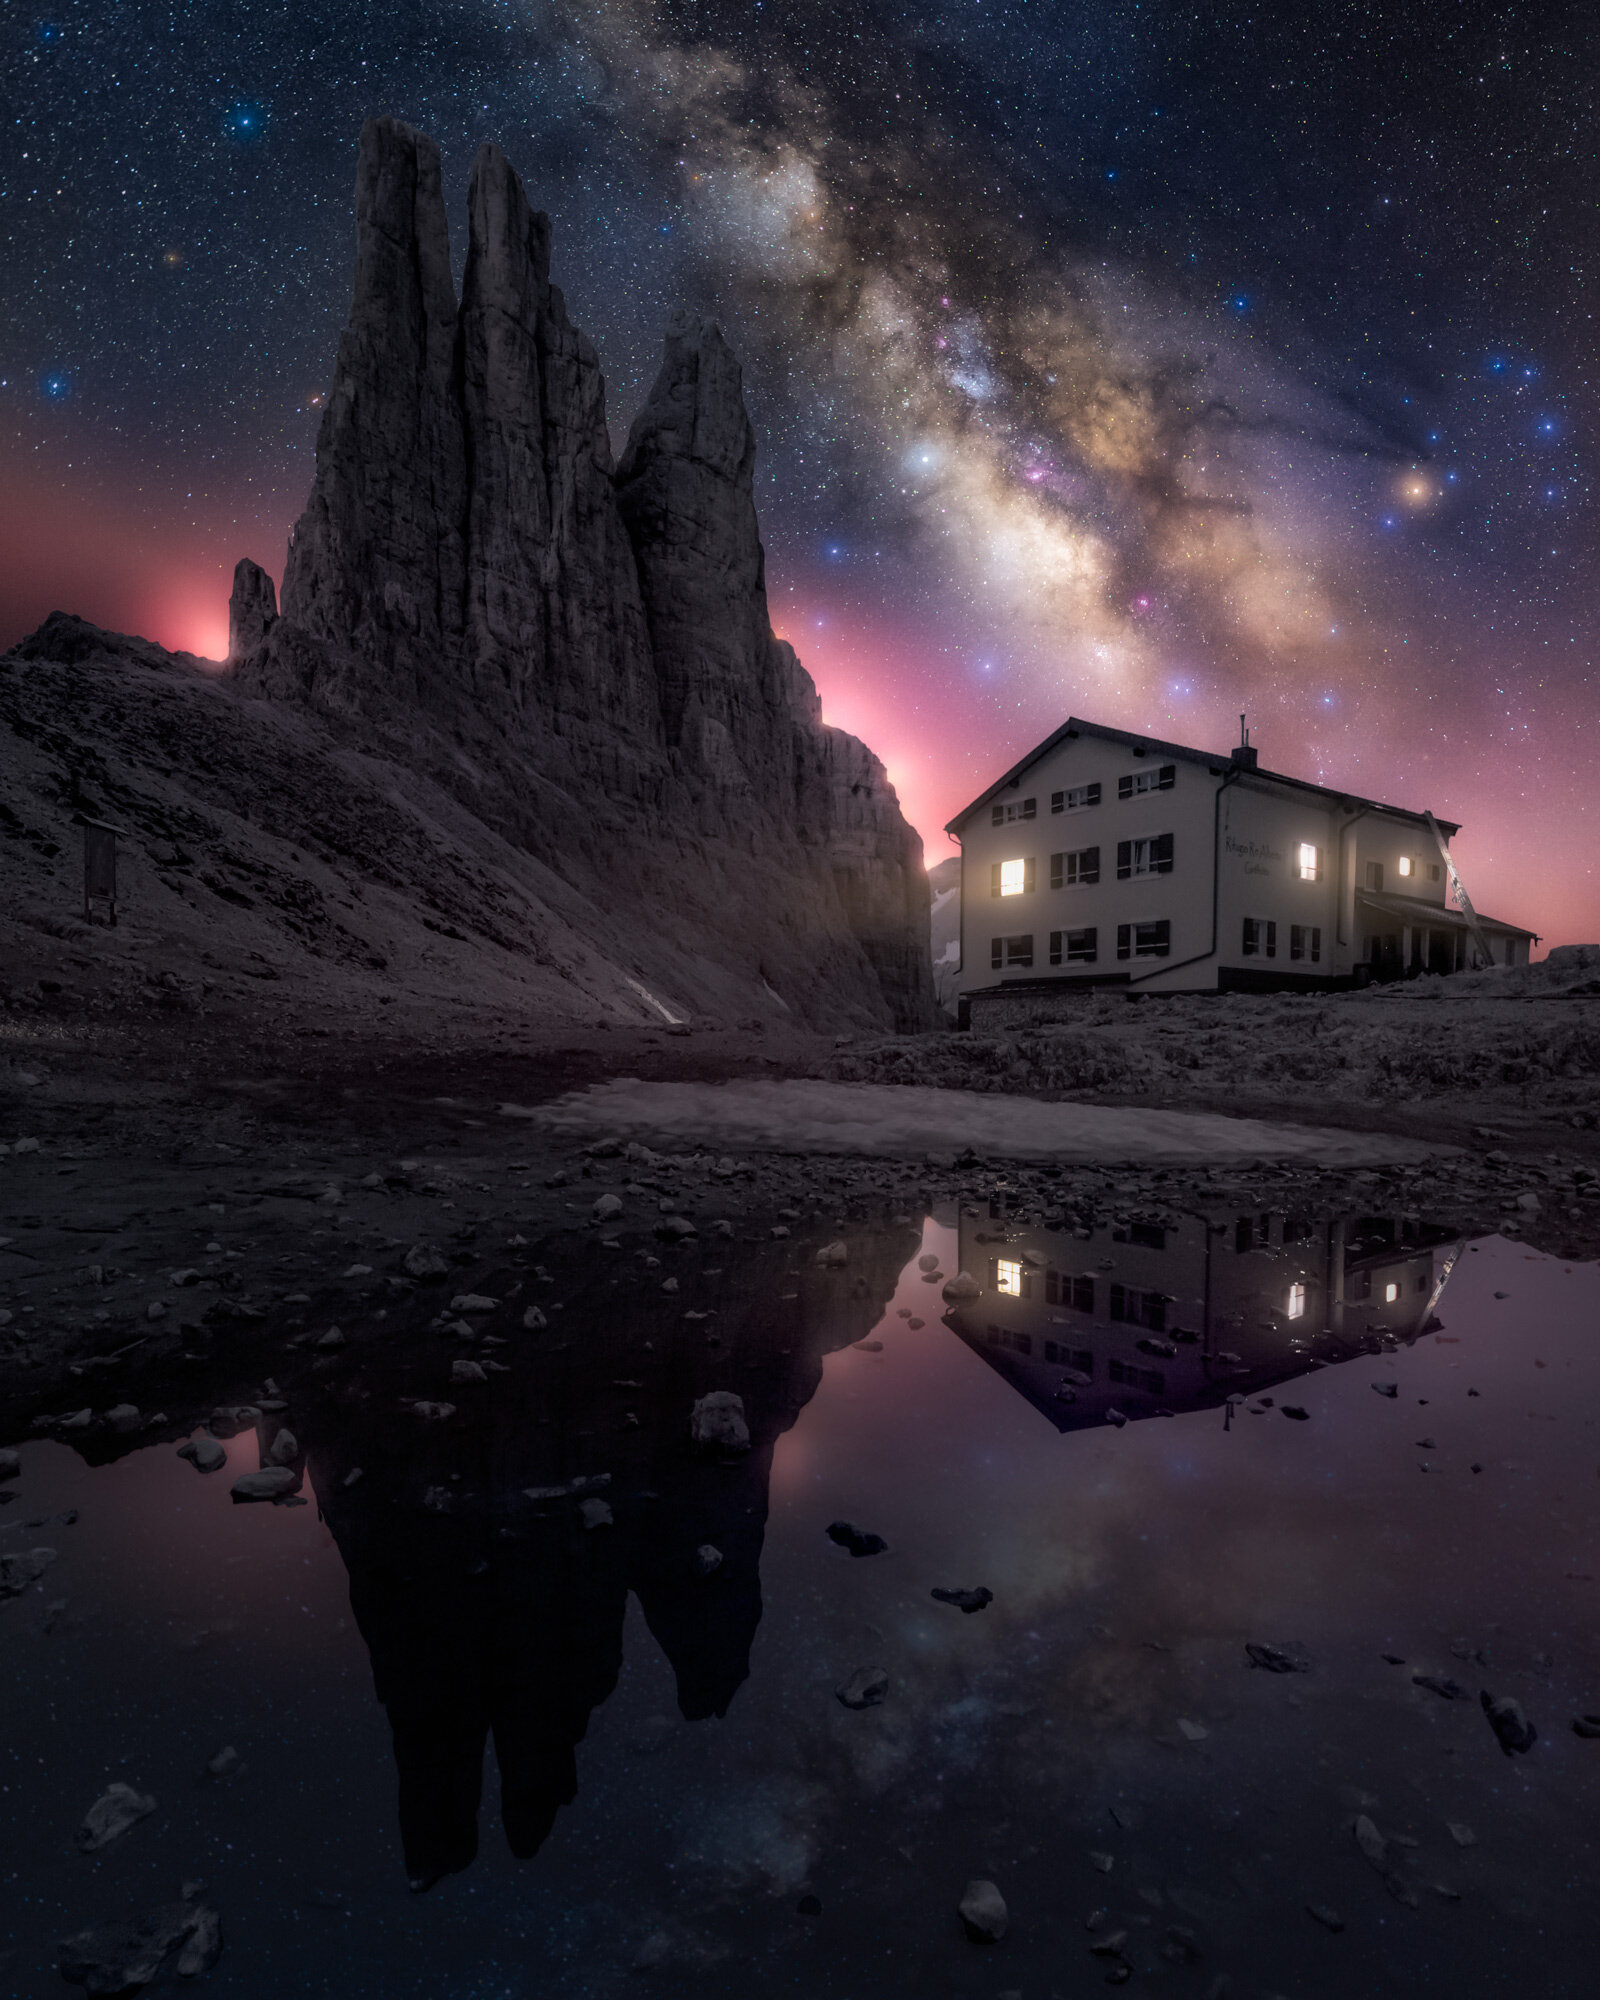
This enormous, 5,5 hour tutorial consists of three start-to finish videos and will teach you to seamlessly blend different fore- and backgrounds together to create mesmerizing results.
What’s Included in this Video?
⭐ These three videos contain more than 5,5 hours’ worth of processing together, the longest Photoshop tutorial ever recorded!
⭐ Three PSD-files (resized) of “Freeflow”, “Parallel Worlds” and “Magic in the Mountains” with every adjustment still present.
⭐ All Raw DNG-files (resized) that made it into the final result.
⭐ Read-me file with photography tips and links to additional tools such as TK Actions (with 15% discount) and the last sharpening tool you will ever need.
⭐ Fully narrated by native English speaker and fully subtitled and 4K resolution.
Glowing Mushrooms Processing Video
Everything you want to know about lighting those magical mushrooms.

What will you Learn?
Special attention goes out to get that dark mood that's so prevalent in any of my works.
✔️ Preparing raw files.
✔️ Getting the white-balance right.
✔️ When to use the HSL sliders.
✔️ Balancing Clarity, Dehaze and Contrast.
✔️ The Smart Object Workflow.
✔️ Blending Layers manually and convincingly.
✔️ An introduction to Nik Color Efex.
✔️ Handling difficult blends.
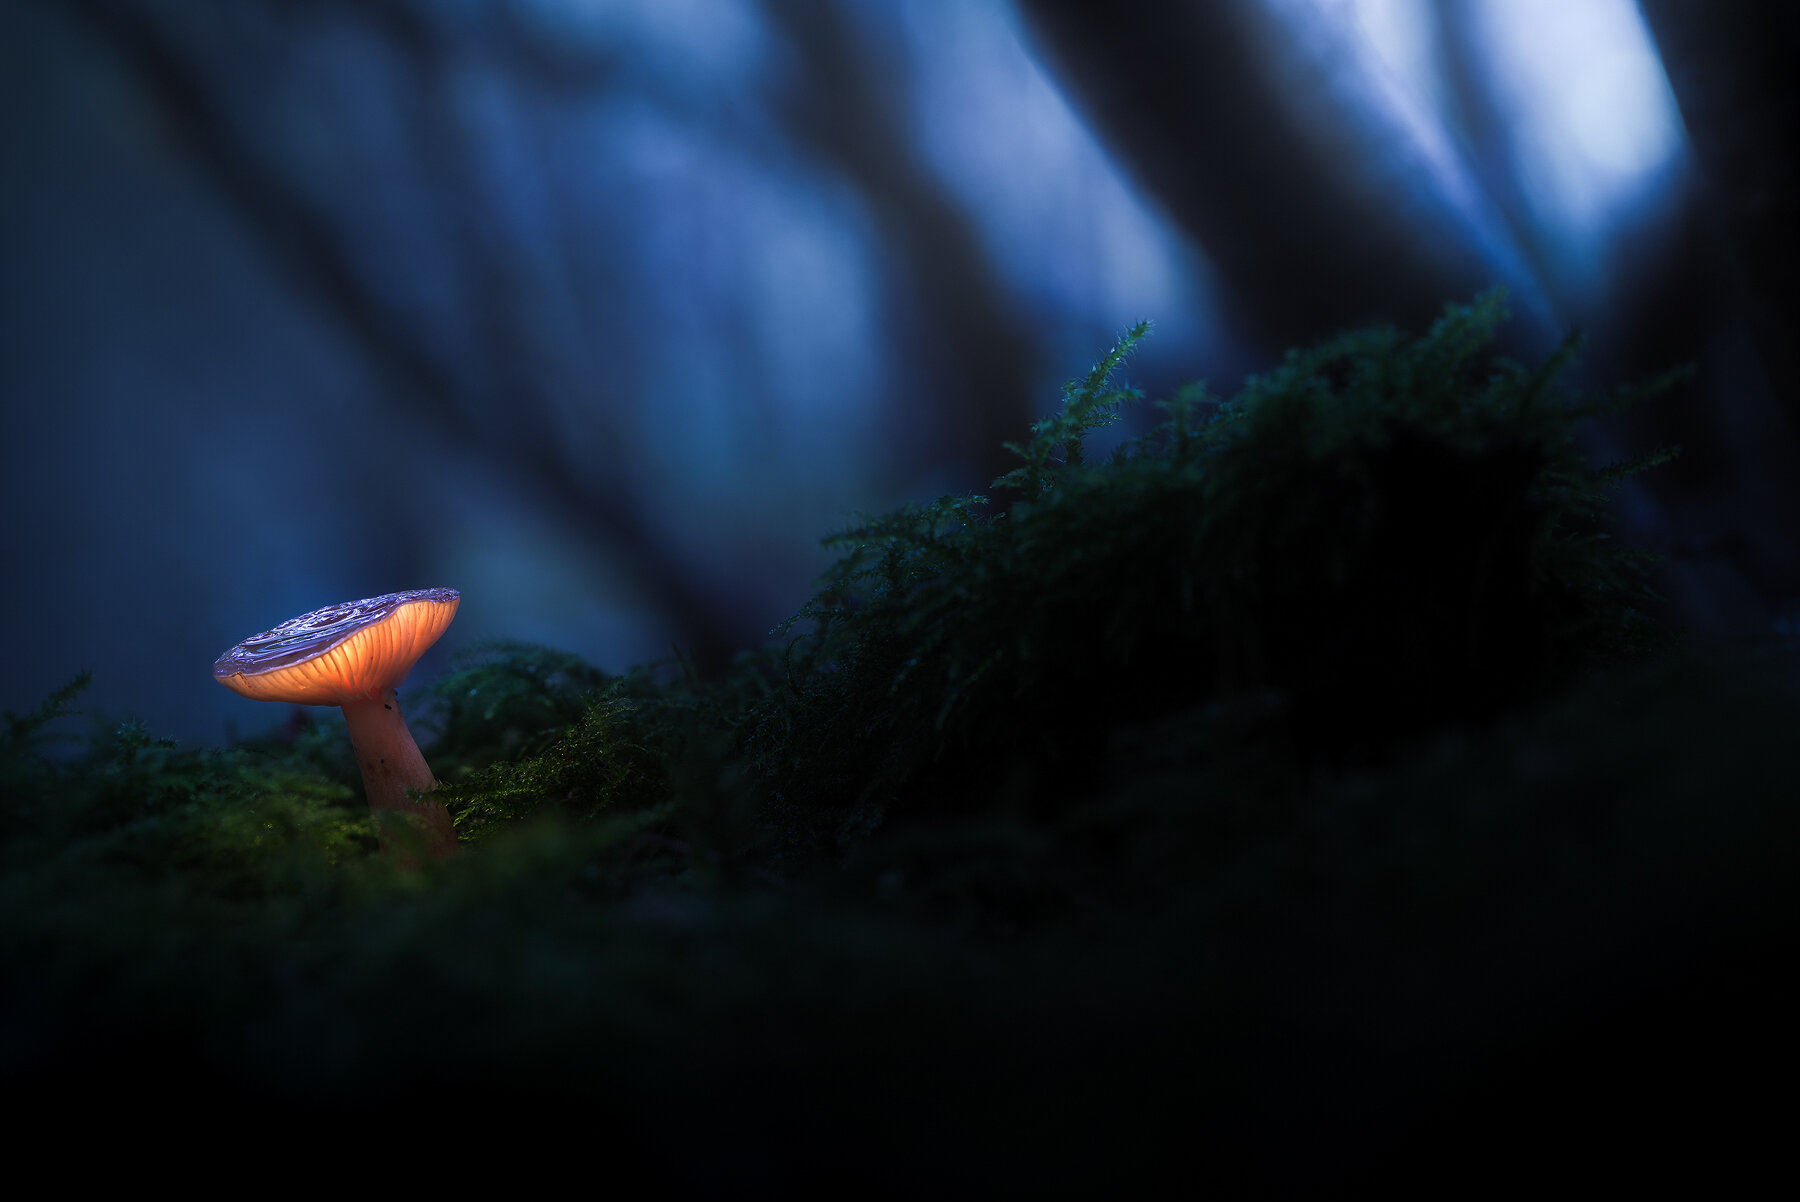
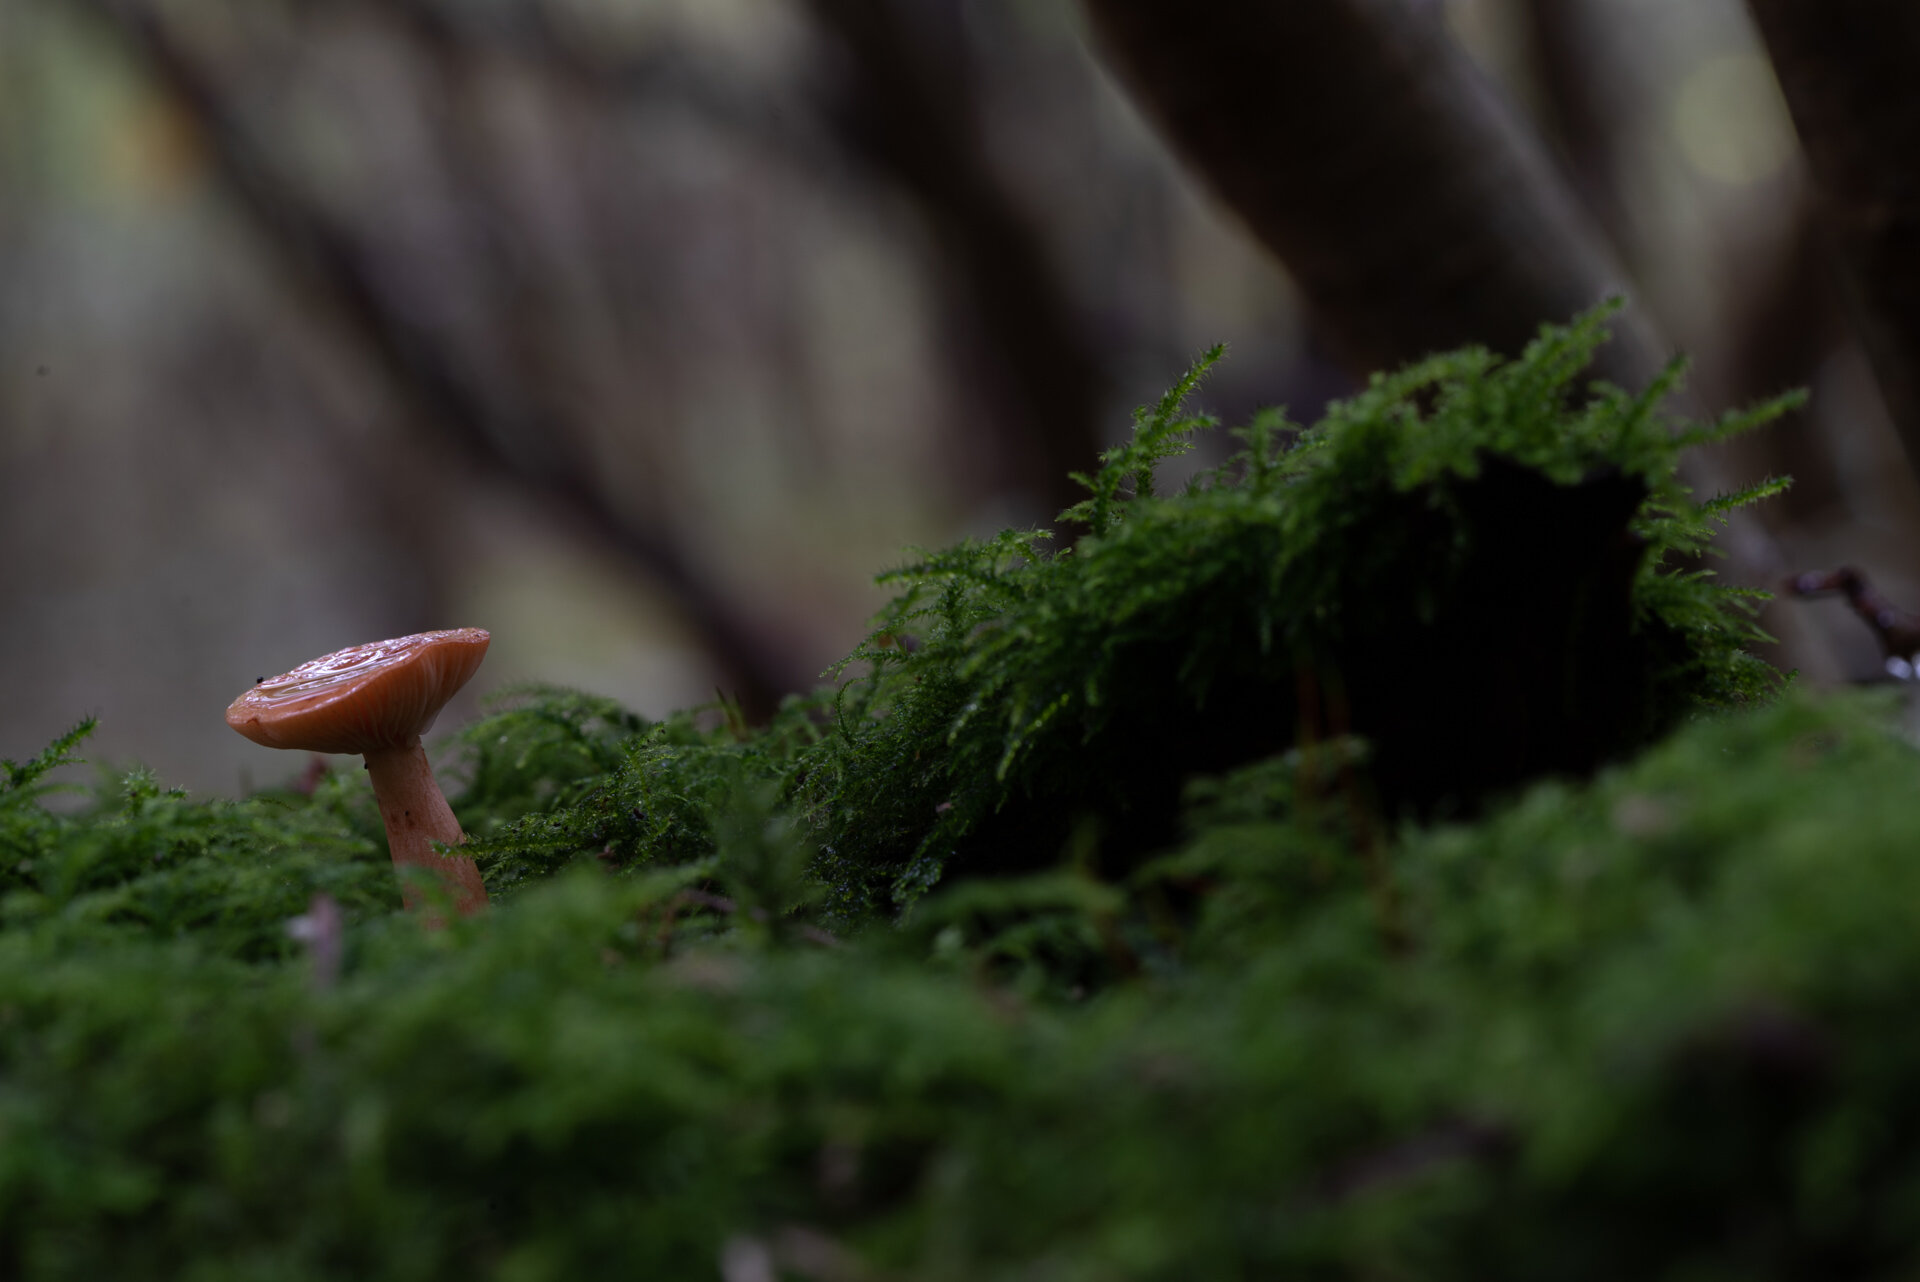
What started out as a little side-project quickly grew out to be the subject I get asked about the most: how do you create those glowing mushrooms?
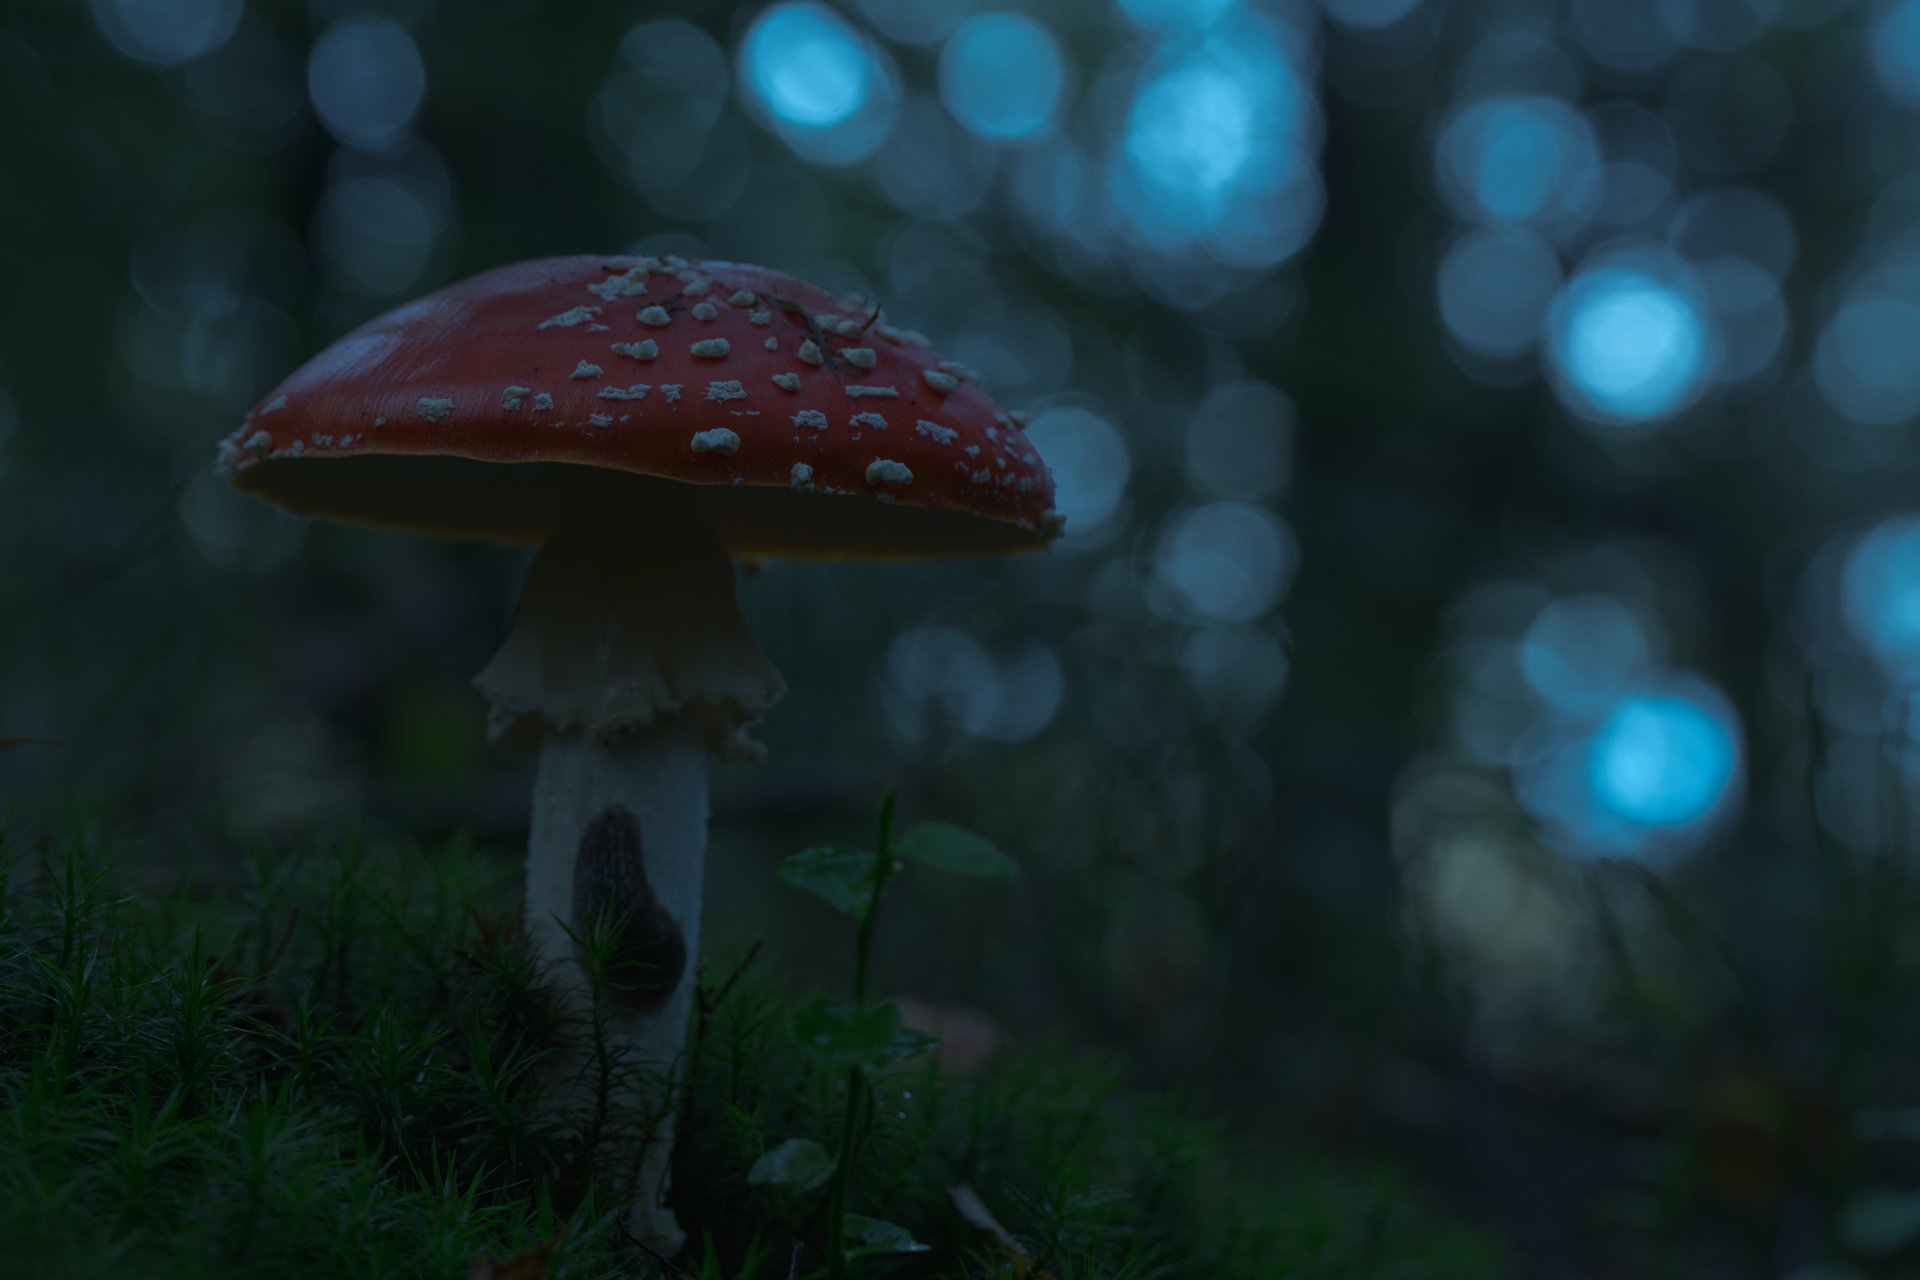
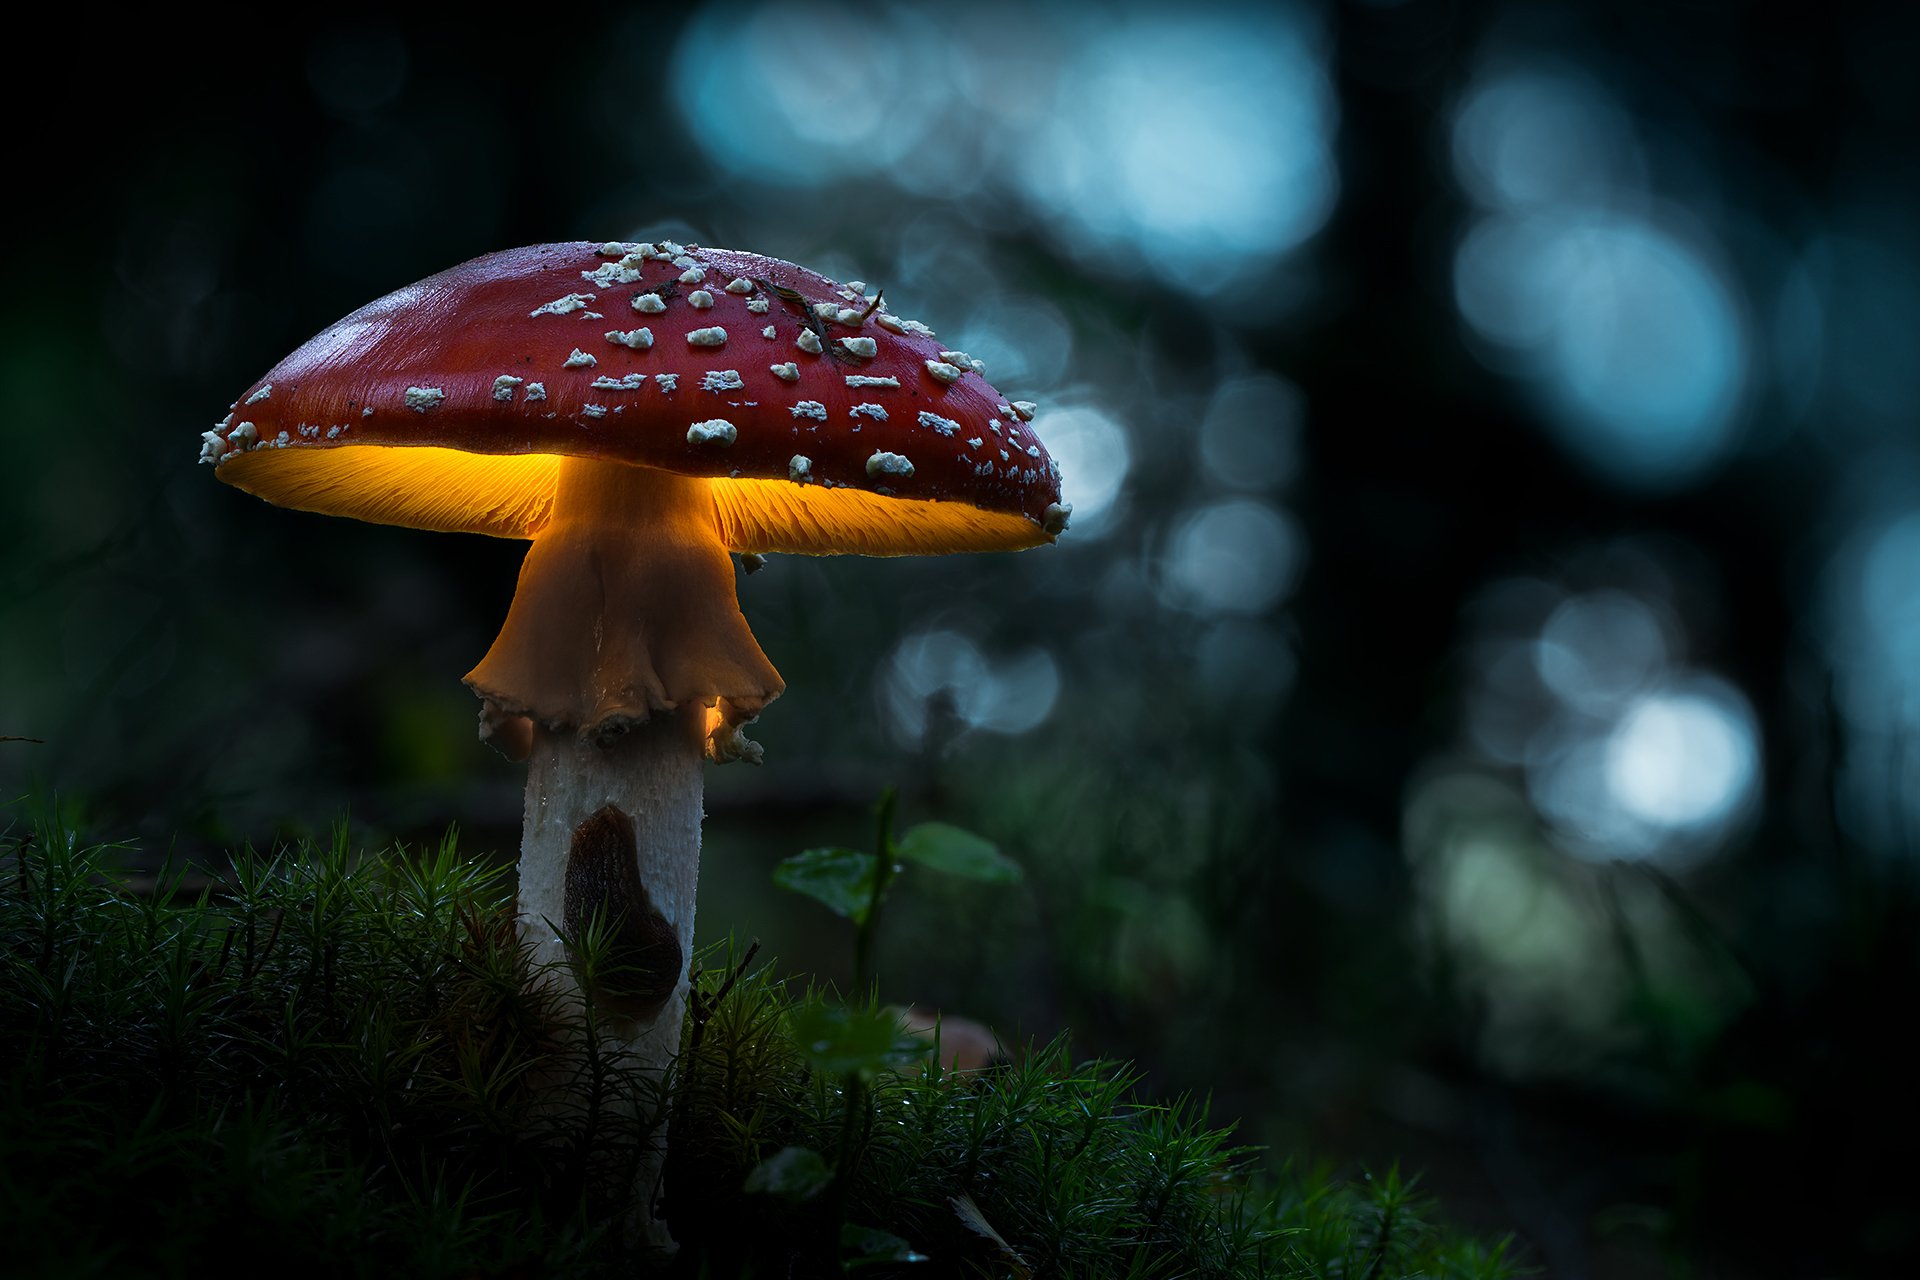
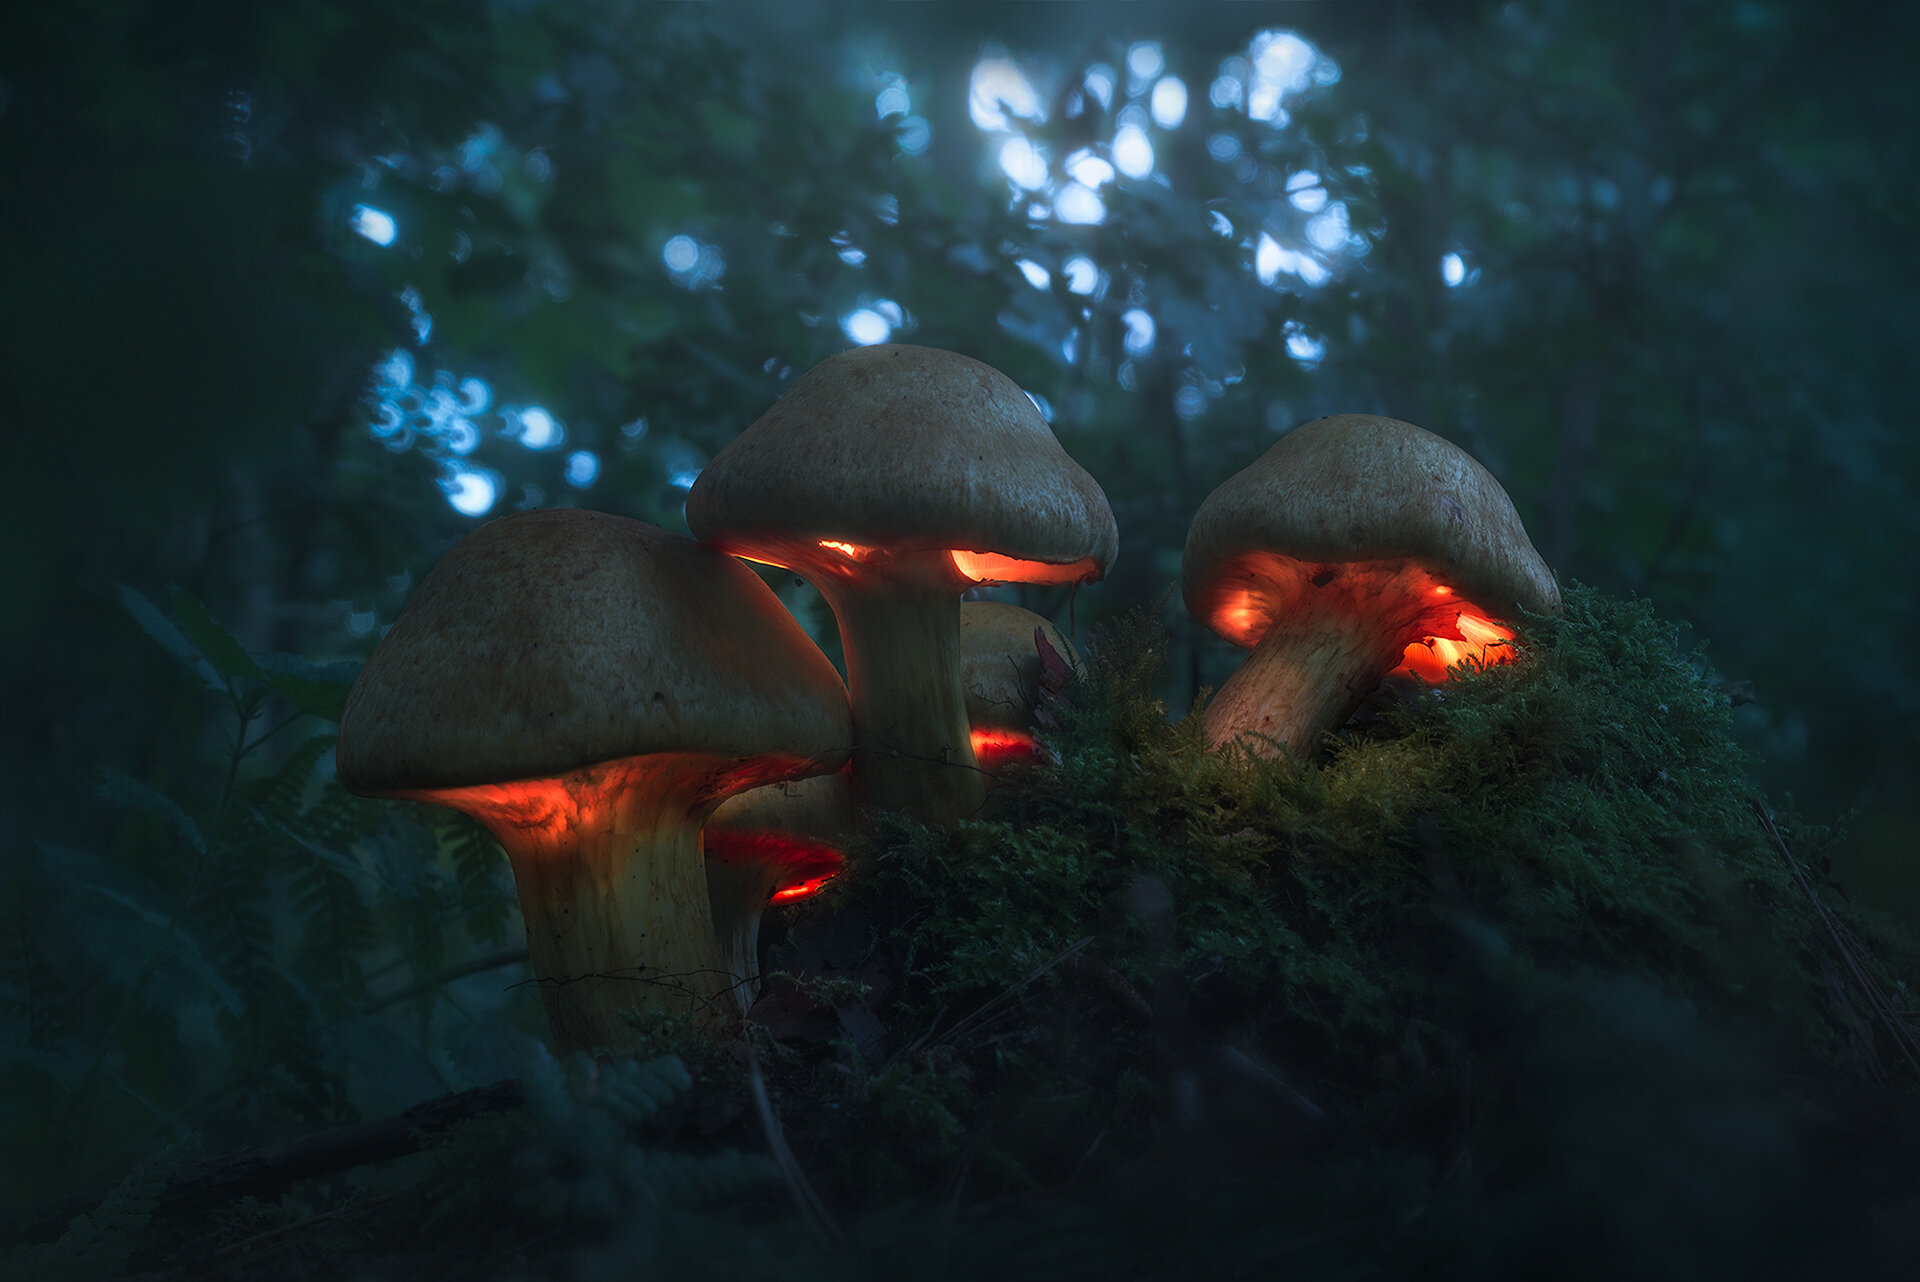
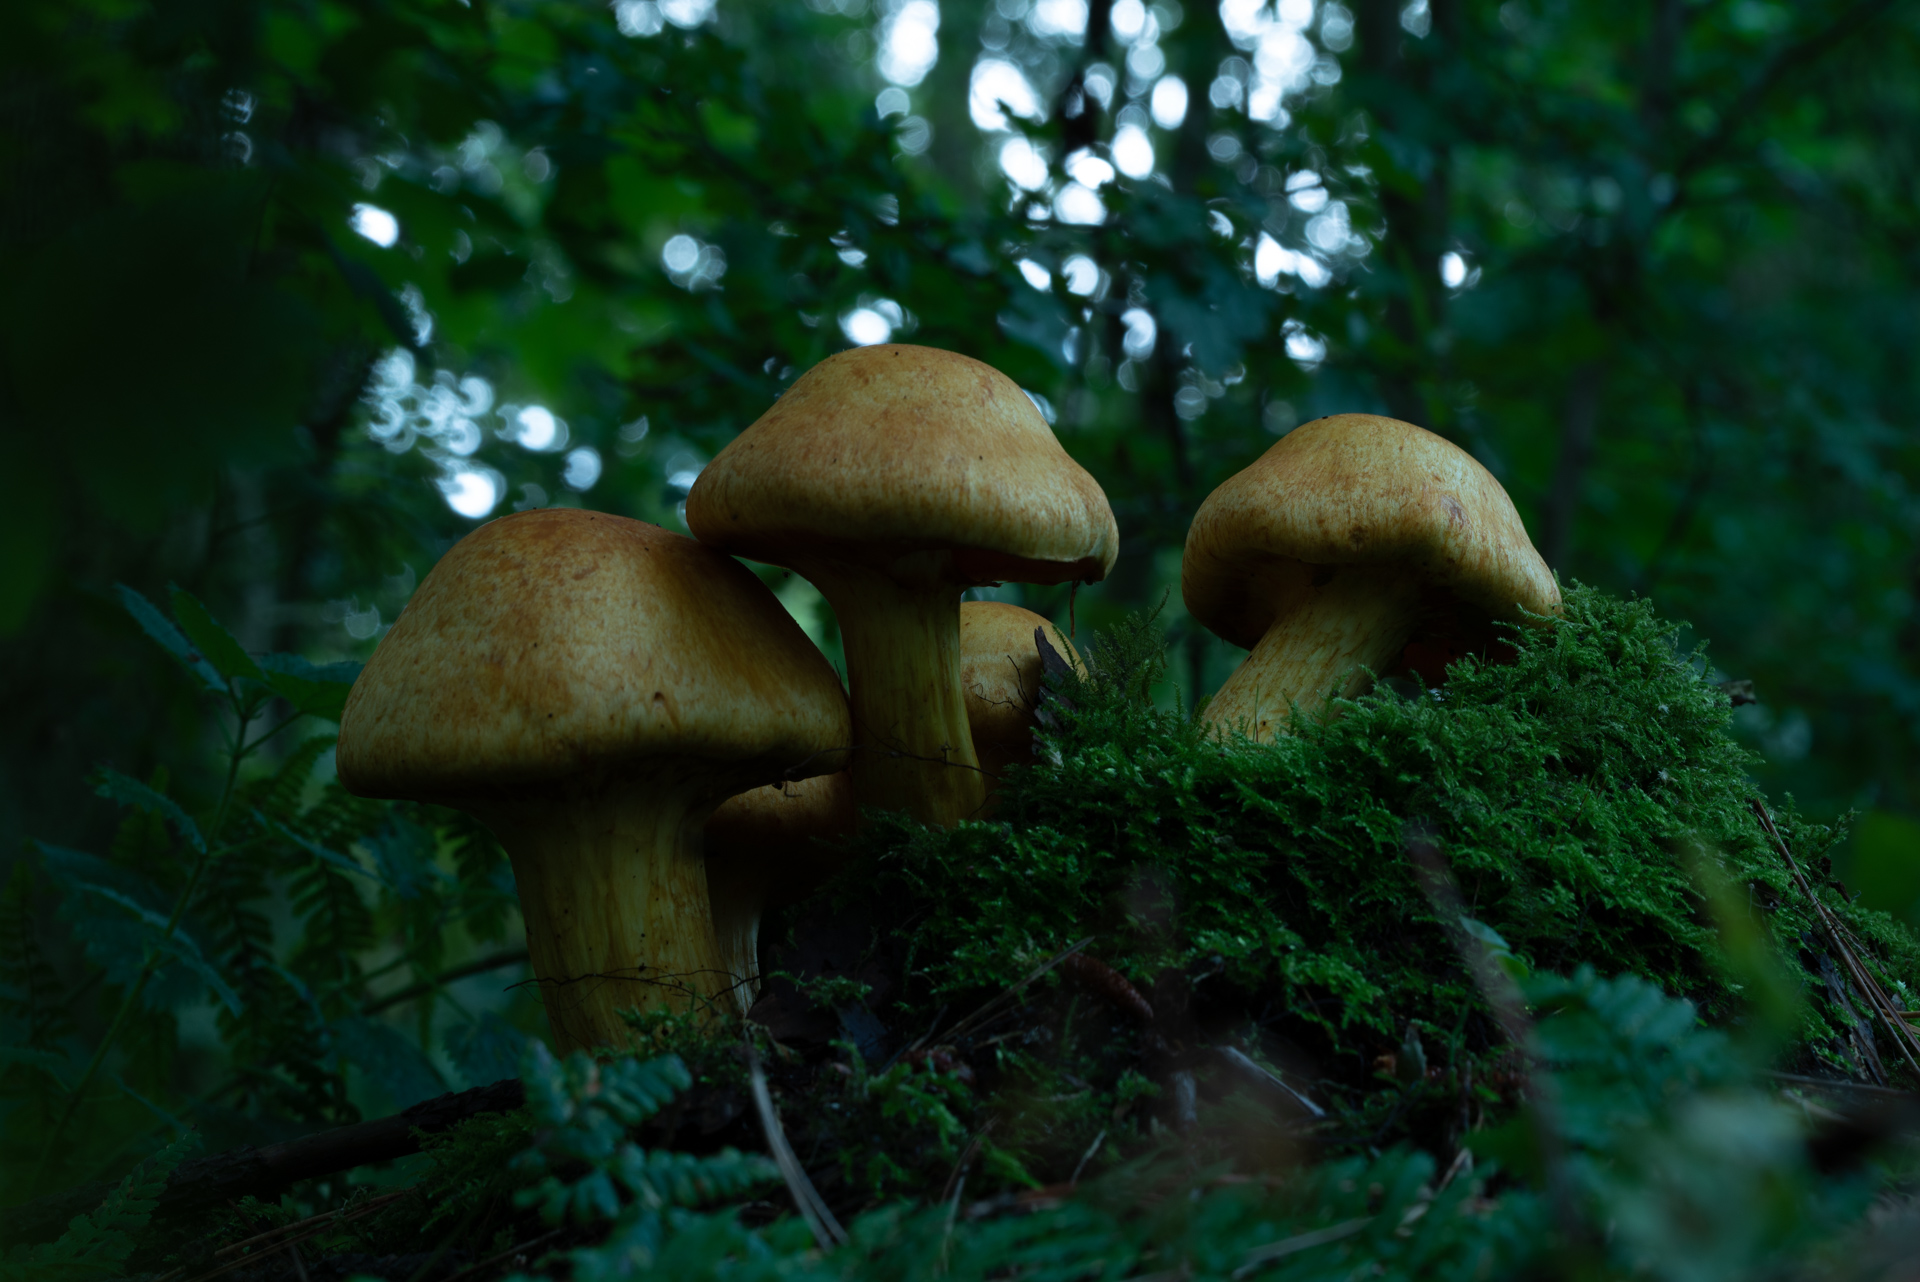
To be honest, it's a complicated process that involves light-painting and combining many images to make it look completely out of this world. But that's exactly what you will learn to do yourself in this complete processing tutorial.
In three videos and a huge article (included) you will learn everything about glowing mushrooms to recreate little fantasy fairy tales for yourself.
What’s Included?
⭐ 3 Processing Videos.
⭐ In-depth article that discusses lighting, composition, and even finding mushrooms - updated regularly with additional information.
⭐ 4 PSD-files (resized) of “The Magic Mushroom” with every adjustment still present.
⭐ All raw-files included.
⭐ Read-me file linking to additional tools.
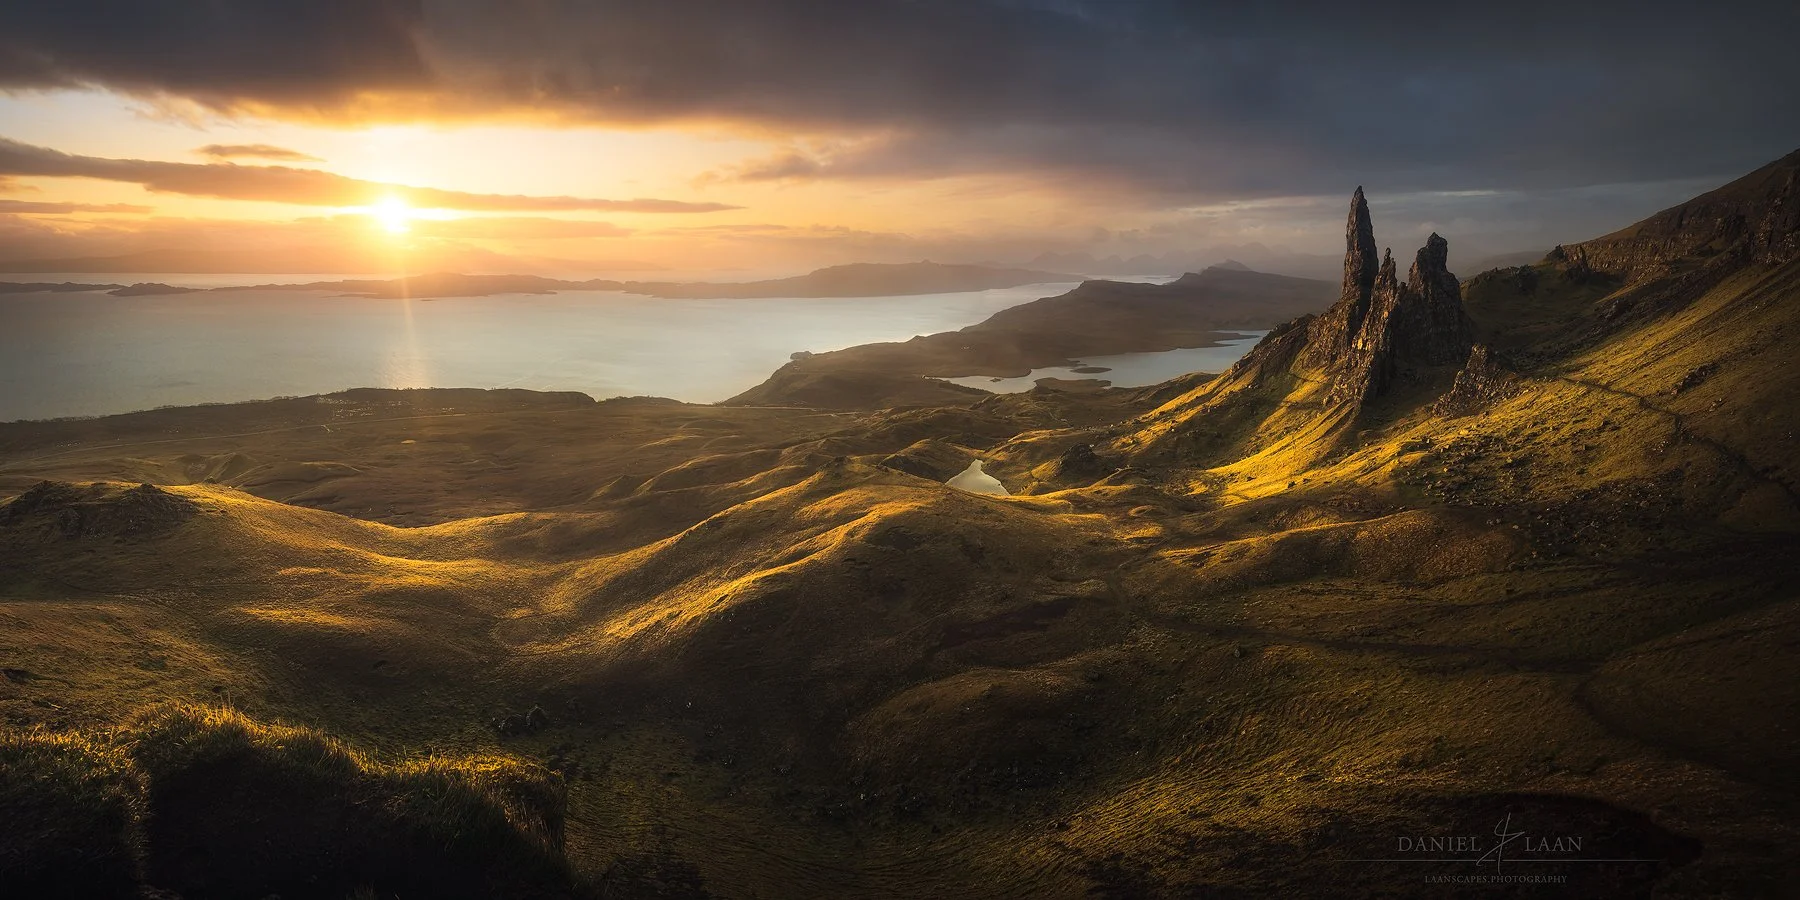
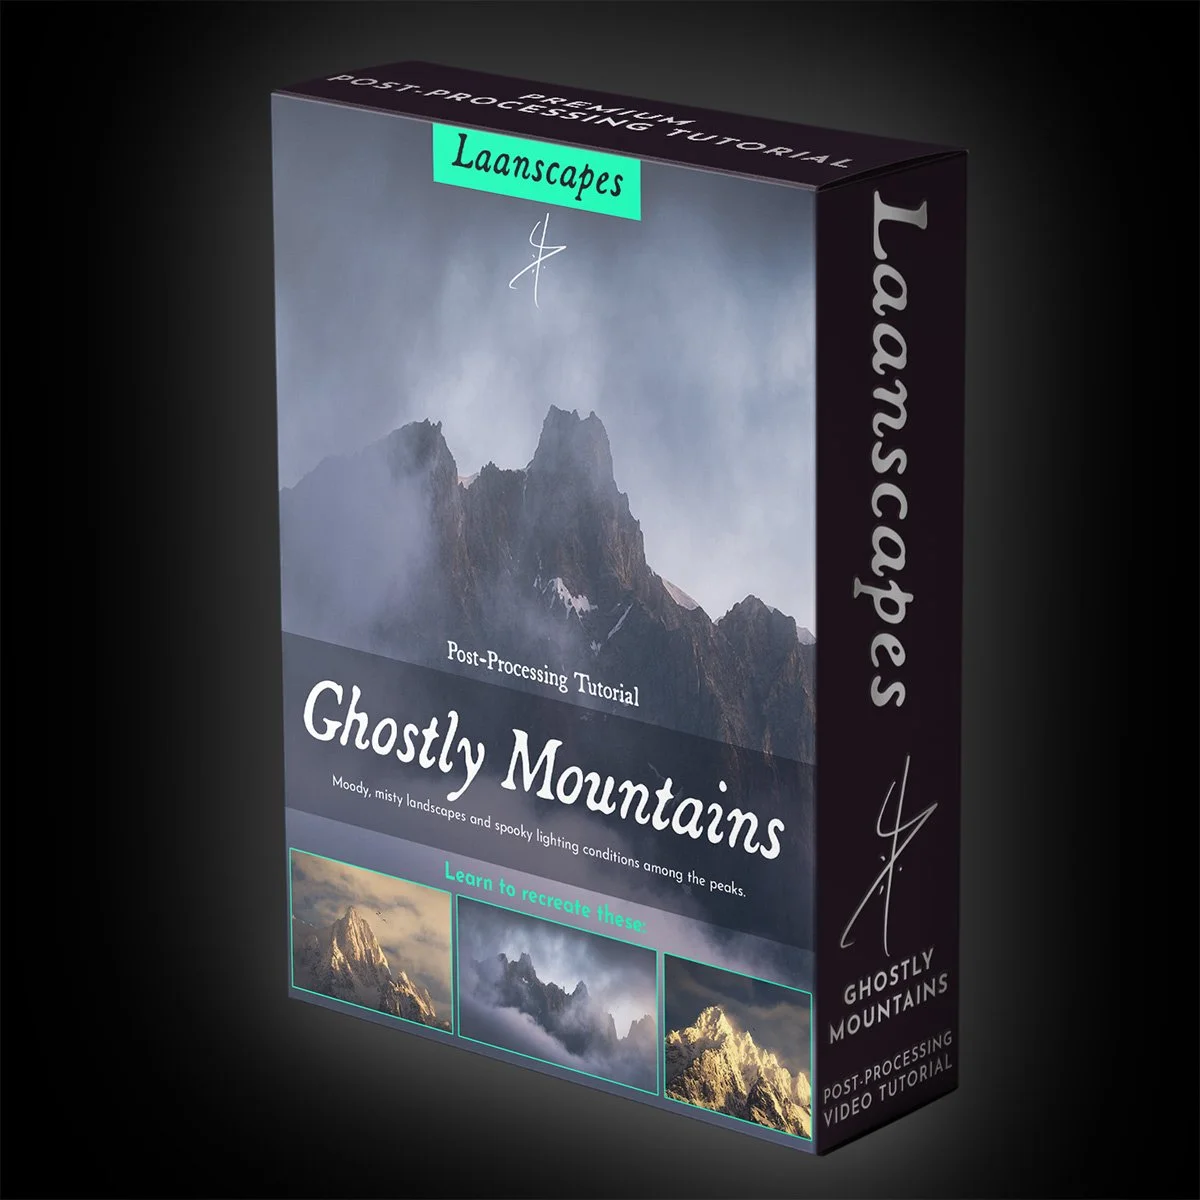
Ghostly Mountains Tutorial Video
Ghostly Mountains Video - Learn the Techniques that made the Movies
Unique Things you Learn in this Video
✔️ Aligning layers by hand using the Difference Blending Mode.
✔️ Selecting the best parts of different images shot in rapid succession: birds, changes in light, etc.
✔️ Leading the eye with darkness and light.
✔️ Cloud dodging and reflected light dodging.
✔️ Luminosity Selections (RGB Channels and Tony Kuyper’s luminosity masks).
✔️ Post-Processing for a dramatic film-look, straight from the fantasy films of Peter Jackson set in Middle-Earth.
✔️ Matte Painting - the technique actually used in those films to create backgrounds.
✔️ Alternatively use Skylum Luminar to create those light effects.
✔️ Panorama Stitching with a back-up plan.
✔️ Repairing slightly out-of-focus mountains.
If you’ve ever used a telephoto lens, you’ll know that the images from afar look washed out, without dramatic contrast. That’s all post-processing. But you will also notice things that you can barely make out with the naked eye. Birds flying past, snow drifts blowing over the peaks and light hitting each individual rock a little differently, causing the snow-capped mountains to shine like diamonds. That’s all there, you just have to learn how to bring that out.
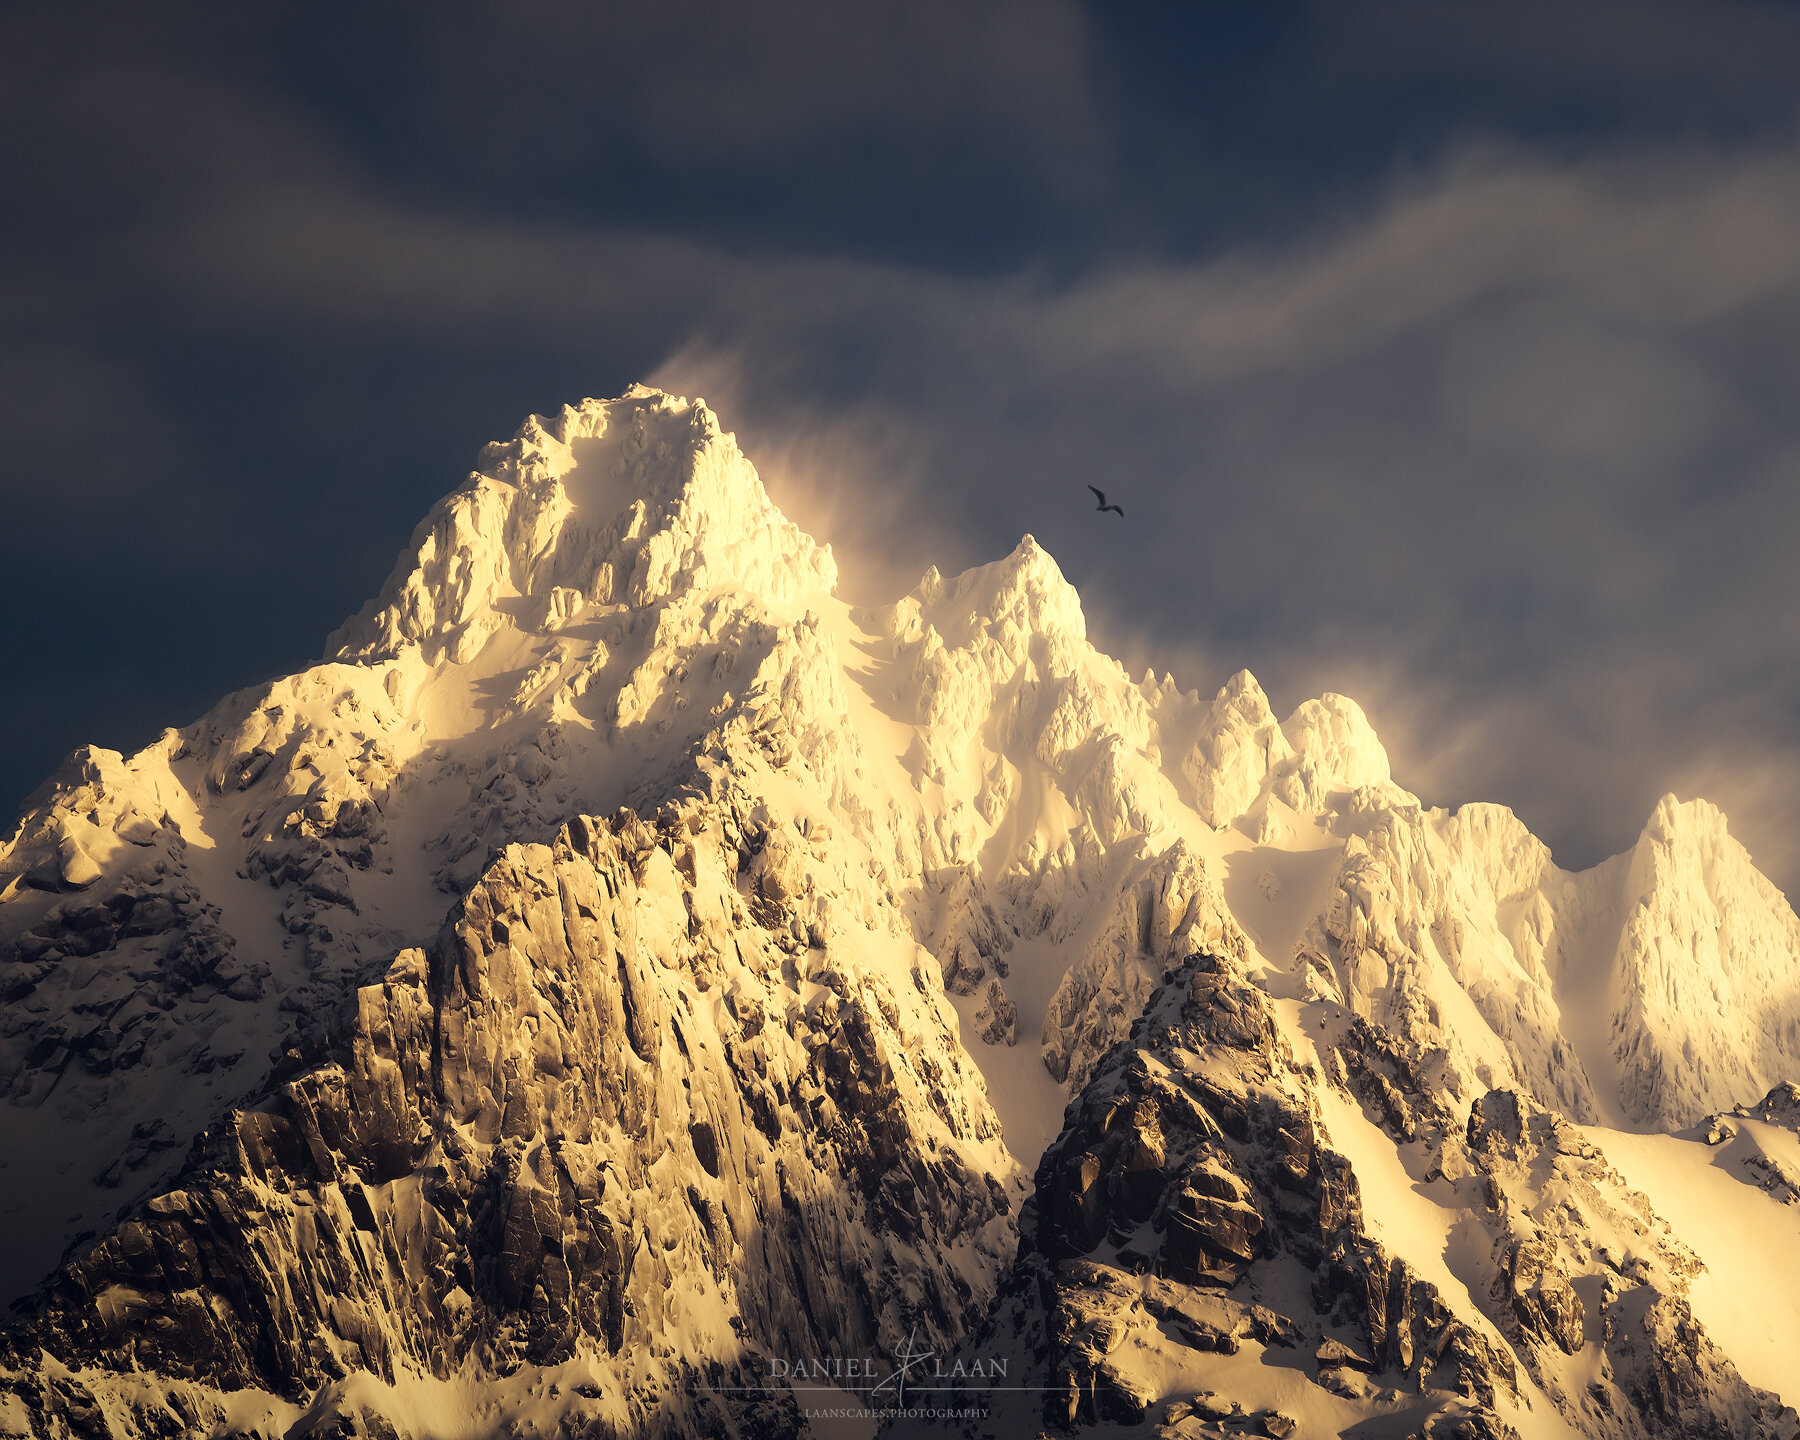
This comprehensive video tutorial aims to teach you both the drama and the detail when we zoom in on those mountains caught in swirling clouds.
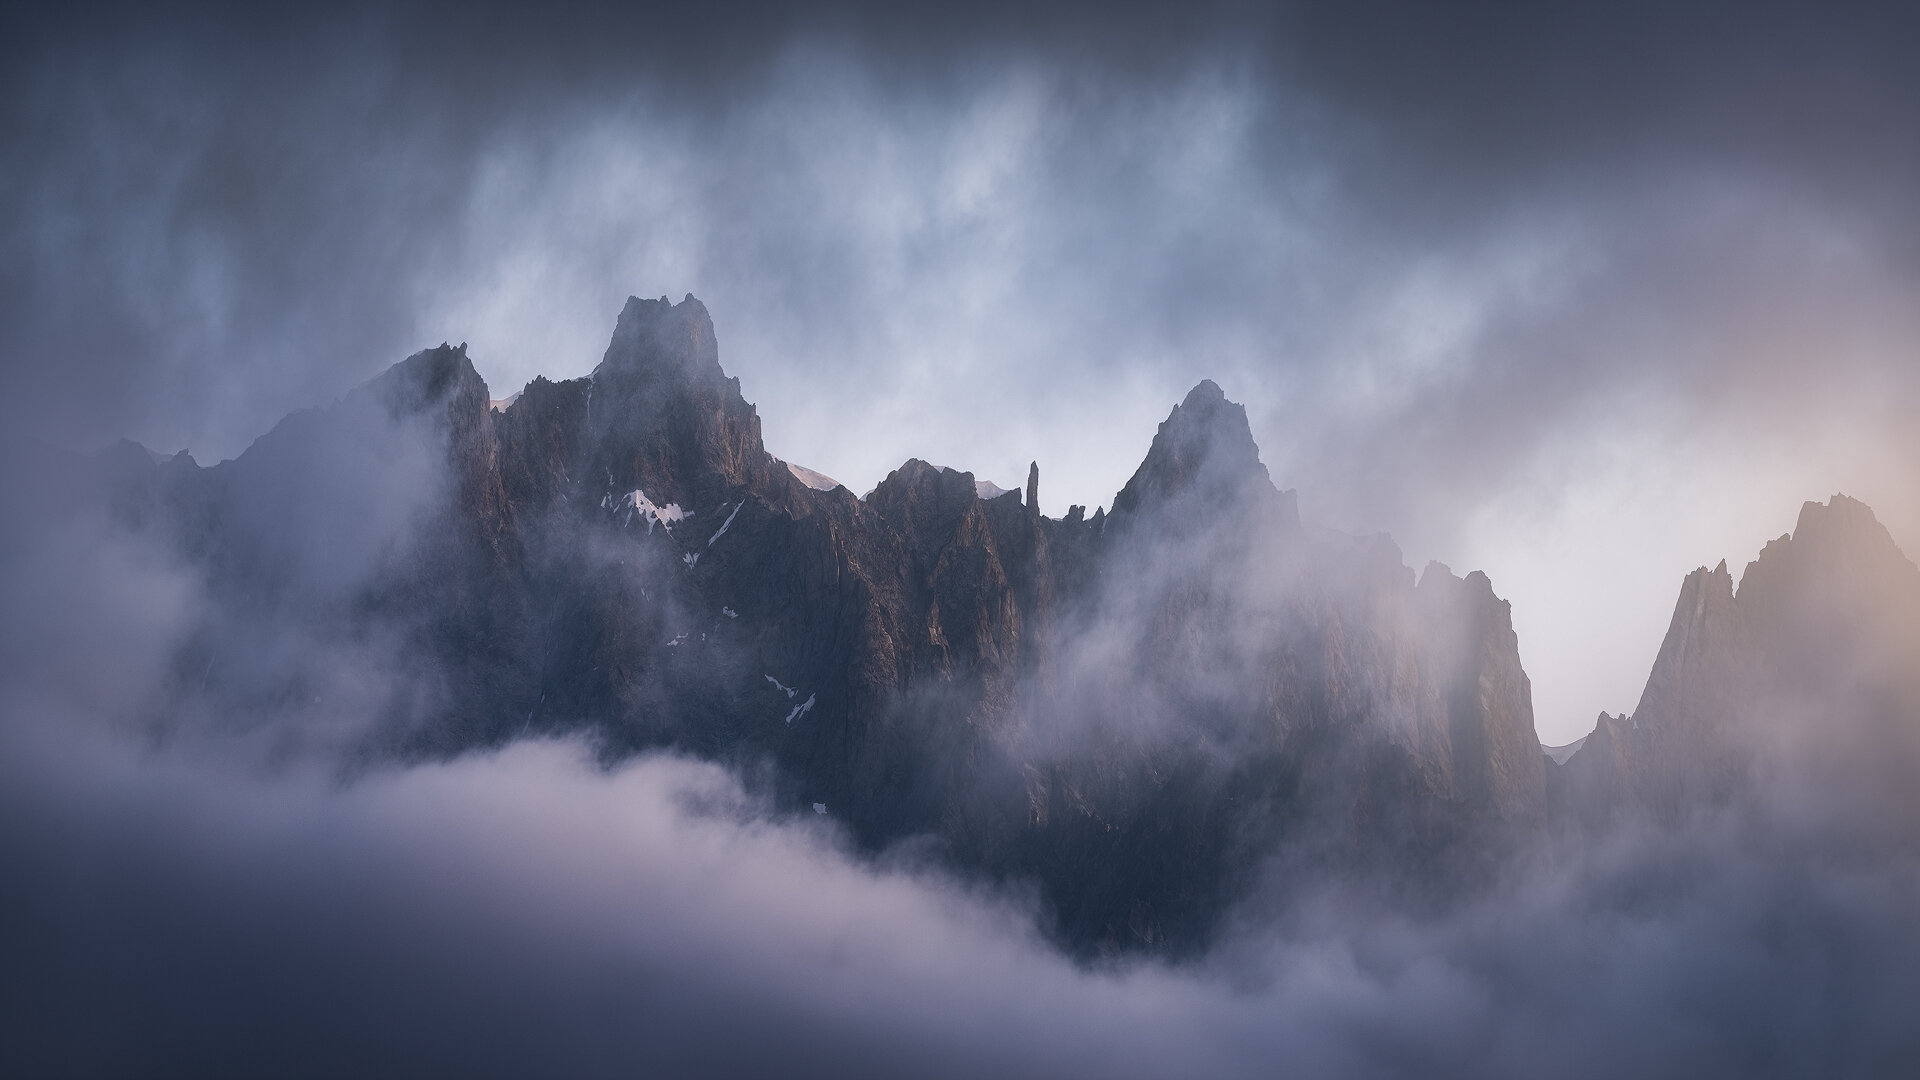
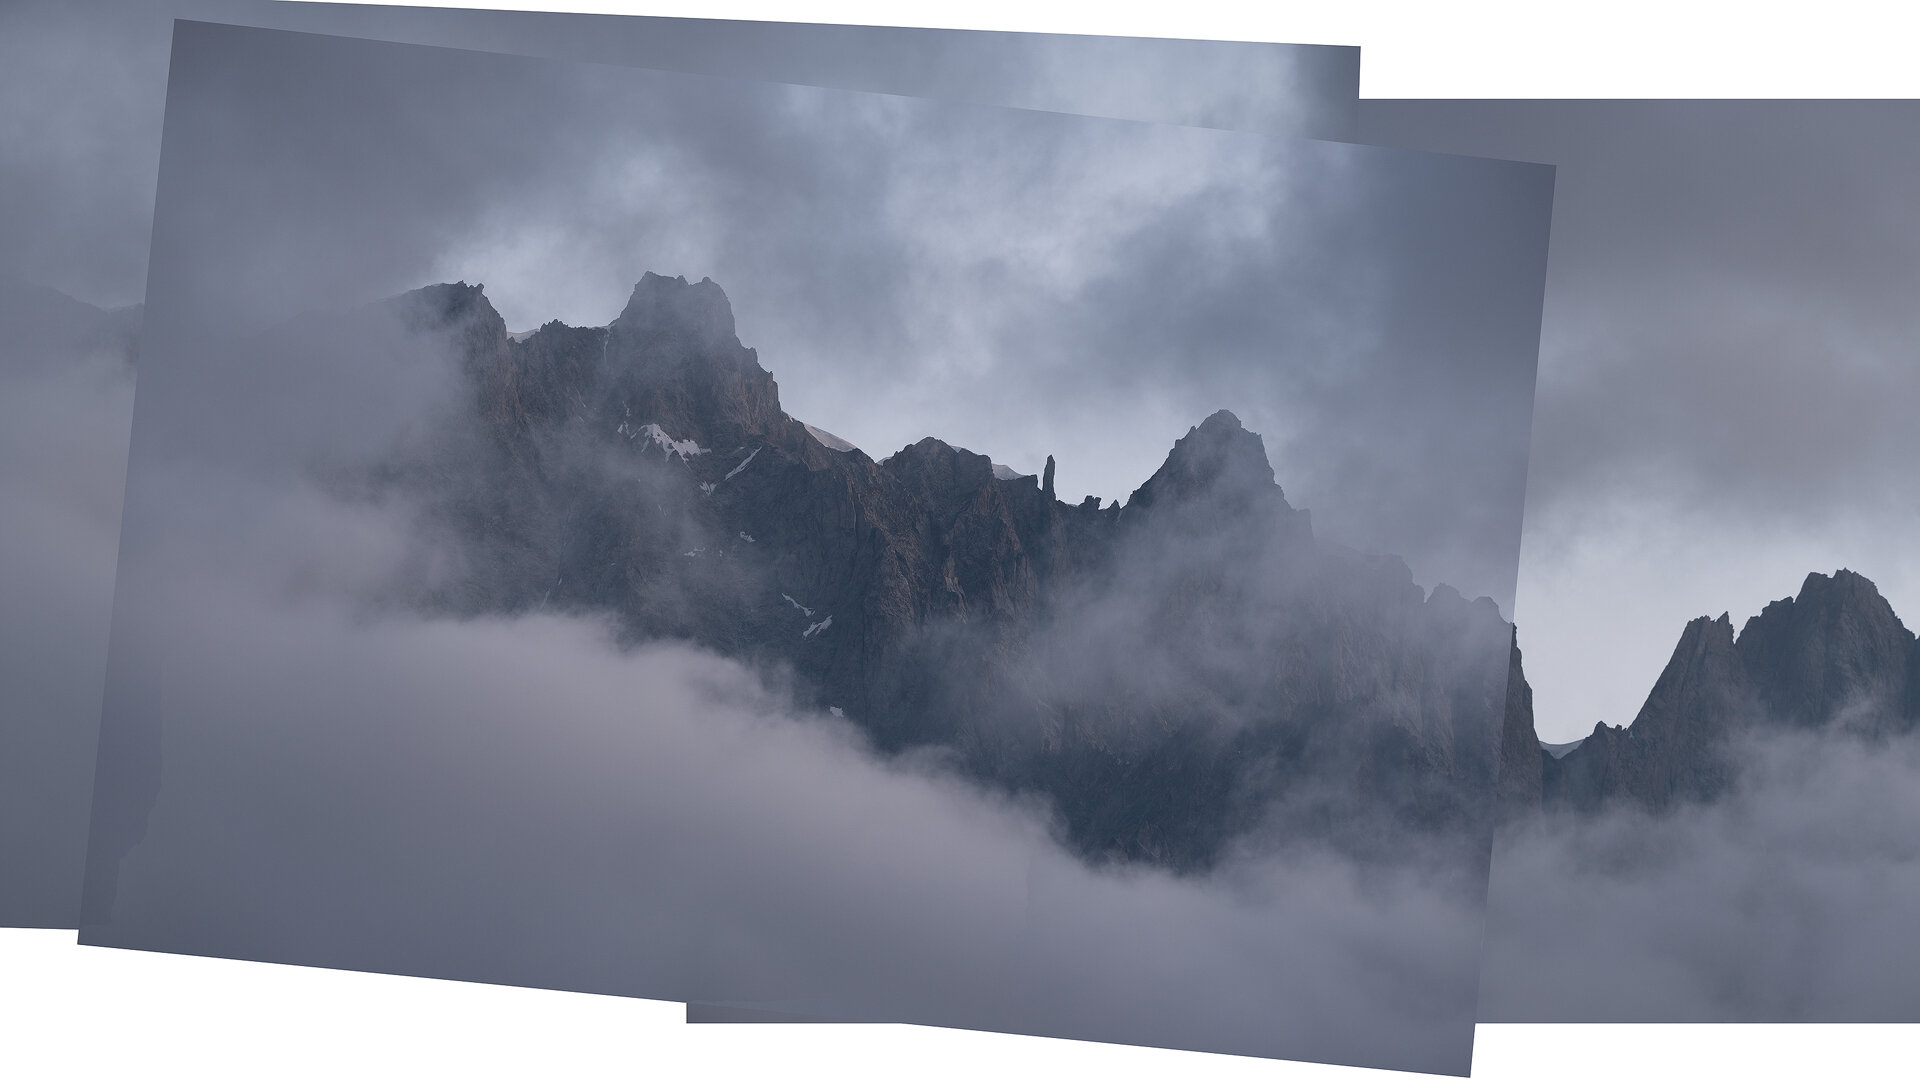
Watch me edit “Freedom Spires”, "Still for a Moment" and the panorama "Gleam of Dawn" - start to finish. That’s right. Three full-length processing videos! During this 3,5+ hour long editing video, you will learn new techniques such as Matte Painting, Color Grading and Creating a Film Look, that you can use in any of your photos to make it look like a screenshot from your favorite movie. Additionally, you will see how you can repair a panorama gone wrong if one image is not quite sharp, and all the special effects like Soft Glow, Orton and Diffuse Light created in both Photoshop AND Skylum Luminar. If you’re an intermediate or seasoned digital photographer, then there are Channel Selection techniques and Luminosity Masking tips in here as well. Lastly, you will learn how to make your images look fantastic for the web.
What’s Included in this Video?
⭐ These three videos contain more than 3,5 hours’ worth of processing together, one of my biggest Photoshop tutorial ever recorded!
⭐ Three PSD-files (resized) of “Freedom Spires”, “Still for a Moment” and “Gleam of Dawn” with every adjustment still present.
⭐ Read-me file with photography tips and links to additional tools such as TK Actions and the last sharpening tool you will ever need.
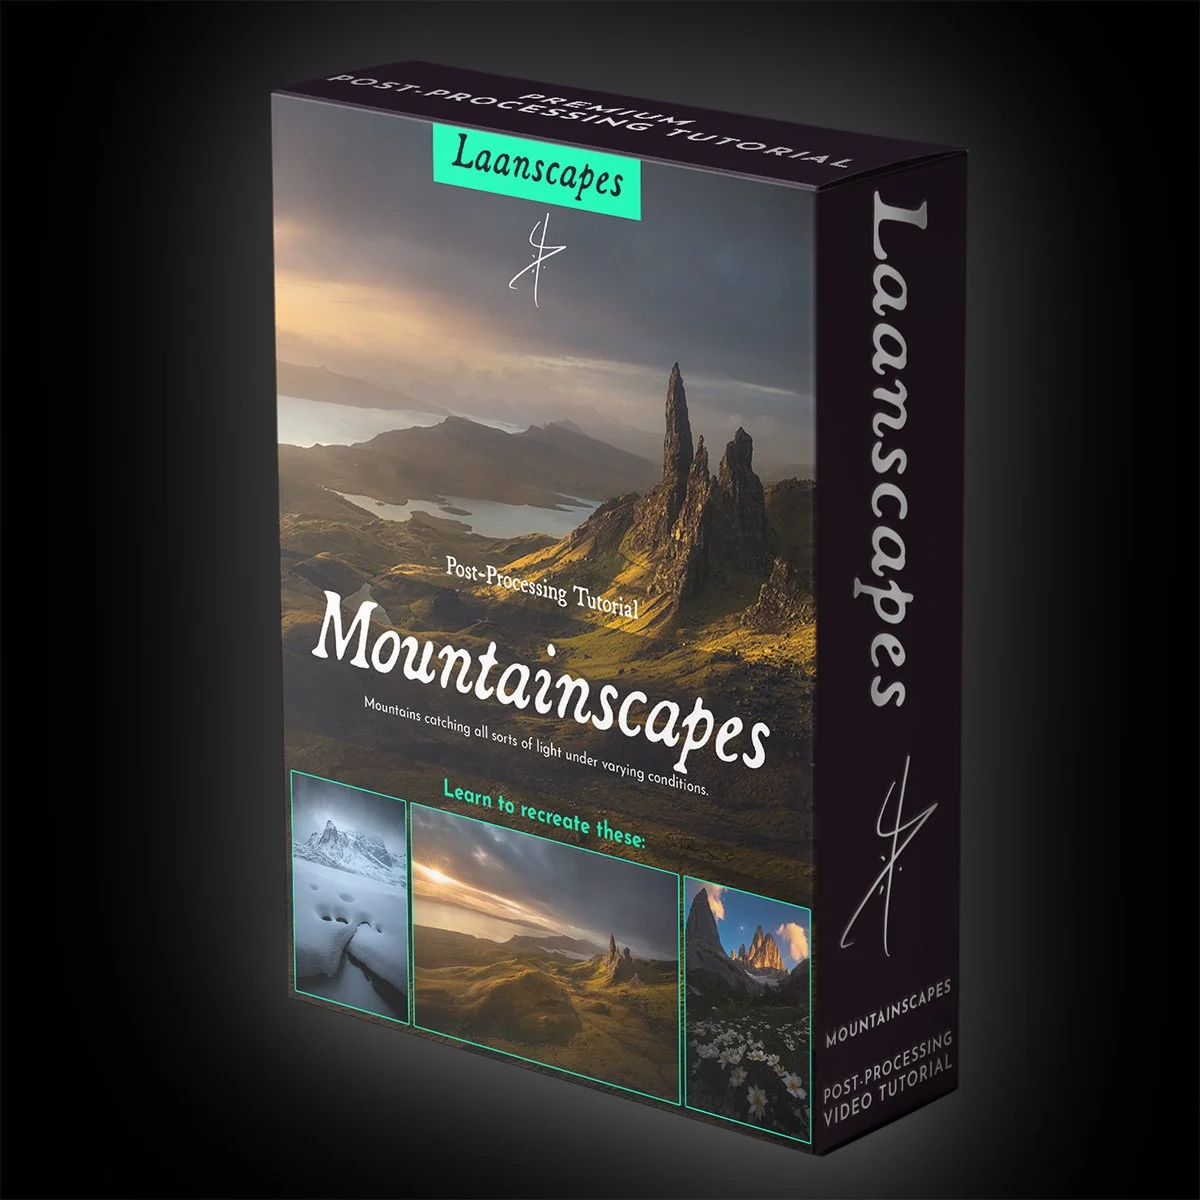
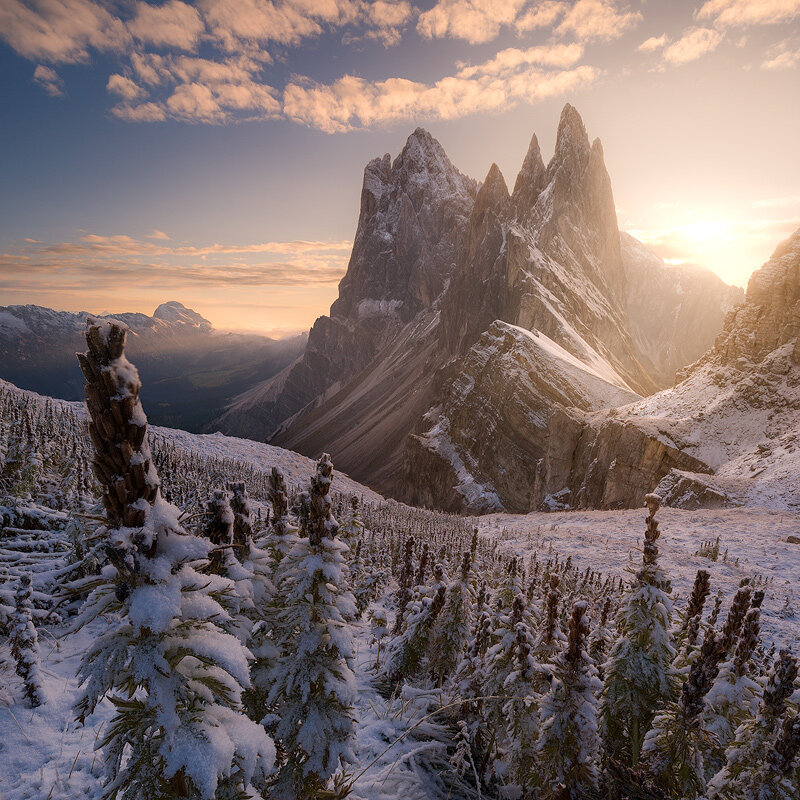
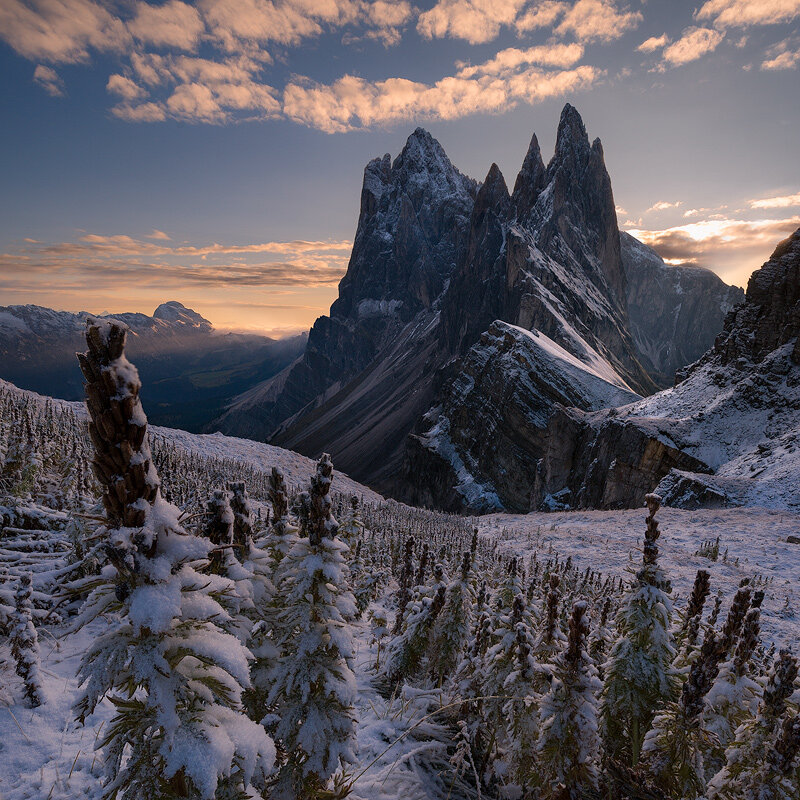
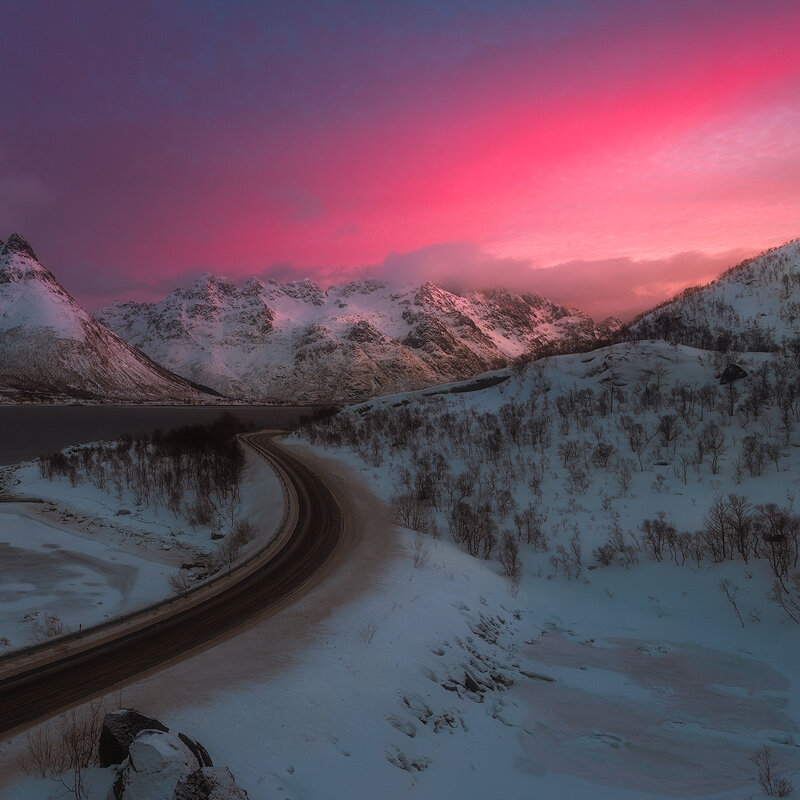
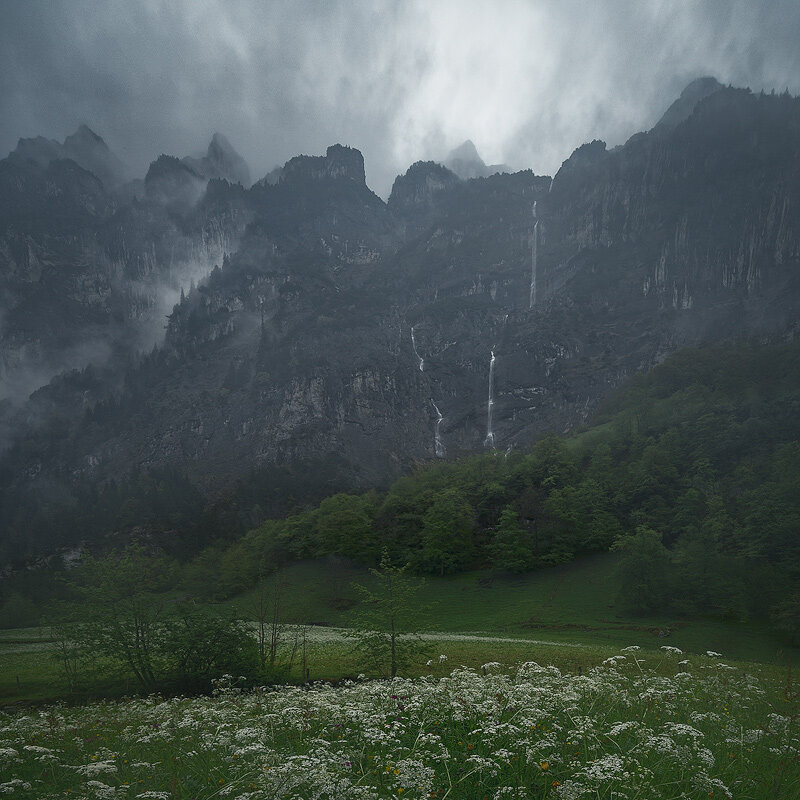
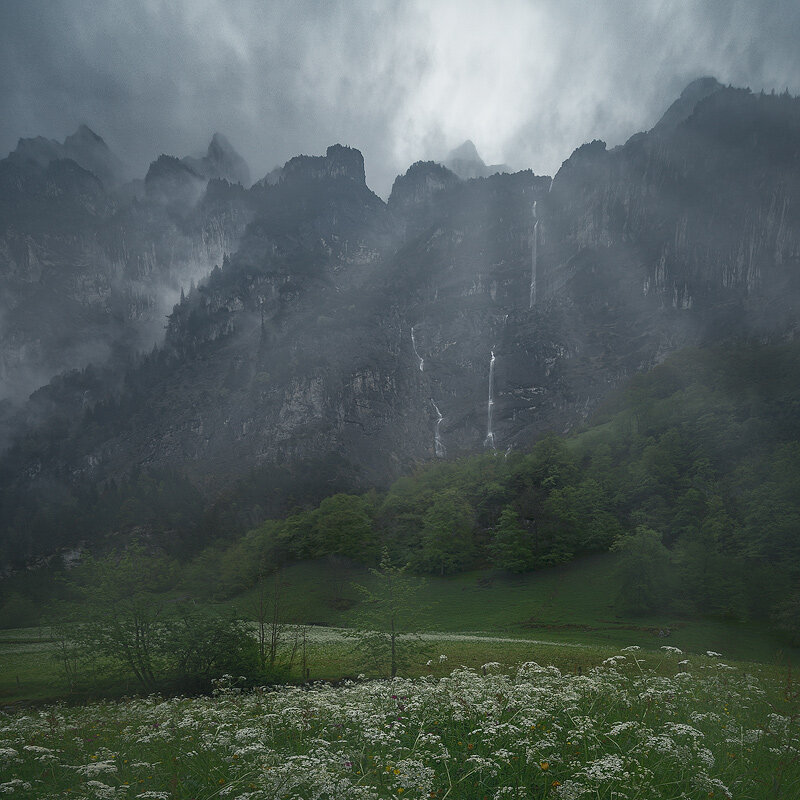
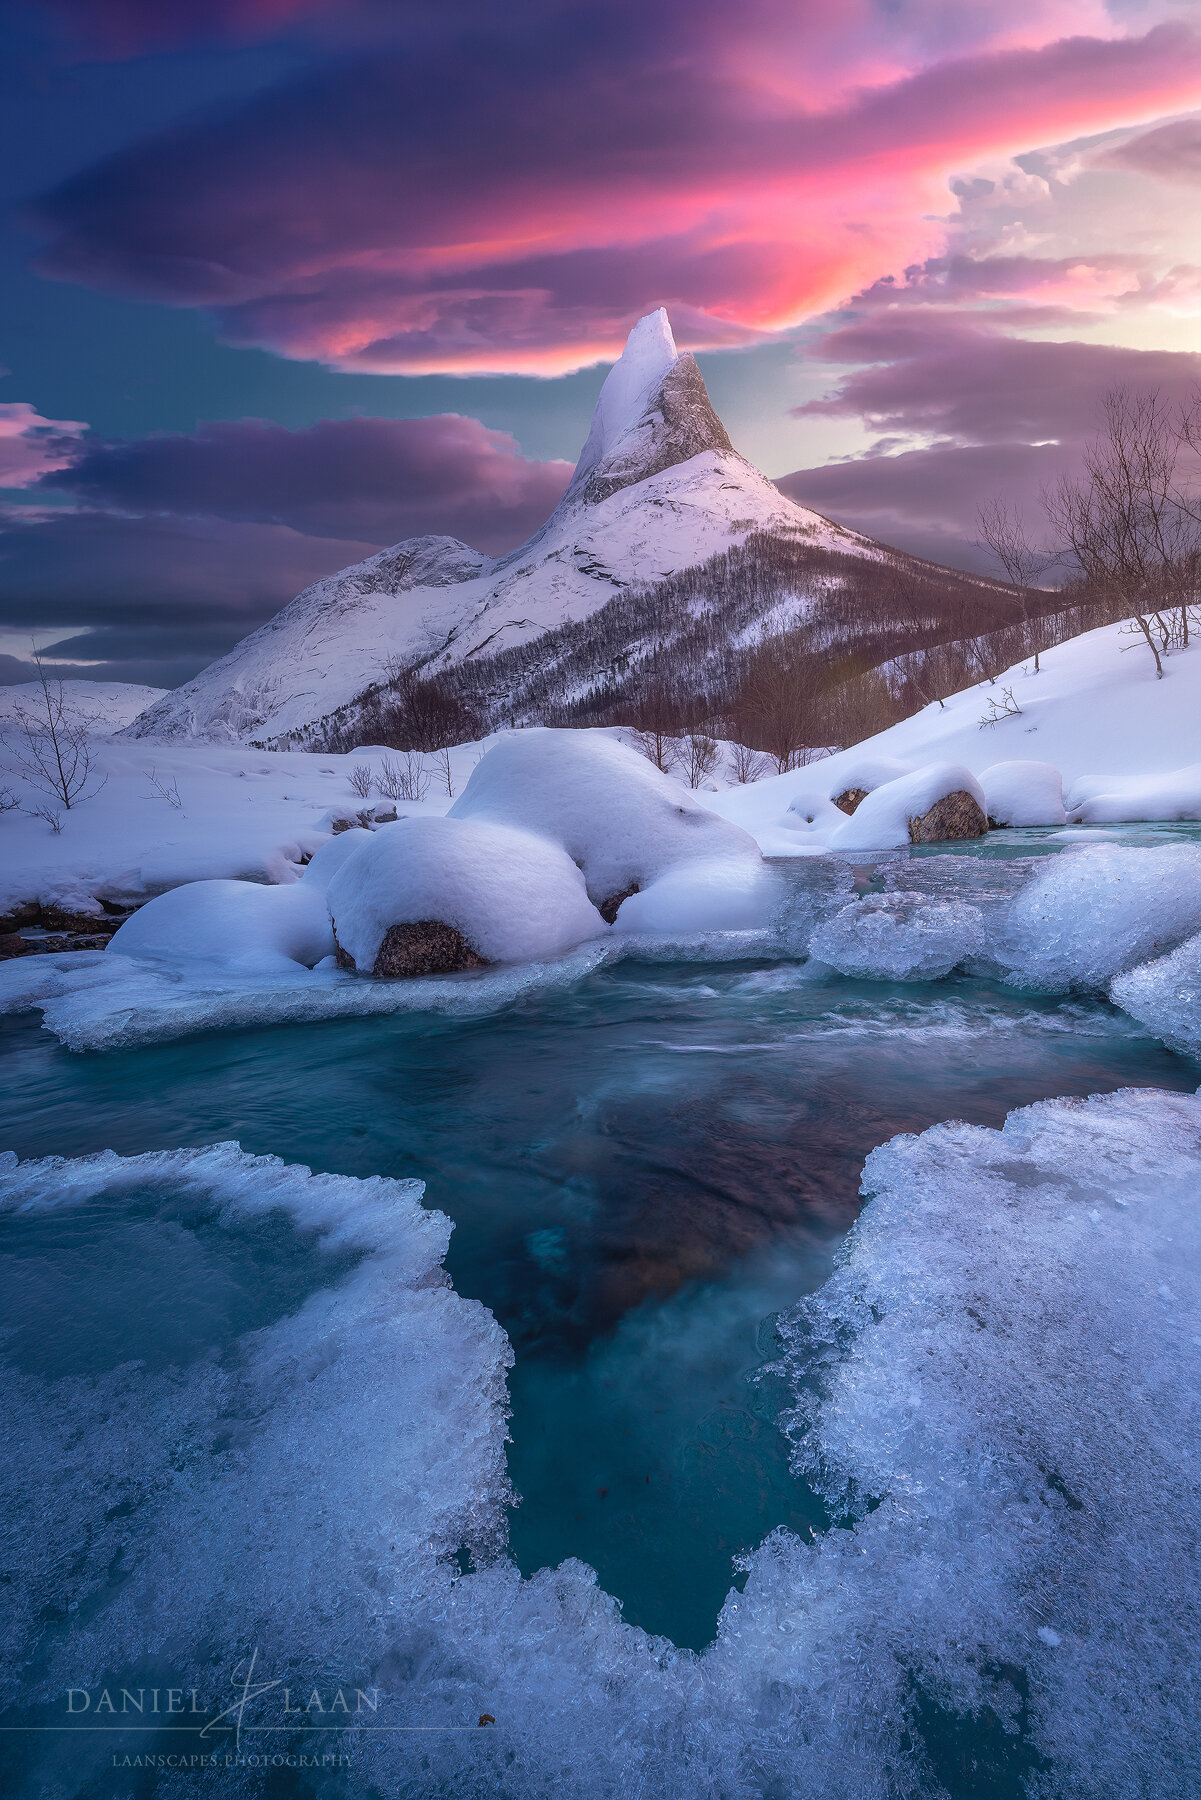
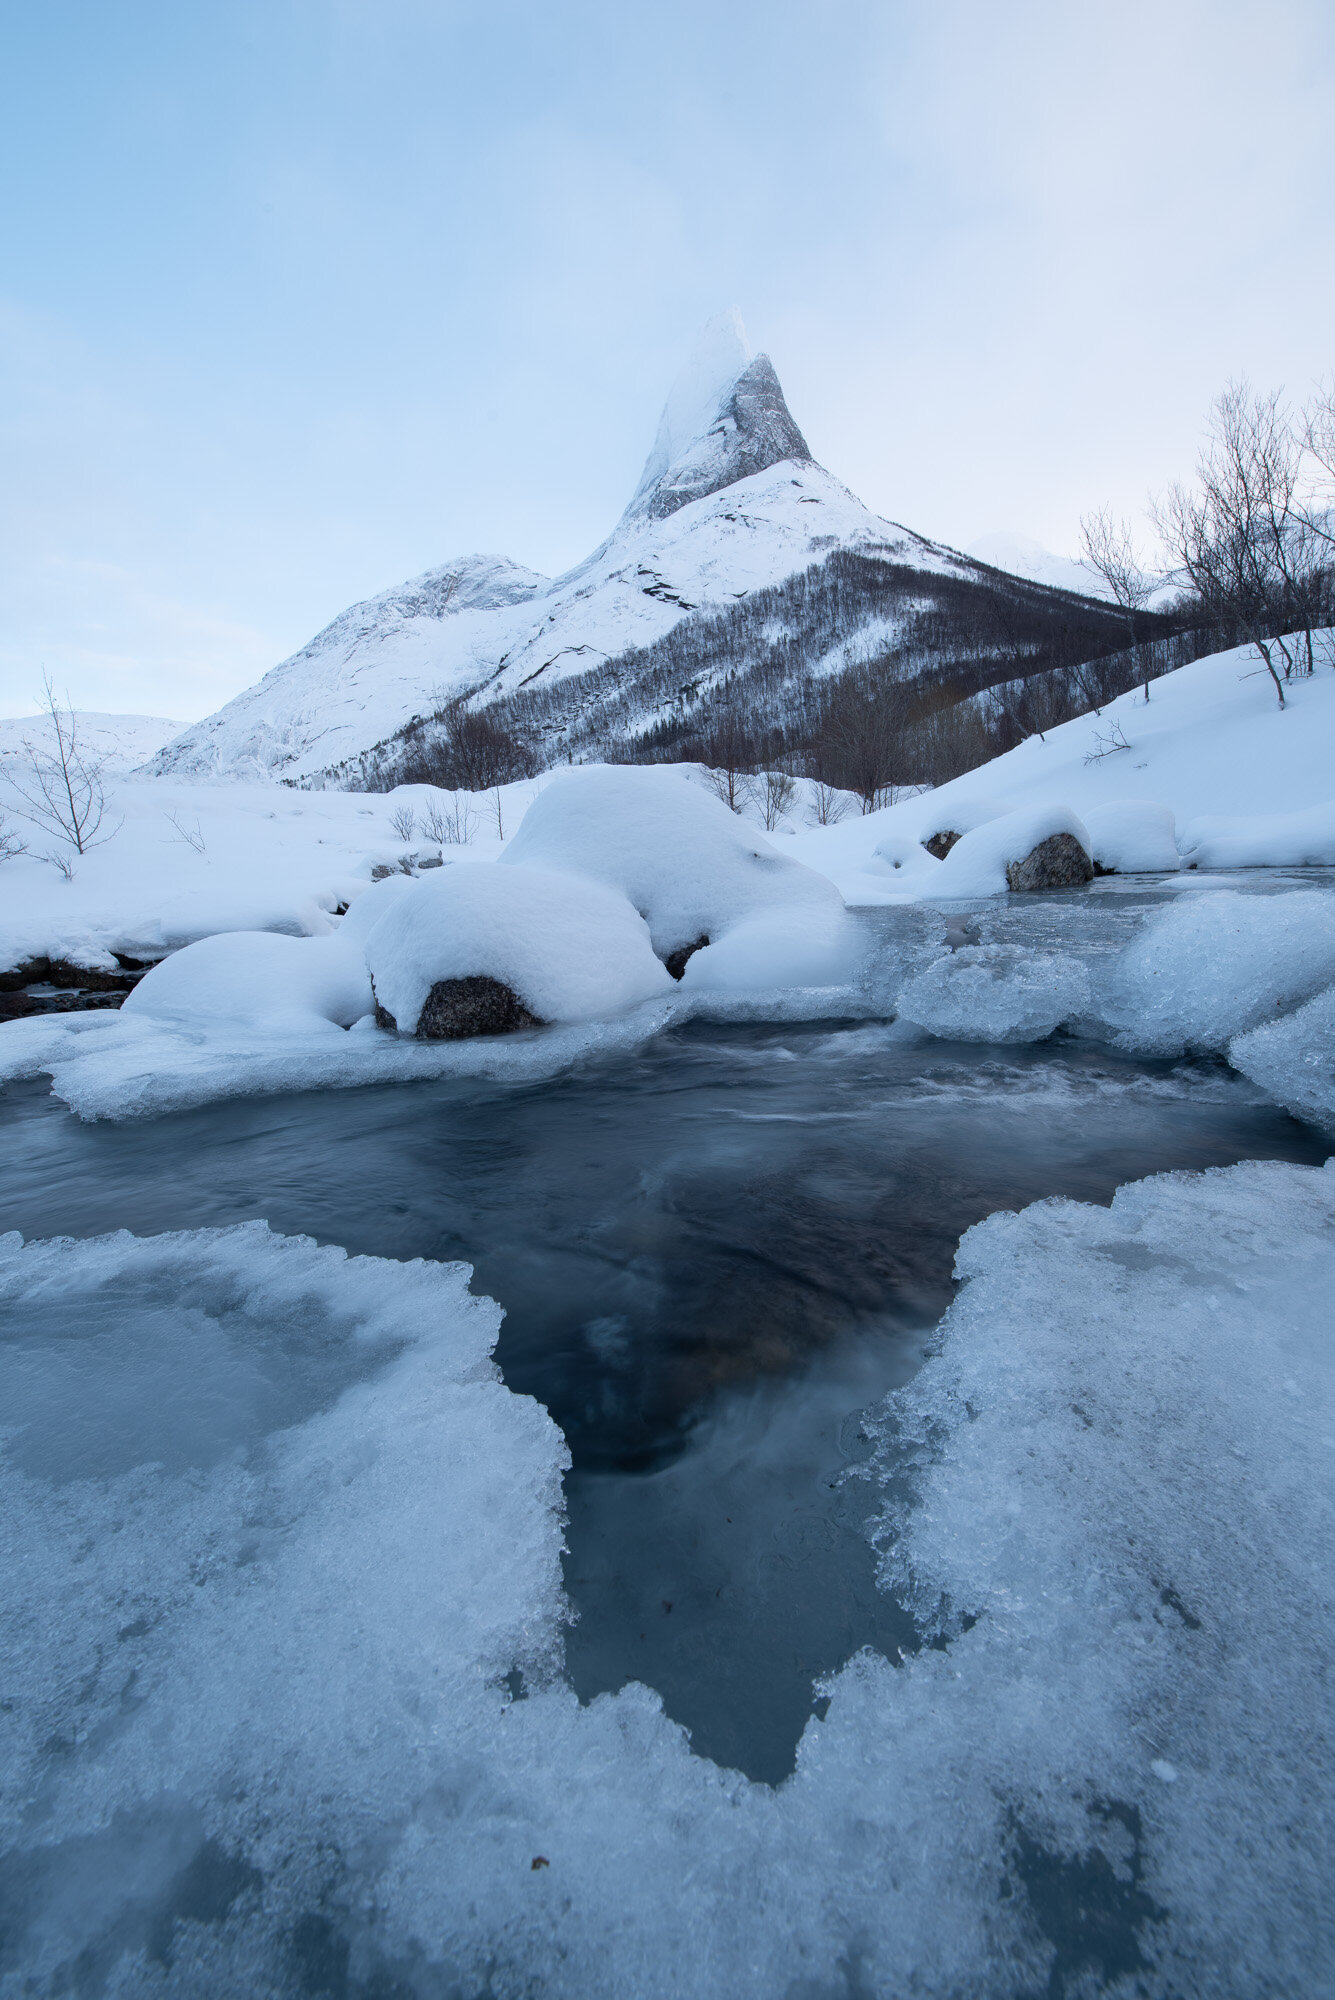
Mountainscapes Tutorial Video
Epic Mountain Landscapes - Wide angle, sweeping vistas and spectacular foregrounds. This is how you get all of it it sharp.

Unique Things you Learn in this Video
✔️ Handling overexposed skies
✔️ Handling complex blends that include Focus Stacking and Perspective Blending
✔️ Simultaneous Raw pre-processing
✔️ Aligning for Focus Stacking in Photoshop
✔️ Blending a Focus Stack by Hand
✔️ Creative Controlled Warping
✔️ Dodging for detail
✔️ Luminosity Selections (RGB Channels and Tony Kuyper’s luminosity masks)
✔️ Cloning, rain and sensor dust removal
✔️ Post-Processing for a dramatic film-look
✔️ Adding Light Bleed, Orton and other light effects
✔️ Dark Mood processing
✔️ Sharpening and Export for the web
As a landscape photography fan, you must have seen those images with sprawling foregrounds. Flowers, interesting patterns or cracks in the ice, lava and mud can all lead the viewer into those majestic mountains in the background. But how do you get all of it in sharp focus? Set at f/22 and forget about it? That’s where this tutorial starts out: focus stacking.


But when take a wide-angle lens and put it that close to the foreground, these epic mountains in the background can become diminutive. That’s where either perspective blending or focal length blending come in. You will learn to do both in this tutorial.
Then what do you do in shitty weather? You stay out, wipe in between shots and wait for a break in the clouds. Also, shoot a darker image for the sky, because who needs to fiddle with graduated filters when time is of the essence as the sun sets? Then you align, blend and mask out the raindrops on the filter and process for that dark mood we all like.
Watch me edit “Avalon”, "Paranormal Peak" and the panorama "Solemn Fortress" - start to finish.
What’s Included in this Video?
⭐ These three videos contain more than 3,5 hours’ worth of processing together, one of my biggest Photoshop tutorial ever recorded!
⭐ Three PSD-files (resized) of “Avalon”, "Paranormal Peak" and the panorama "Solemn Fortress" with every adjustment still present.
⭐ Read-me file with photography tips and links to additional tools such as TK Actions and the last sharpening tool you will ever need.
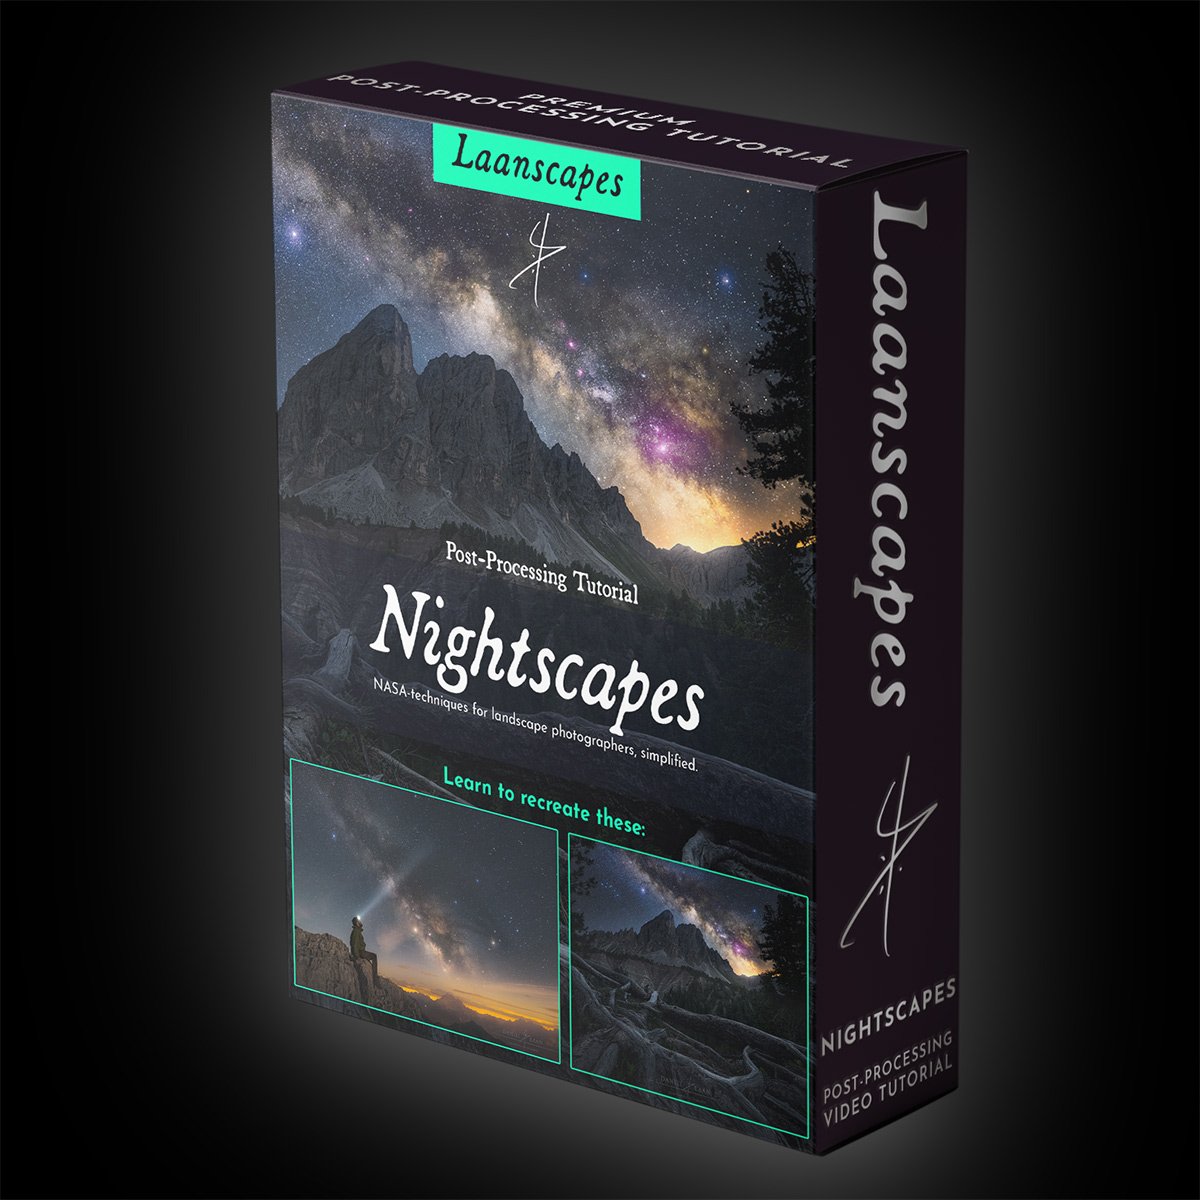
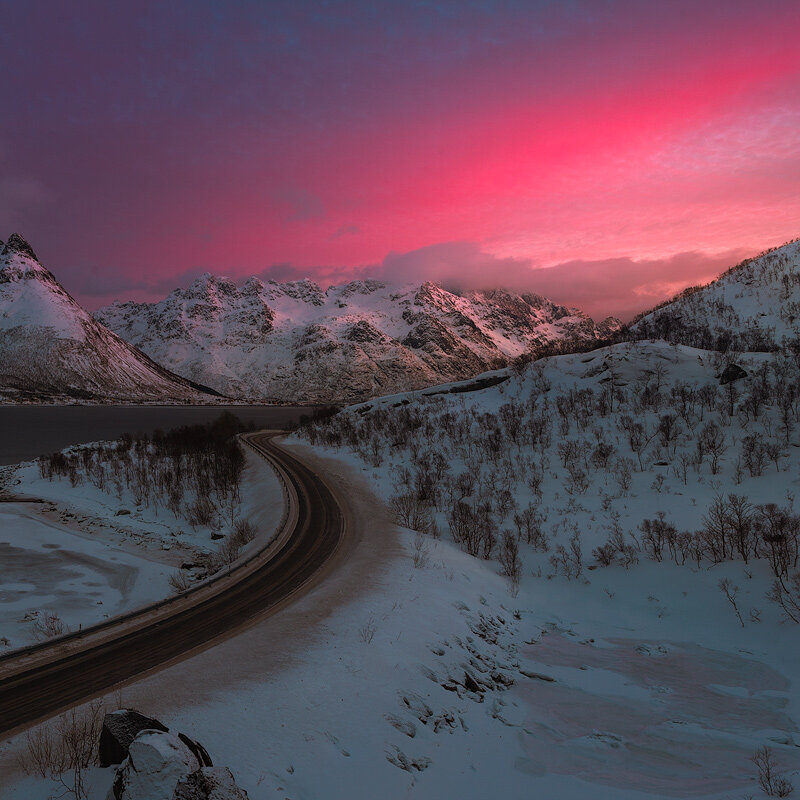
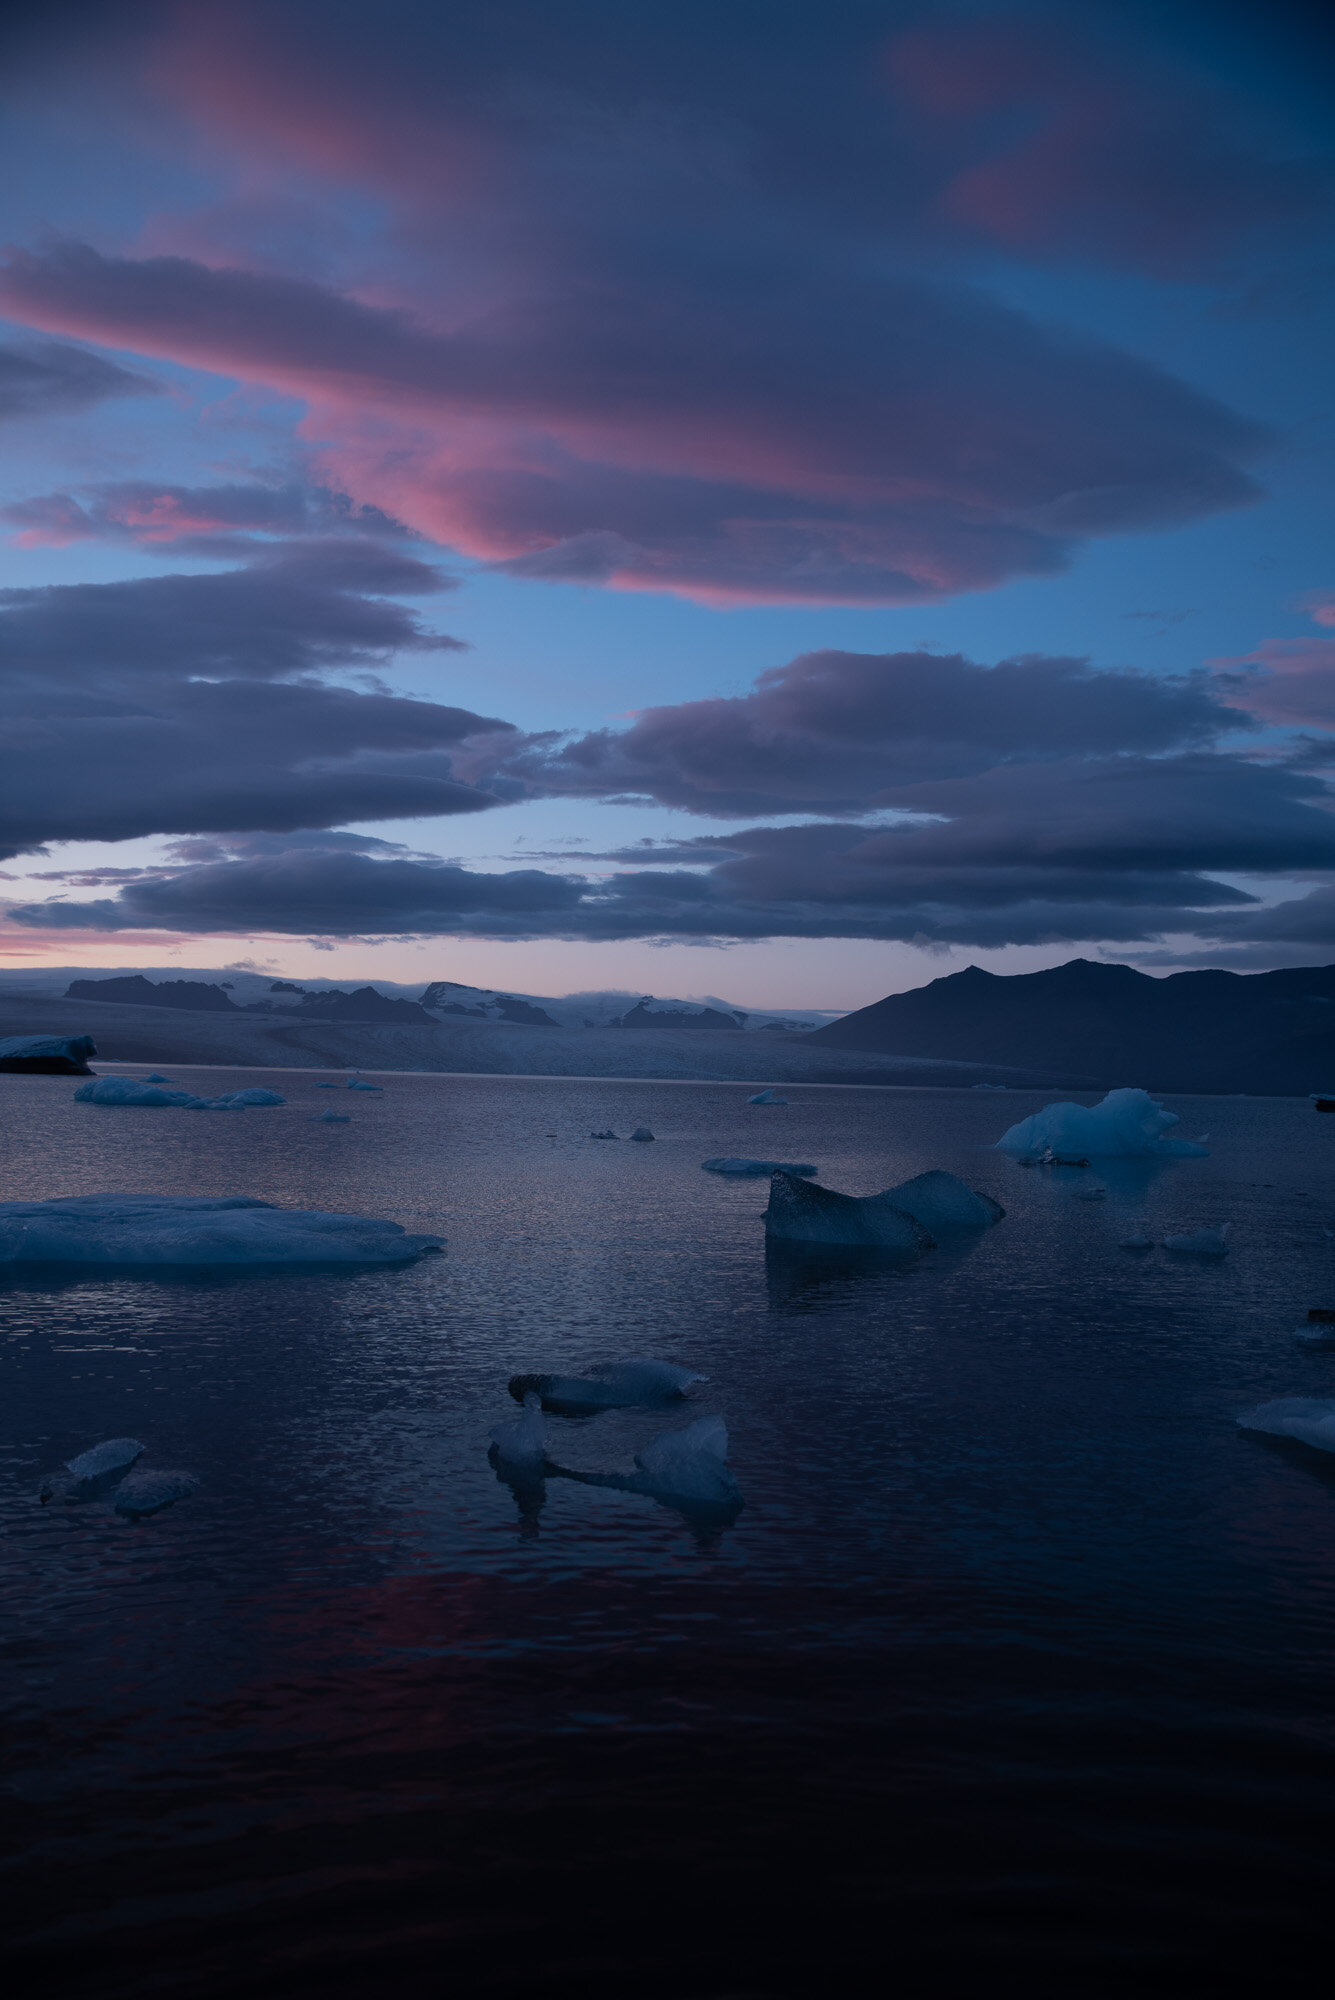
Nightscapes Tutorial Video
Milky Way post-processing - From simple to advanced.
A selection of Stuff you’ll Learn in this Tutorial
✔️ Stacking in the field and pre-processing stacked images in Sequator (free, PC). StarryLandscapeStacker also available with a similar workflow on Mac.
✔️Using a tracking mount on your tripod to lengthen the shutter speed beyond 30 seconds.
✔️ Focus stacking the foreground.
✔️ Post-processing the most noise-free image of the Milky Way.
✔️ Making selections based on light and color (luminosity masking and hue masking).
✔️ Light effects such as star color dodging, Orton and Light Bleed (a different method than in all my other videos).
✔️ Color grading and luminosity matching (Making the foreground and background sit well together).
✔️ Sharpening and Exporting for the Web to keep the colors exactly the same as you see it in Photoshop for the whole world.
Learning new software is daunting. The older I get, the less likely I am to pivot to using specialized processing software. For astrophotography, you’ve got PixInsight’s learning cliff of doom for instance. So I taught myself how to get similar results with Photoshop. Now I’m teaching you what I know.


First, you’ll learn how to extract detail from a single raw file of the Milky Way like a pro. Then, forget that you need to use a single file. We’re doing what NASA does, but we’re combining that with landscape photography.
You don’t have to be an expert at post-processing at all, but I do recommend that you know how layers work in Photoshop.
We will cover a lot of specific post-processing techniques for Milky Way photography, including enlarging and blooming individual stars, enhancing the Milky Way without noise, cleaning hot/stuck/dead pixels, and making a feature out of light pollution instead of trying to eliminate it completely.Lastly, you will learn how to make your images look fantastic for the web.
What’s Included in this Video?
⭐ More than 4,5 hours’ worth of processing advice in total. No filler!
⭐ First part: PSD-file (resized) of “Contemplation” with every adjustment still present.
⭐ Second part: PSB-file (resized) of all three levels of complexity left in the layers palette with every adjustment still present. That’s a BIG file. Please be patient when you open that in Photoshop. It includes stacked layers, tracked layers and even a combination of the two.
⭐ All raw files (DNG) with every adjustment still present.
⭐ Intermediate TIFF files, so you don’t have to stack them yourself (although I recommend you follow along anyway).
⭐ An article with additional tips for better nightscapes, including links to additional tools such as TK Actions and the last sharpening tool you will ever need.
⭐ A bunch of ever updated videos that keep up with tools, updates and versioning, to make these videos absolutely timeless.
Processing Mega Bundle: 12 Video Tutorials!
Save big. Over 50 hours of post-processing video material and 29 start-to-finish workflows, that cover everything I’ve learned in over 15 years of professional landscape photography. This is how you become a Photoshop ninja.
Includes:

Photoshop for Beginners
Monumental Trees
Return to The Dark Forest
4 Seasons in the Dark Forest
Mountain Landscapes
Ghostly Mountains
Nightscapes
Glowing Mushrooms
Light FX
Creating Convincing Composites
Twilight Seascapes
Northern Lights
+ A few bonus videos
Why These Tutorials Stand Out
Laanscapes Photography tutorials offer more than typical landscape photography courses. They are longer, more comprehensive, and packed with real workflow demonstrations designed to enhance learning:
Full video lessons between 1 and 5 hours depending on topic complexity.
Downloadable RAW files so you can practice on the same images used in the lessons.
PSD files fully layered so you can inspect and learn from each editing decision.
Artistic focus geared toward moody landscape photo editing, not just technical steps.
This combination of instructional depth and downloadable practice material separates these tutorials from other Photoshop landscape post-processing tutorials. You are not watching someone edit one image quickly; you are learning an entire landscape post-processing workflow in a way that builds practical ability and artistic confidence.
Who These Tutorials Are For
These courses are suited to a wide range of landscape photographers:
Hobbyists familiar with Lightroom but intimidated by Photoshop.
Intermediate photographers seeking to elevate their editing beyond basic adjustments.
Enthusiasts who want to develop a unique, fine art editing style without fearing over-processing.
Each tutorial starts with fundamentals of Photoshop relevant to landscape photography and builds into advanced techniques. You will learn not just how to use tools like layers, masks, and curves, but how to use them with purpose to achieve atmospheric, powerful results.
How These Tutorials Work
Once you purchase a tutorial you receive an instant download with:
Full-length video lesson in high resolution.
Original RAW files featured in the lesson.
Complete PSD with all layers for study and comparison.
These are one-time downloads; once purchased, the videos are yours forever. There is no ongoing subscription, and every part of the tutorial remains accessible to you for reference as you continue developing your editing workflow.
We also offer a mega bundle of 12 video tutorials for €299. This bundle covers the full range of landscape editing topics and provides the best value for photographers ready to embrace fine art photo editing deeply.
Course Highlights: What You Will Master
Photoshop Tools and Techniques
Understand essential Photoshop editing features from the ground up. Learn how to navigate layers, masks, selections, adjustment layers, and advanced blending to precisely control exposure, contrast, and color throughout your images.
Artistic Color Grading
Move beyond neutral edits to fine art landscape editing with intentional color and tone adjustments that enhance mood and narrative in your work. Learn how to sculpt atmosphere using targeted color grading techniques.
Exposure and Dynamic Range
Landscape photography often involves complex lighting. These tutorials teach you how to manage high dynamic range scenes, balancing highlights and shadows in a way that feels expressive and natural.
Focus on Composition and Vision
Technical skills matter, but creative vision is paramount. You will learn how to edit with purpose, developing a consistent editing style that communicates mood, place, and emotion.
How This Page Helps You Learn (and Why It Ranks for Your Search)
This page targets the key phrases landscape photographers search for, including advanced Photoshop landscape editing course online, landscape photography tutorial, moody landscape photo editing, premium landscape photo editing, and fine art landscape editing. These terms are woven naturally into content that also answers common user questions and explains the value of learning Photoshop in depth. Good SEO practices such as reinforcing keyword relevance, providing comprehensive answers to intent-driven queries, and delivering authoritative content help improve visibility. Effective on-page SEO includes clear headings, keyword usage, and content that solves real user problems rather than merely listing features.
Start Learning
If you want to master landscape photo editing in Photoshop and transform your images into moody fine art landscapes, start with a single tutorial or choose the value-packed mega bundle. Each lesson is designed to grow your confidence, give you practical skills, and help you achieve results you are proud of.
Start learning today with Moody Fine Art Landscape Photo Editing Tutorials and take your landscape photography post-processing to the next level.
Perfect your Workflow
Even with basic knowledge of Photoshop, you will easily pick up on what I do in these easy to follow editing tutorials. In each one, I show you my entire workflow.
Discount at Tony Kuyper
Be sure to add LAAN15 over at goodlight.us for a 15% discount on everything off the panels and videos page.
How do I Watch each Video?
After you pay, you will download a document containing links to download the video and files needed to follow along.
Watch it on the road, at home…. anywhere. It’s best to download VLC player for an optimal video quality.
Note that this is a Digital Download product. No physical DVD or USB thumb drive is included. As such, I do not offer refunds.